Thanksgiving Activity Placemat

My son Jacob and I were talking about Thanksgiving coming up and he tells me “I’m looking forward to your activities”. I paused, not understanding what he was talking about and asked “What activities?”. He replies, “Like your Thanksgiving Joke Teller“….. While I was happy he appreciated my efforts last year, I felt bad I hadn’t come up with anything new for this year. Not wanted to let him down, I decided to design a Thanksgiving-themed placemat with fun activities including a maze, word search, how-to-draw and one of their favorites – a secret decoder message to solve!

Click HERE to download the Thanksgiving Activity Placemat Printable from my Etsy Shop.

Advertisement

Sun Catcher Valentine

Sun Catcher Valentine Banner - projectsinparenting.jpg

With 8 to 14 inches of snow expected today, schools in the area were cancelled for a rare occurrence — SNOW DAY!! Needless to say, the kids were very excited and we spent most of the morning outside. This afternoon, we decided to stay warm and stick indoors for a Valentine’s Day themed craft.

Using these cute doilies from the dollar store, (click here for a similar product on Amazon) I simply cut out a heart shape from the middle of the doily and attached a square of contact paper (larger than the doily) to one side. Then, with Valentine’s Day inspired colors, I cut small squares of tissue paper and put them in bowls.

Sticky side up, the kids selected their preferred tissue squares and attached them to the contact paper heart in the center of the doily.

When their Valentine heart decorating was complete, I trimmed any excess tissue paper that was hanging over the lace part of the doily, then sealed their heart with another sheet of contact paper. After trimming around the outside of the doily (to cut off excess contact paper), we hung their masterpieces in our window to enjoy the beautiful stained glass colors!

These Valentines also make perfect gifts to send to family and friends! 🙂

“Close your eyes and picture of the sun. That’s what it felt like to love her, warmth.”
– Atticus

Follow me on Pinterest and Instagram for more fun ideas!

Unicorn Valentine Printable

Unicorn Valentine Banner

Right now Avery is OBSESSED with everything unicorn. Anytime she spots something at a store with a unicorn on it, she ogles at it like it’s a lost baby kitten and is convinced it was made for her. So to no surprise, this year we decided to create Valentine’s Day cards with this mystical creature – and just the right amount of sparkle!

Since Valentines these days usually come with a fun favor attached to them, I purchased cute unicorn fans to include with Avery’s. Some other ideas if you are interested in adding a favor (which you can either tie on, attach with double sided tape, or use a fun glitter or unicorn Washi tape)…

Based on whichever size you would like, click on the above image to download and start creating your own magical Valentines!

Related: DIY Heart Breaker Valentine’s Day Cards

“Always be yourself, unless you can be a unicorn. Then always be a unicorn.”

DIY Darth Vader Costume for Girls

DIY Darth Vader Star Wars Costume for Girls with Free printable chest plate iron-on - projectsinparenting.com

When planning our trip to Disney World, I mentioned to the kids that sometimes people dress up as their favorite characters and showed them some pictures. Avery immediately shouted “I want to be Darth Vader!!”. Coming from a girl that plays with a 4ft tall Stormtrooper like it’s a doll (singing him lullabies and tucking him in for bed) this came as no surprise. I decided to take the challenge and come up with something that has a little bit of Disney Princess flair.

I purchased a black leotard and tutu from Amazon and created the below chest plate.

DIY Darth Vader Star Wars Cosume for Girls FREE Printable Chest Plate

I used Dark T-shirt Transfers, printed the chest plate on a sheet, and ironed it on the leotard following the given directions (Note: It is not recommended to print on fabric that stretches like the leotard, however I was happy with the results).

Click HERE for free printable chest plate (to scale for girl’s leotard).

The force is strong with this one…

DIY Darth Vader Star Wars Costume for Girls - projectsinparentingDIY Darth Vader Star Wars Costume for Girls (2) - projectsinparentingDIY Darth Vader Star Wars Costume for Girls (4) - projectsinparentingDIY Darth Vader Star Wars Costume for Girls (3) - projectsinparenting

Happy Star Wars Day! May the force be with you.

DIY Heart Breaker Valentine’s Day Cards

heart-breaker-valentine-banner

‘Tis the season for roses, hearts, Cupid and the age old tradition of spreading love with thoughtful Valentine’s Day cards!

Avery is currently obsessed with decorating herself in adhesive bandages, like they are a fashion accessory – so I picked up some holiday themed bandages to use for her classroom Valentines (one of many amazing finds at the Target Dollar Spot!). I created and printed the below Heart Breaker Valentine’s Day Cards and attached the bandages with double-sided tape.

heart-breaker-valentine
Click HERE to download free printable.

Now my adorable little heart breaker is ready for her 1st Valentine’s Day celebration at school.  🙂

Related: Mermaid Valentine Printable
Related: Unicorn Valentine Printable

Stained Glass Sun Catcher Leaf Craft

stained-glass-sun-catcher-fall-leaf-craft-for-kids-projectsinparenting

A couple of years ago, we had to remove most of the trees around our property due to Ash Borer. Now we hardly have leaves in our yard during Fall. Seriously, this is the leaf “pile” the kids were playing in yesterday…

IMG_0405.JPG

The kids had a blast – but without a ton of leaves, it hasn’t felt much like fall (to me anyway). So I decided to create a fall-themed craft to set the mood for the autumn season. My boys loved the Stained Glass Sun Catcher Ornaments we made last winter, so I created a similar craft using a leaf shape… Super-easy, no-mess, and perfect for all ages!

To get the project ready, print any of the following leaf shapes:
leaf 2.jpg
CLICK THE FOLLOWING corresponding leaf for free PDF printable:
Maple
Magnolia
Oak
Oak 2
Redbud

Cut out the CENTER of the leaf shape with an X-Acto knife or scissors.
img_0221

Prepare colored tissue paper by cutting them into squares.

img_0223

Note: I separated the tissue paper squares into coordinating cup colors for easy selection. I’m not pointing this out to show how overly organized I can be, I’m sharing this to show one of the MANY ways I’ve re-purposed the cups provided in our Easter egg dying kit – Great cups to save and reuse!

Adhere a piece of contact paper to the FRONT of your pre-cut leaf print-out, covering the entire outline. (Don’t have contact paper? Packaging tape works as a wonderful substitute!) Then lay the paper down, sticky side up.
img_0222

Now it’s time for your little artist(s) to decorate their leaf… Have them select their tissue paper pieces, and press them down onto the contact paper.
img_0484img_0459

When complete, seal the back with another piece of clear contact paper. Trim around the outside of the leaf shape with scissors and tape or hang your masterpiece in a window to enjoy the beautiful stained glass colors!
img_0481

Related: Fall Leaf Lantern

DIY Lion Guard Costumes

diy-lion-guard-costumes-projectsinparenting-com

Months ago, Jacob told me he wanted to be Kion from The Lion Guard for Halloween. To no surprise, Evan and Avery wanted to team up with him as Beshte and Ono to help defend the pride lands!

For Kion and Beshte, I used orange and grey footed pajamas from footedpajamas.com (while also scoring a 15% off coupon from Retail Me Not – deals rock!). I attached red and black craft fur that I got from Michael’s Craft store (also available online at Amazon or Walmart) for hair, and used fleece fabric to sew on ears and a tail.

For Beshte, I designed a mask and created this TEMPLATE to make it into a fabric mask using felt squares and Stitch Witchery. Seriously, this stuff is AMAZING! All you have to do is cut the Stitch Witchery to shape and iron your fabrics, bonding them together – no sewing required! (Note: I cut the eyes out after bonding all the materials together to make sure the fabric was even)

For Ono, I purchased a white leotard from Amazon and created wings and a tail, using fleece fabric (Fleece is great for this purpose since it does not fray at all). The leotard fabric and skinny arms were a bit difficult to work with, so I chose to use a combination of Velcro and sewing to attach the wings. To give the tail a more 3 dimensional look, I sewed in pipe cleaners between the two tail fabrics.

diy-ono-costume-wings-and-tailSimilar to Beshte – I designed an Ono mask for Avery and created a TEMPLATE so I could make a fabric mask, using felt squares and Stitch Witchery.

diy-ono-mask

diy-ono-costume-frontdiy-ono-costume-back

To complete their costumes, The Lion Guard needs their badge of honor – so again I used my trusty Stitch Witchery to fuse the symbol (from felt squares) to each costume’s left arm. Tip: After printing out this TEMPLATE, I cut out the shapes with an X-ACTO knife, and chalked out a mirror image as a stencil.

lion-guard-badge-for-diy-costume

Now my little protectors of the pride lands are ready to roar on Halloween!

diy-lion-guard-costumes

Related: See Paw Patrol and Ghostbusters costumes.


Exploring Colors for Preschoolers

exploring-colors-for-preschoolers-projectsinparenting-com

Mix It Up! by Hervé Tullet has been a long-time favorite book in our house. A truly brilliant and engaging way to introduce the idea of mixing colors. One of the best parts = The kids can mix colors, over and over again, without the actual mess of paint! Another great book to compliment this read is The Wonders of the Color Wheel, by Charles Ghigna. Similar to Mix It Up!, this book explains color combinations, but also touches upon the categorization of primary and secondary colors.

While paint seems to be the most logical activity for hands-on learning of mixing colors, I’ve found that (specifically when working with toddlers) the secondary colors never come out quite right. For example, when attempting to mix the bright green of a shamrock, we end up with more of a brownish-green that looks like rotting seaweed 😦

To make things a little easier (and more accurate), I’ve come up with a few other mediums that are great for exploring colors with kids…

1. Mixing Colored Water

water-color-exploring

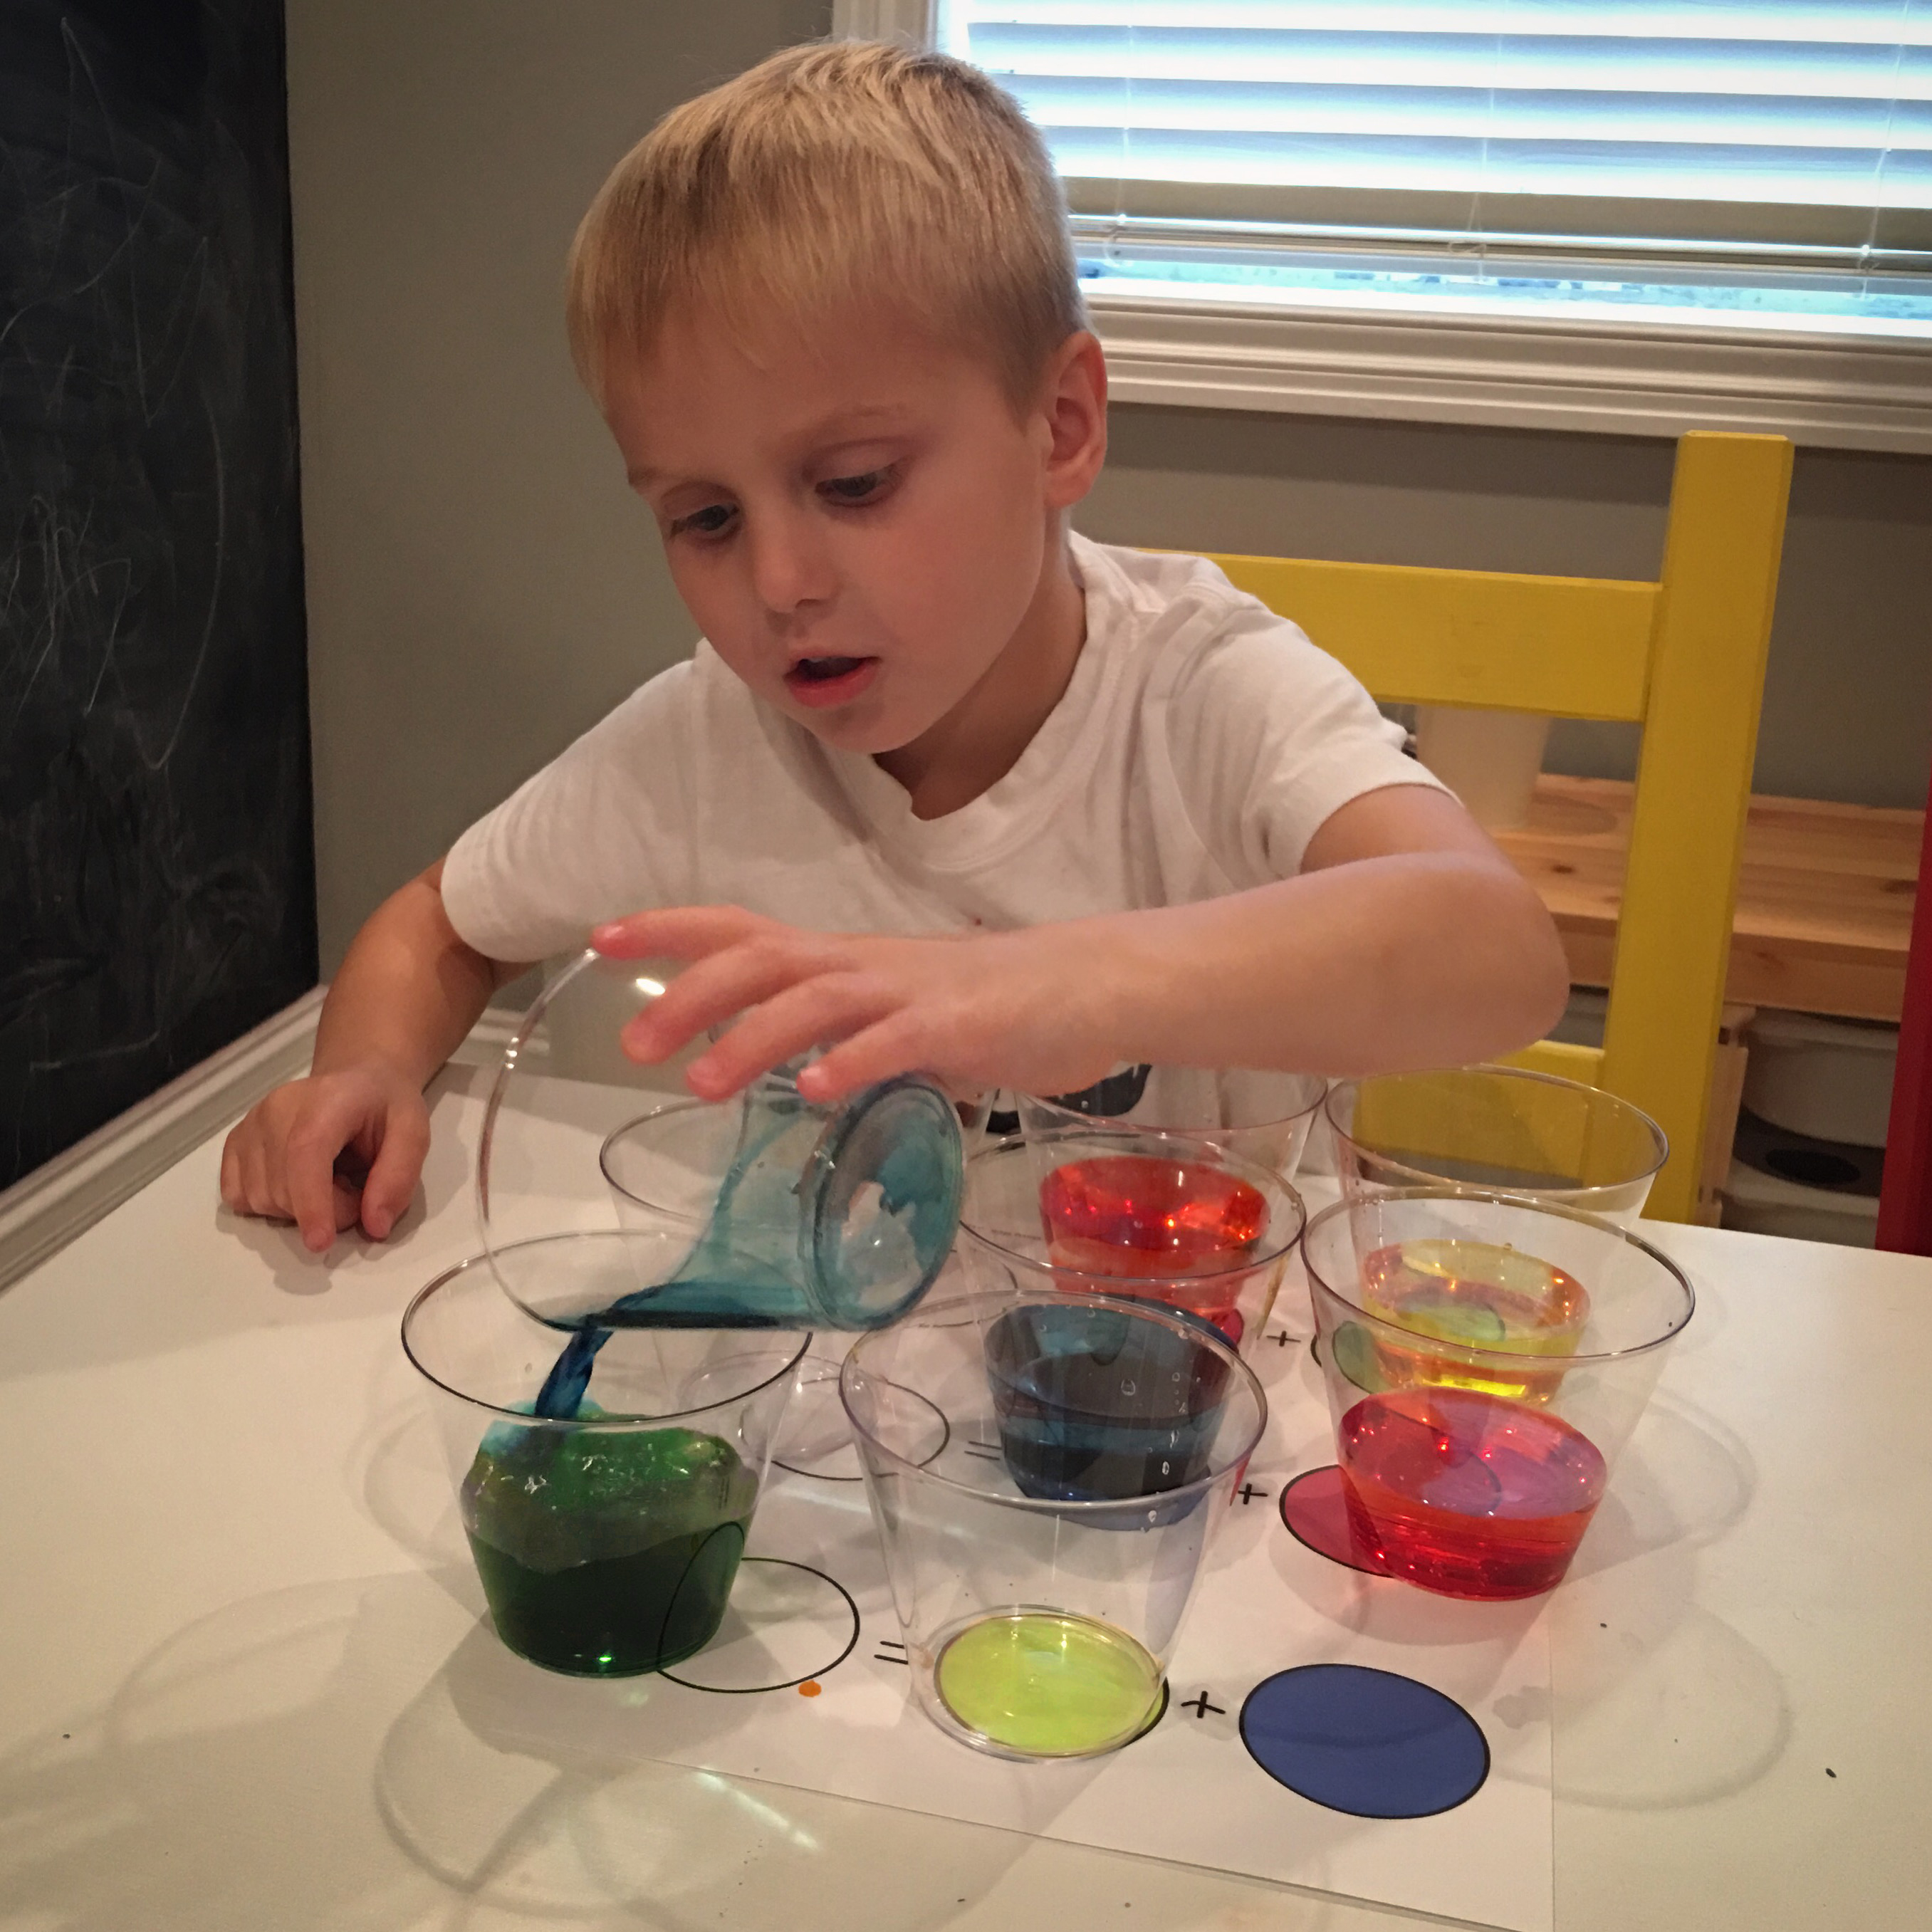
I filled plastic cups with water and used food coloring to dye the cups in correspondence to this Color Math Printable. The boys then poured the 1st two cups in each row (primary colors), into the last empty cup, to create the secondary colors (green, purple & orange).

2. Play-Doh Color Wheel

play-doh-color-mixing-color-exploring-activity-for-preschool

Using the primary colors of Play-Doh (blue, red & yellow), the boys mashed and rolled small pieces together to create each secondary color (green, purple & orange), and place them on their Color Wheel Printable.

3. Overlaying Transparency Colors

magnatile-color-exploring

Using the primary colors of Magnatiles, the boys held the tiles up to a window, overlapping them to discover each of the secondary colors. If you don’t have Magnatiles, any form of color transparencies can work.

Thanks for visiting my blog! For more fun kids’ activities and free printables, follow me on Pinterest and Facebook.

“The ones who are crazy enough to think they can color the world are the ones who do”
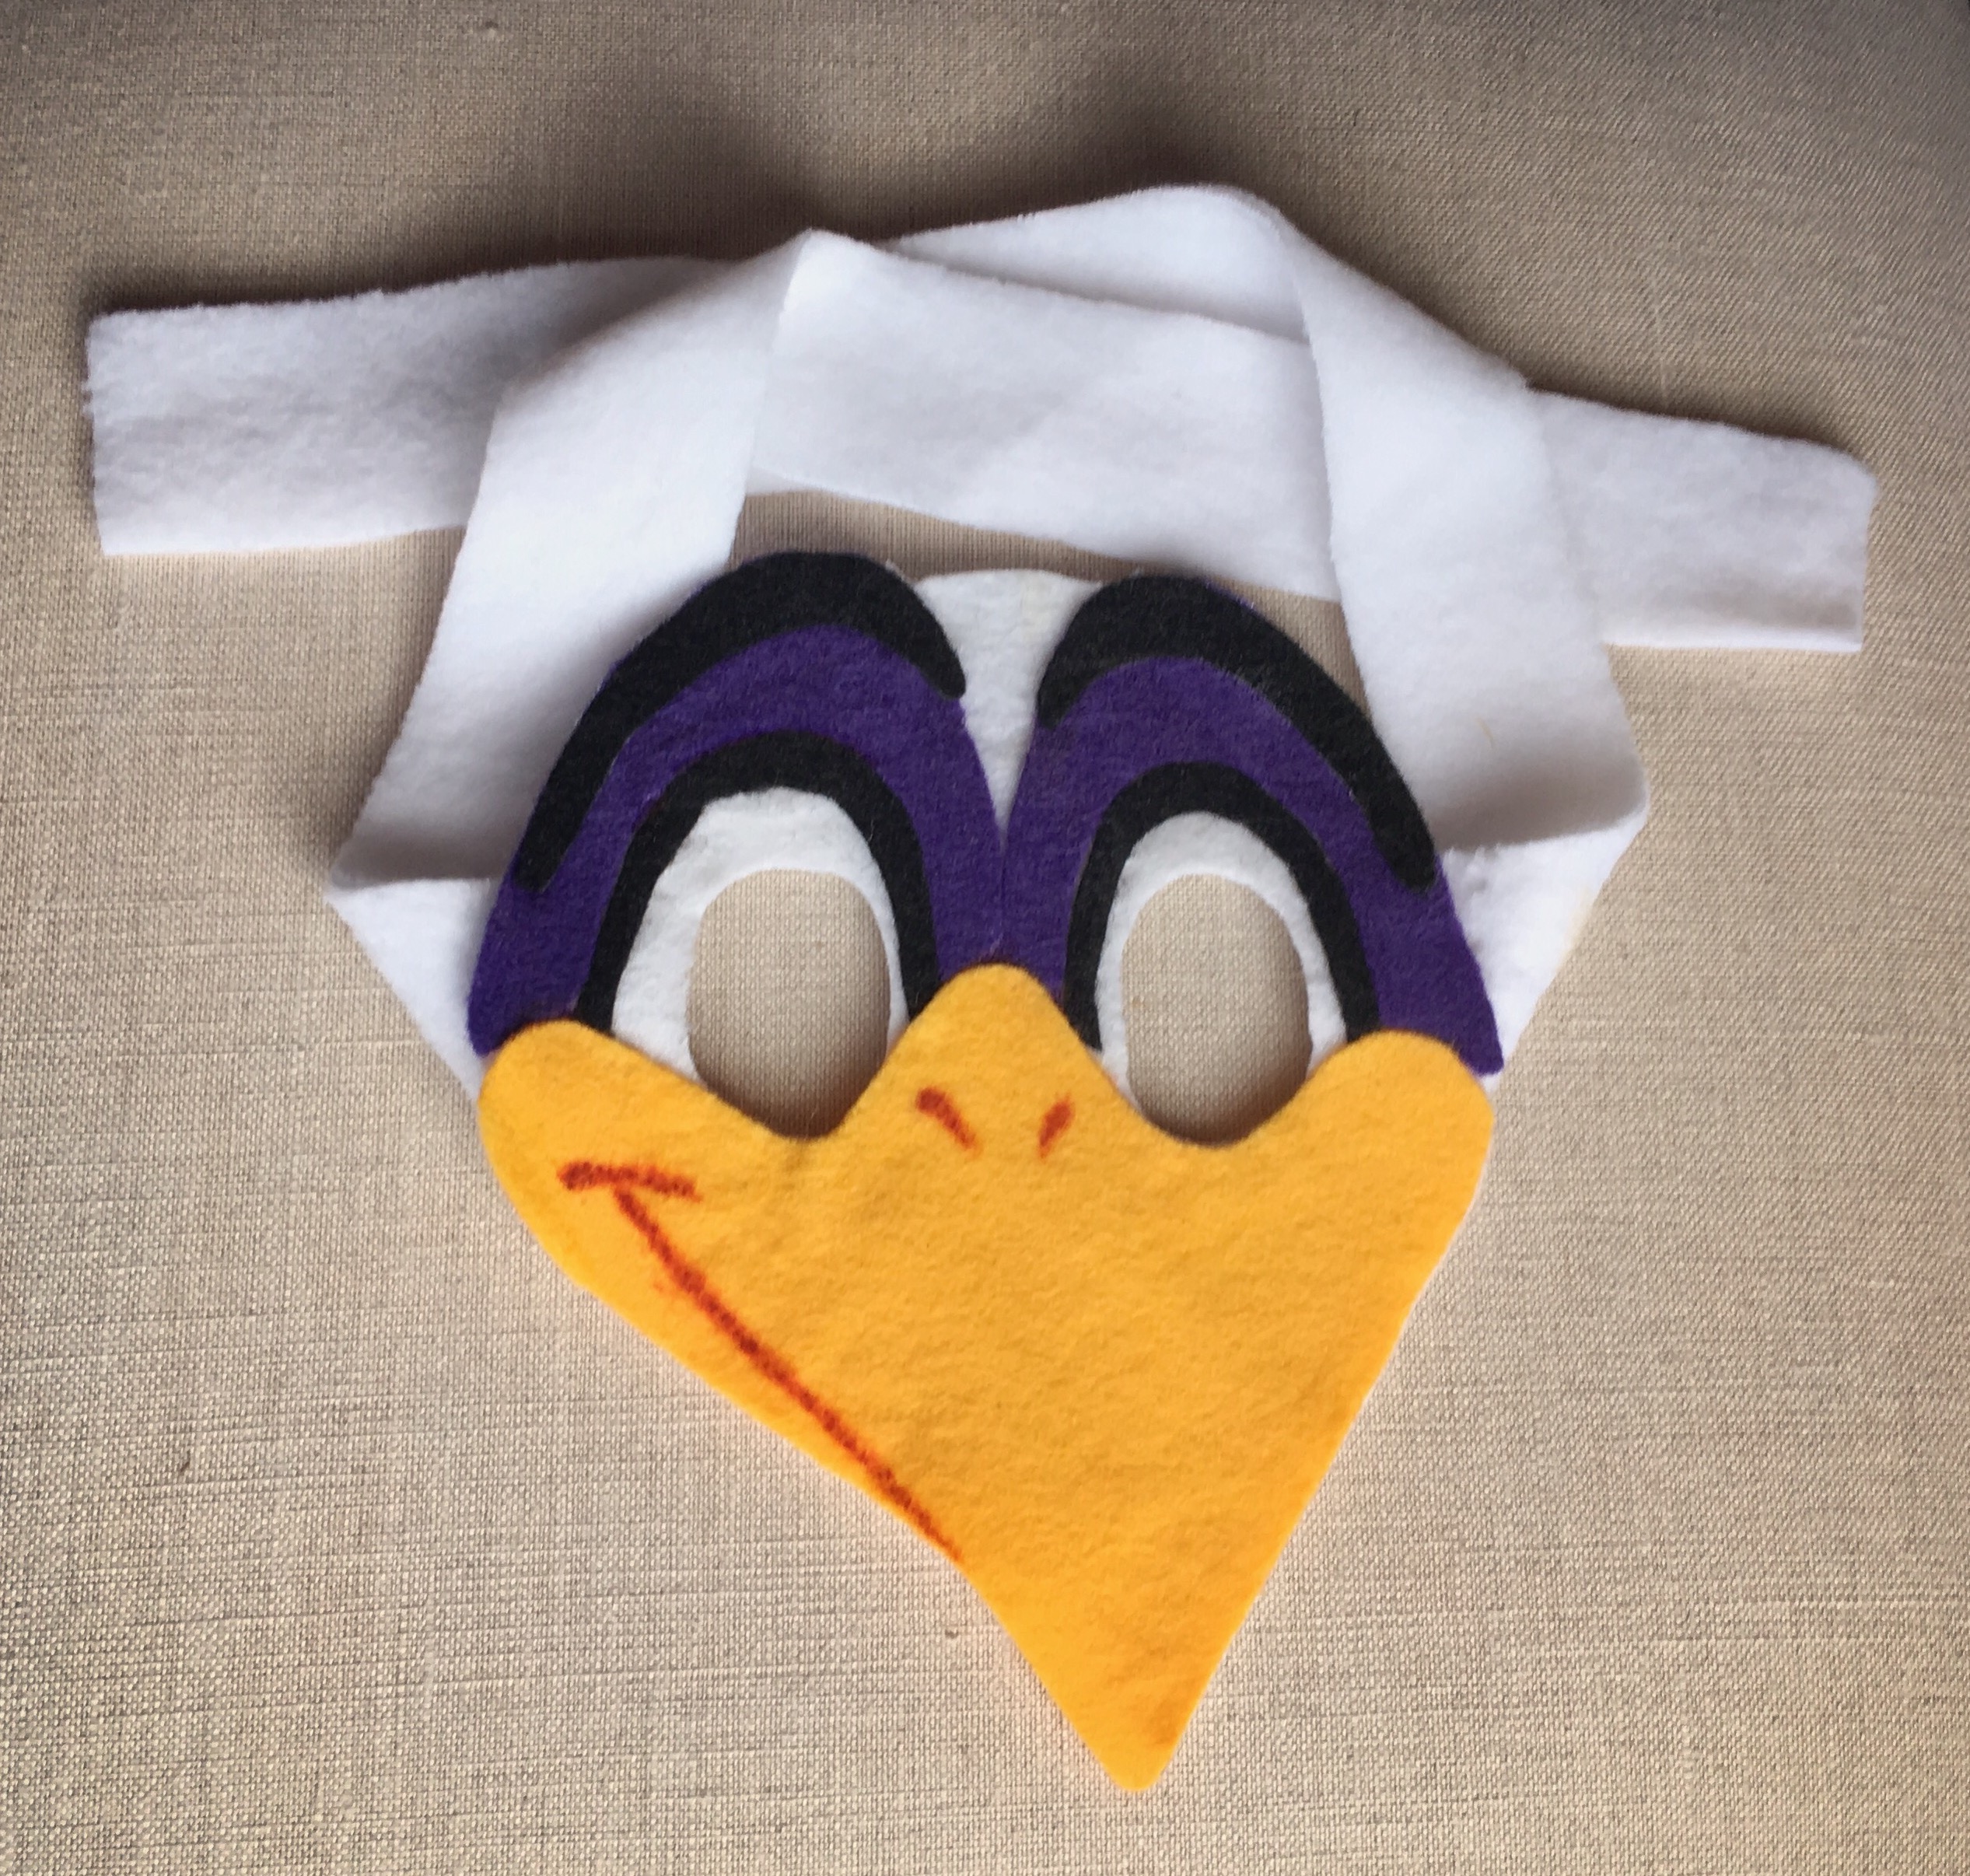
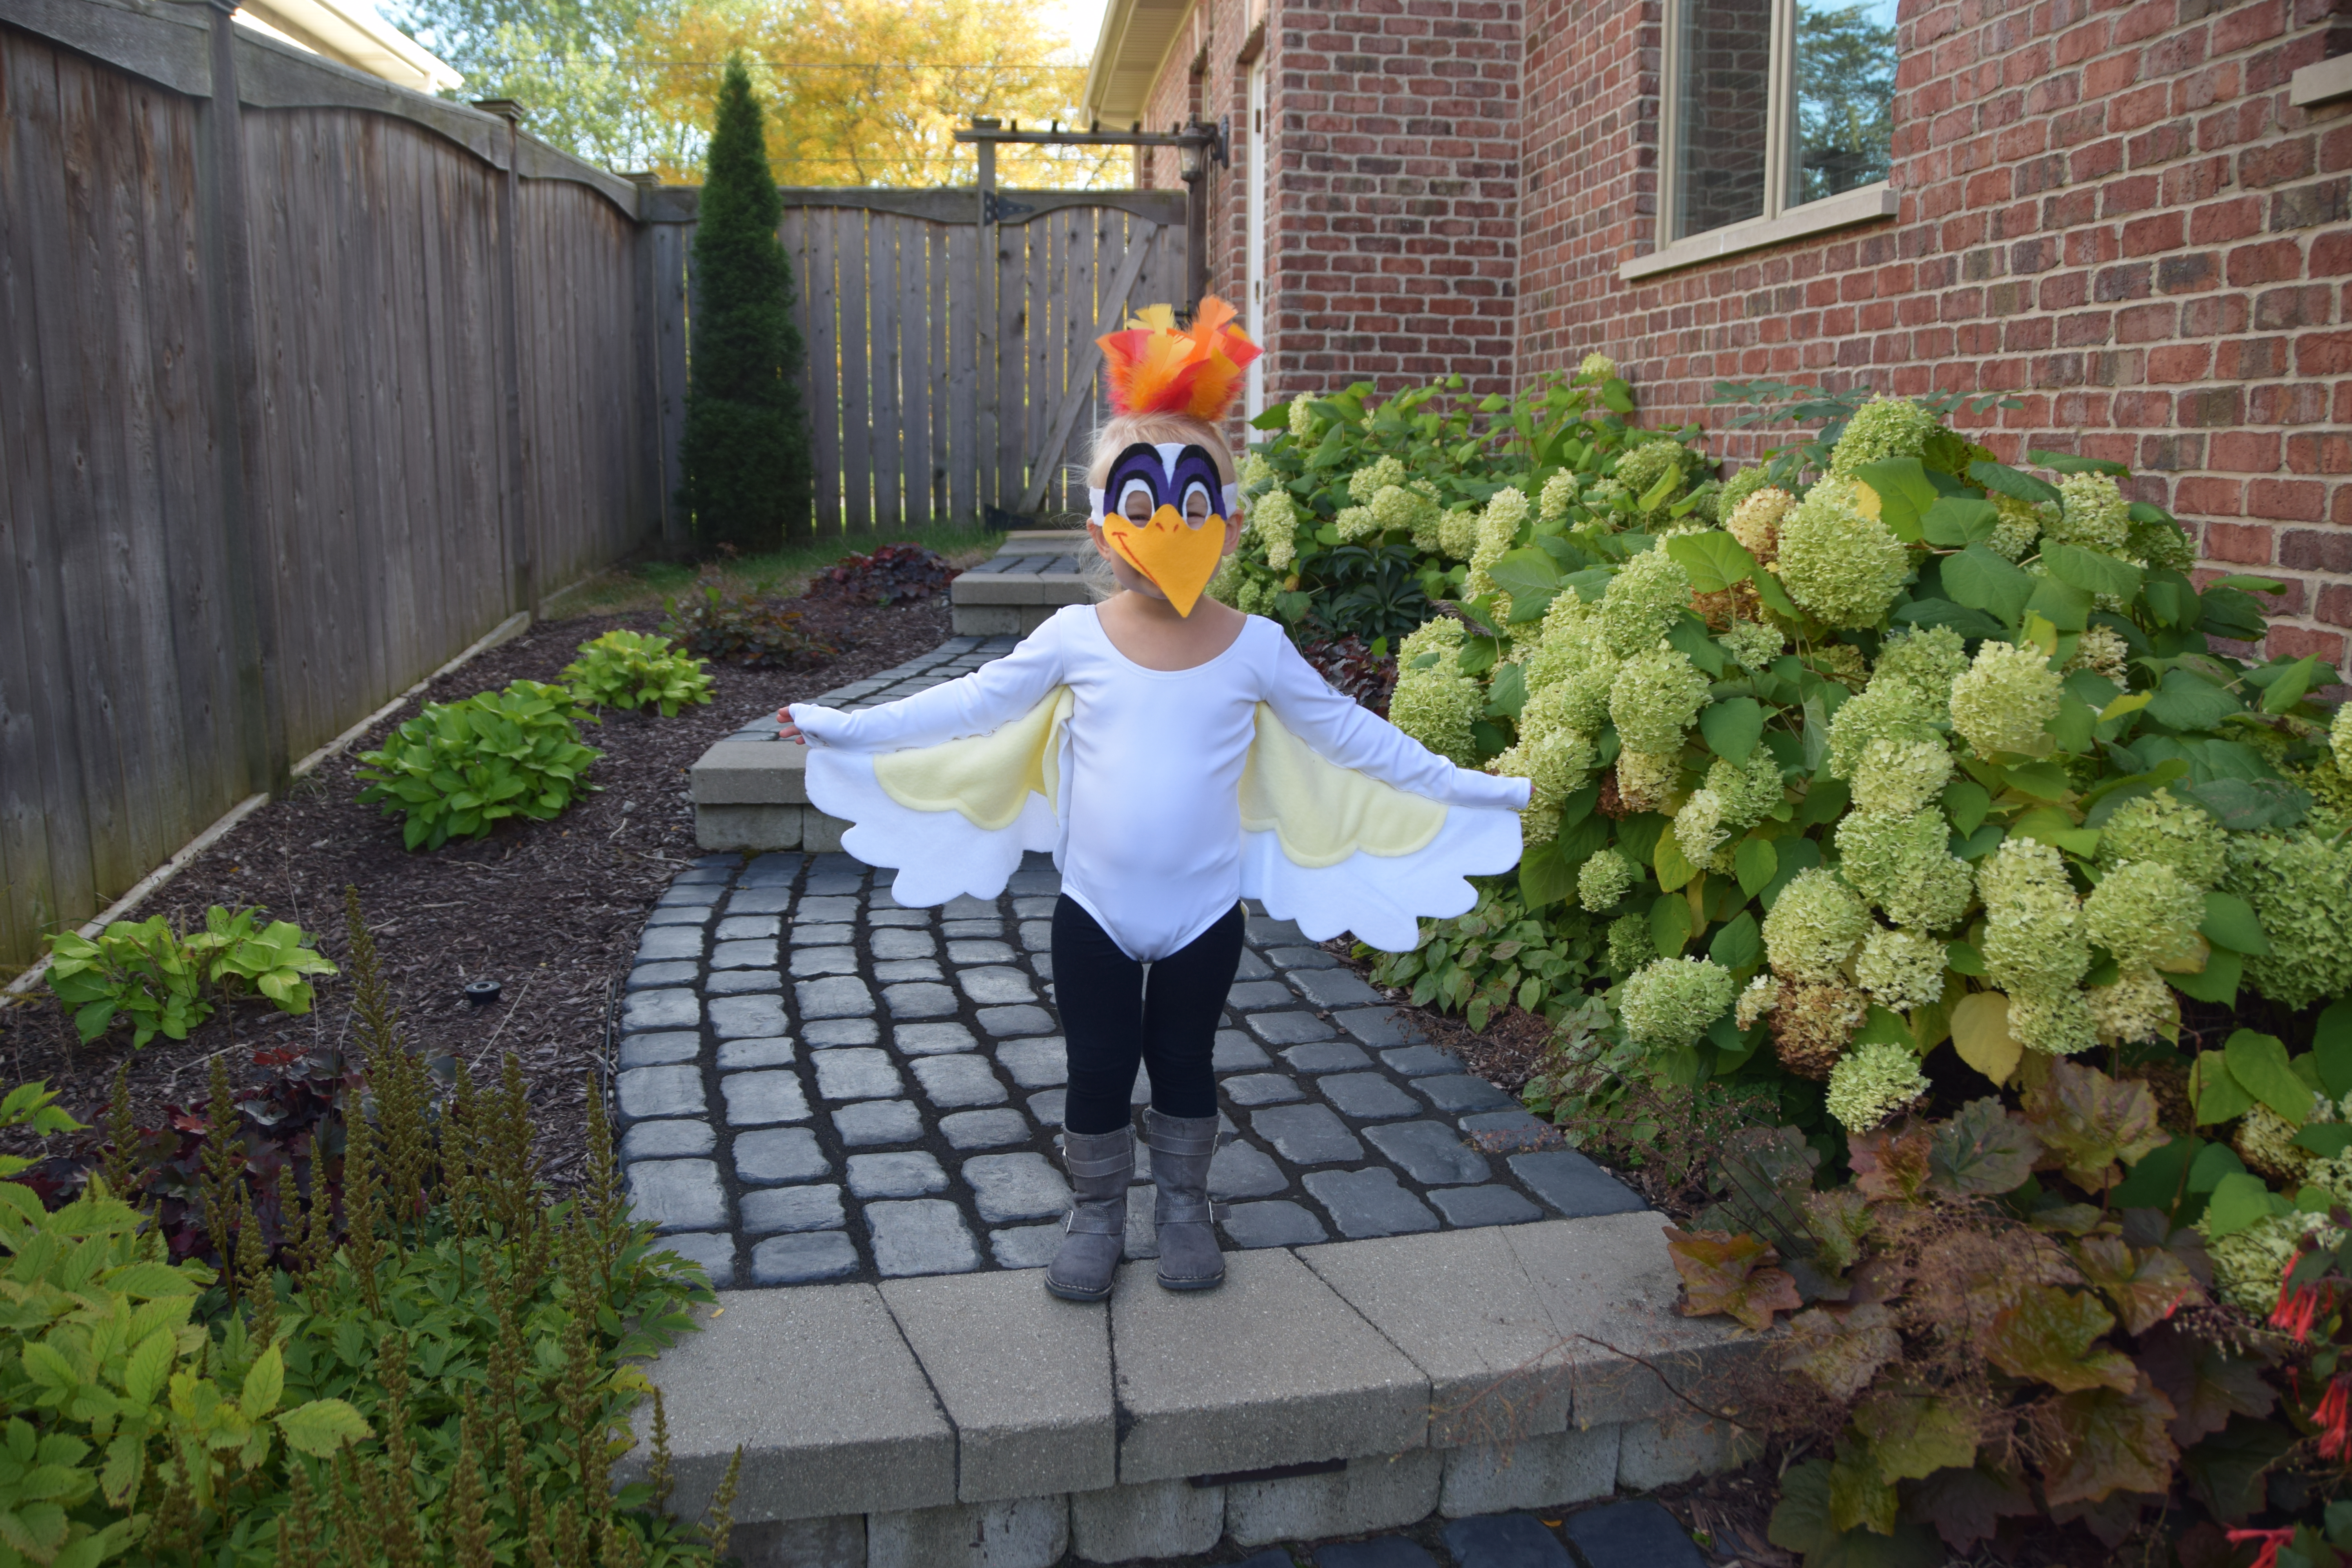
Weekly Calendar

Weekly Calendar Banner 2 - projectsinparenting

Shortly after the boys turned 2 years old, they started finding Cory or I in the mornings and asking, “Is Dad home all day?”. If the answer was “no”, I often times had two crying kids on my hands. Understandably (in their minds), they were upset that Cory had to run off to some unknown “work” place, instead of staying home to play with them. Unfortunately for me, I had to break this news to them every Monday through Friday and they would be super angry with me – like it was MY choice which days Cory went to work.

While it was neat watching them realize the concept of days, I wanted to avoid the unnecessary tantrums and help them understand their schedules better. As a visual person myself, I decided to put together a weekly calendar *showing* them which days Dad was “home all day” (by putting a picture of Cory’s face on Saturday and Sunday). I printed out the calendar, put it in a sheet protector, and hung it on their bedroom door with a clothespin to mark the current day. Each morning, they would wake up and move the clothespin to the new day.

Both Jacob and Evan responded to the calendar extremely well, so I started adding images for almost everything – doctor’s appointments, swim class, holidays, etc. The boys quickly started understanding weekends vs. weekdays and were excited when something new would pop up on their calendar. Although our weekly events pretty much stayed the same, when I knew a holiday or special event was coming up, I would print the future week in advance and simply slide the sheet behind the current week (in the sheet protector) so that it was ready to go.

Avery is 2 years old now, and starting “toddler school” this week, so I started using the weekly calendar for her. She is loving the new responsibility of updating her marker for each day, and super excited for her 1st day of school. No more tantrums and full cooperation for the day’s activities (well, most of the time anyway). Either way, a definite WIN!

Weekly Calendar - Thumbnail Weekly Calendar Clipart - Thumbnail

Related Posts:

DIY Magnetic Daily and Weekly Chore Chart - projectsinparenting.com   Color-Coded Beginner Piano Music Book Banner   Encouraging Kindness with Bucket Filling Gem Jars

“December is here before its June. My goodness how the time has flewn. How did it get so late so soon?” – Dr. Seuss

DIY Children’s Artwork Canvas Tote Bag

DIY Childrens Artwork Canvas Tote Bag

Homemade gifts are the sweetest and it doesn’t get much more adorable than children’s artwork – so this year for Mother’s Day, I worked with my sister in-laws to have each of the 8 grandchildren create a special piece for their Nana.

Each drawing/painting was created in a square format. I then took a photo of each masterpiece (Note: For best results, shoot outside in full sunlight), and used Diptic to group the photos into two sets of four with equal dimensions. This app also makes it super easy to create a fun colorful border, complimenting the kids’ artwork.


After combining the artwork into two collages, I printed each as a MIRROR IMAGE onto Fabric Transfer Sheets, then ironed them onto each side of a Canvas Tote Bag. (I stress “mirror image” because, regardless that it’s clearly on the instructions, I have forgotten this step on numerous occasions – trust me, you’ll want to save yourself the frustration)

Voila! Straight from a child’s heart and imagination… A one-of-a-kind, reusable tote, made especially for Nana. 🙂

“Mothers hold their children’s hands for a short while, but their hearts forever.”

To all the amazing moms out there – you are loved and appreciated today and every day… Happy Mother’s Day!!

Save