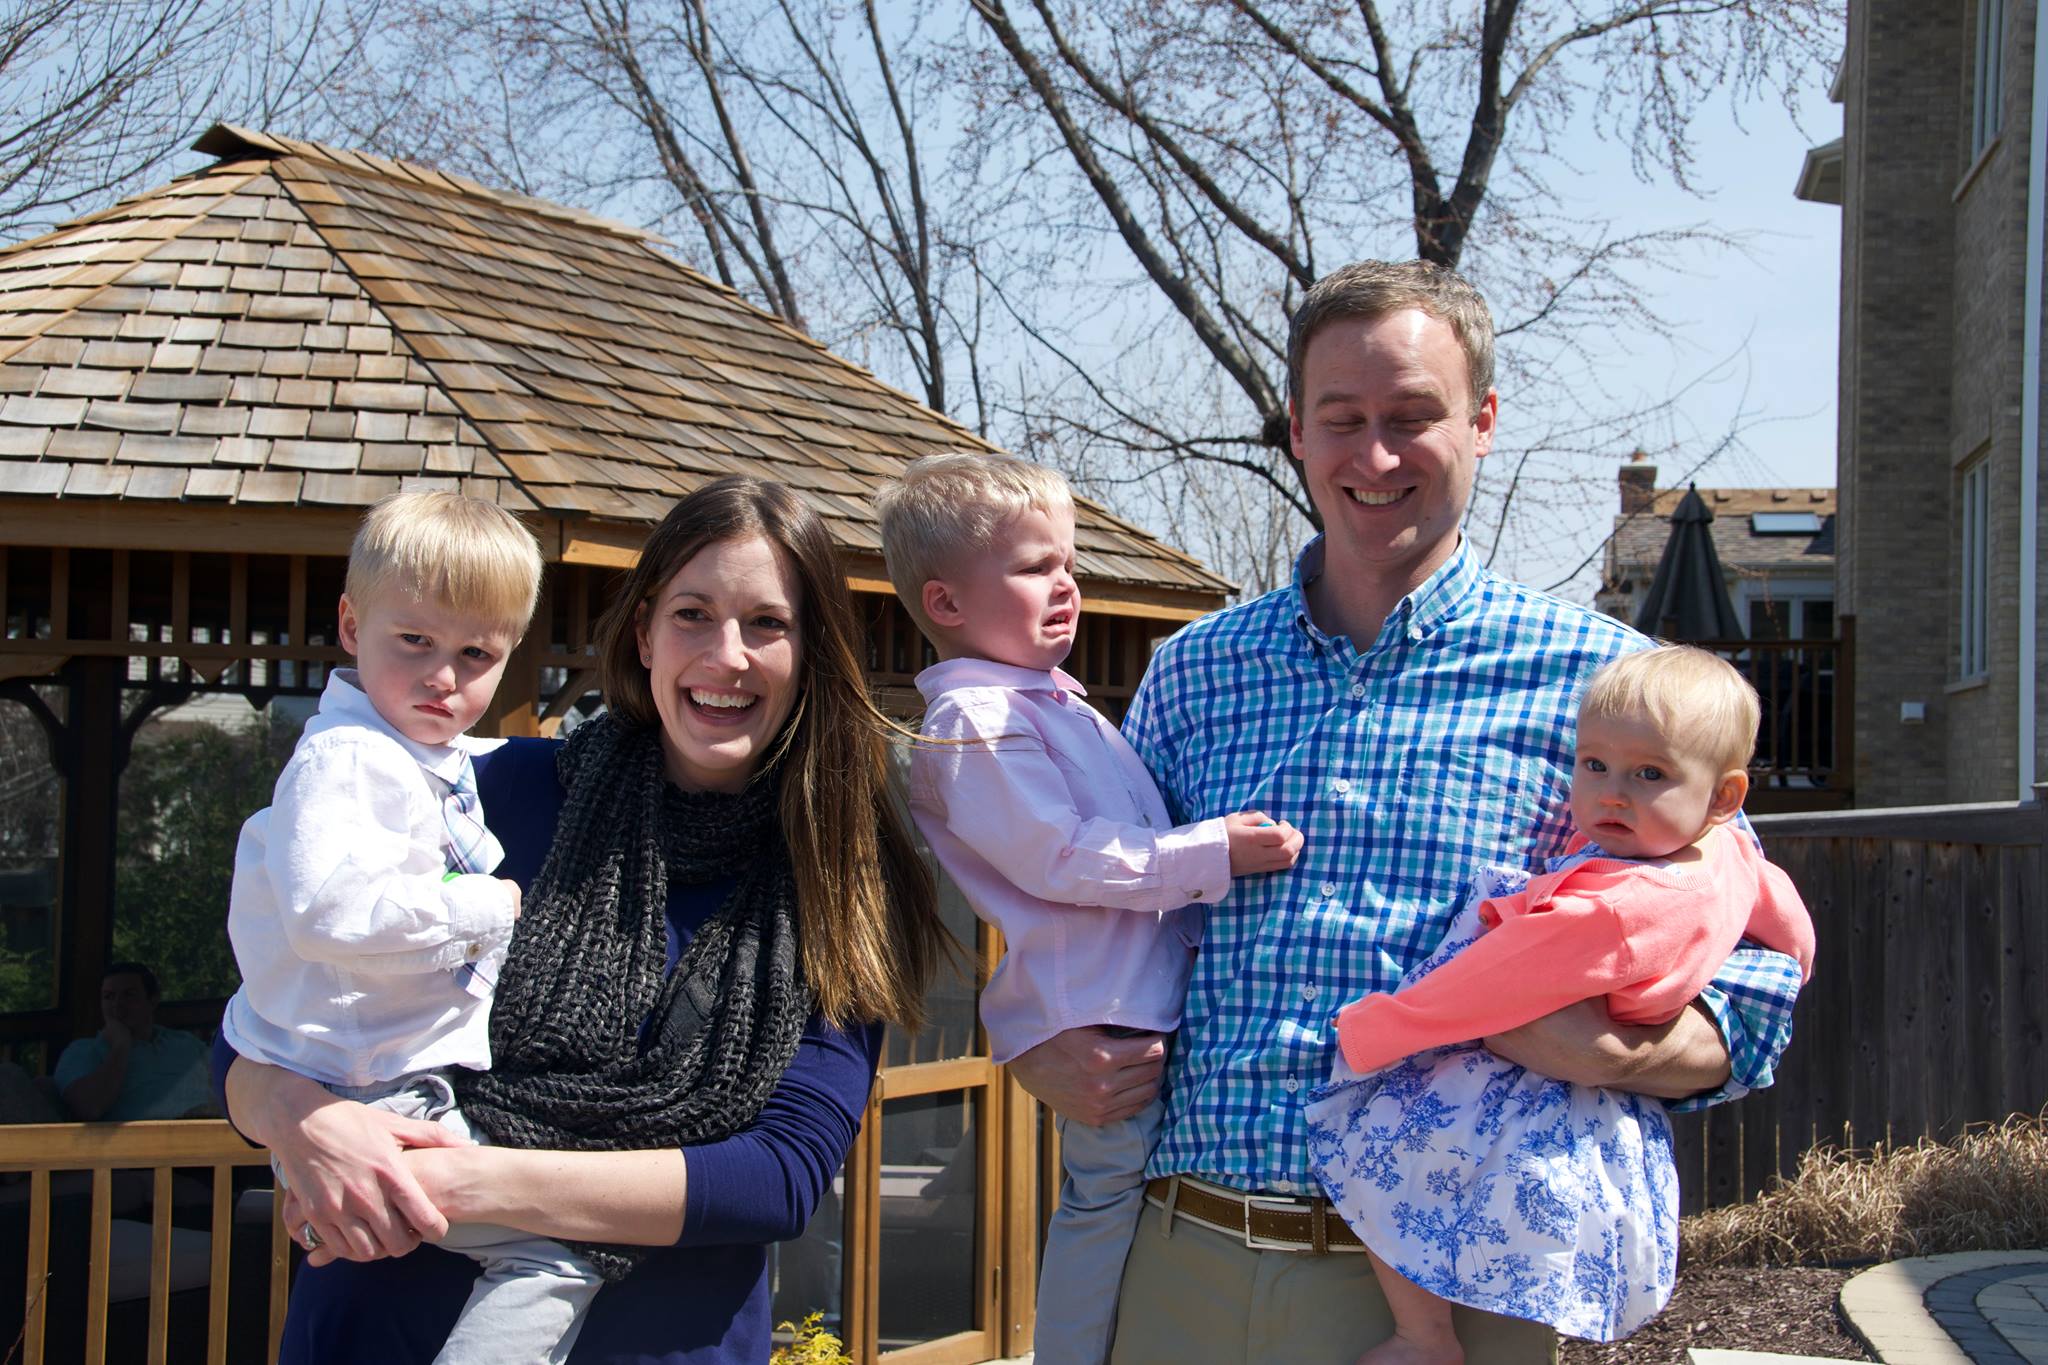
Thanksgiving Activity Placemat

My son Jacob and I were talking about Thanksgiving coming up and he tells me “I’m looking forward to your activities”. I paused, not understanding what he was talking about and asked “What activities?”. He replies, “Like your Thanksgiving Joke Teller“….. While I was happy he appreciated my efforts last year, I felt bad I hadn’t come up with anything new for this year. Not wanted to let him down, I decided to design a Thanksgiving-themed placemat with fun activities including a maze, word search, how-to-draw and one of their favorites – a secret decoder message to solve!

Click HERE to download the Thanksgiving Activity Placemat Printable from my Etsy Shop.

Advertisement

Llama Valentines

We visited Utah a couple of years ago and took a day hike with llamas at Capitol Reef Resort. Avery got paired up with Woody (the smallest and sweetest of the bunch) and absolutely FELL. IN. LOVE. She lead Woody on our hike with the confidence of a well-seasoned backpacker, and soaked up every minute of the 5 mile trek.

Since our trip, she understandably has become llama-obsessed and learned about alpacas as well. After discovering they are smaller than llamas, she concluded they are “even more adorable!” and decided alpacas are her new favorite animal – with llamas as a close second. 😉

Avery asked if I could make llama-themed Valentine’s Day cards for her class celebration this year, so we brainstormed some options and I showed her a few cute favor ideas from Amazon:

  1. Llama and Alpaca Straws
  2. Alpaca Pens
  3. Llama Bookmarks
  4. Llama Alpaca Stamps
  5. Llama Alpaca Stickers
  6. Alpaca Backpack Keychains
  7. Llama Notebooks
  8. Llama Alpaca Stickers
  9. Alpaca Rings
  10. Llama Alpaca Temporary Tattoos

She chose the llama bookmarks and we clipped them on to Valentines we created.

Click on the below image or HERE to purchase the printable Llama Valentine from my Etsy Shop. Purchase i-Clips Magnetic Llama Bookmarks: HERE

This image has an empty alt attribute; its file name is llama-valentines-pip-thumbnail.jpg

If you love llamas and have a chance to visit Utah, I highly recommend checking out Capitol Reef Resort. Staying overnight in their covered wagons was a one-of-a-kind, unique experience. We had such a blast and walked away with memories to last a lifetime.

New Year’s Eve Activity Sheet

As a simple New Year’s Eve activity for the kids, I created this printable activity sheet. Similar to a restaurant kids menu, I thought they can work on this at dinner. Figured it will give them a holiday themed challenge, as well as some fun topics to discuss. 🙂

New Years Eve Printable Thumbnail

Click on above image or HERE to download free printable.

Happy New Year!

“Tomorrow, is the first blank page of a 365 page book. Write a good one.” ― Brad Paisley

Halloween Party Games

Halloween Party Games with FREE Printables - projectsinparenting.com

I volunteered as Room Parent for the first time this year and found out I’ll be rolling solo. At first I got nervous, realizing a seasoned Room Parent wasn’t going to take me under their wing and show me how to throw a class party. Then I realized it’s probably a great thing because it allows me to get creative and come up with new and fresh ideas!

Since Halloween is my favorite holiday, I couldn’t be happier it’s my first class party to plan. Ghosts, zombies, vampires, mummies and witches – what’s not to love?? In the *spirit* of coming up with unique ideas, I created these spooktacularly fun and simple DIY games…

Zombie Ball

Rules: 2+ players race to knock down a row of zombie-themed water bottles, using only a ball dangling from a stocking on their head.


IMG_8363IMG_8367IMG_8371

Preparation: Using these FREE Printable Plants vs. Zombies inspired labels –  I wrapped them around the water bottles (sized to Ice Mountain), adhered them over the existing labels using double sided tape, and sealed the two ends together with packaging tape (which happened to be the perfect width for the seam). To knock down the zombies, I used these black stockings stuffed with an old tennis ball.

CLICK HERE for FREE Printable Zombie Water Bottle Labels.

Frankenstein Fishing

Rules: Players take turns catching Frankenstein Fish. Each fish has a letter on the back, which the players use to work together and come up with as many Halloween themed words as possible.

IMG_8400.jpg

Preparation: I used this Frankenstein Fishing Printable, cut out the rows of fish and attached a paperclip to each tail. I then used contact paper to laminate them for extra durability, and cut out the shape of each fish. For catching the fish, I used a magnetic fishing pole I happened to have.

IMG_8398.jpg

CLICK HERE for FREE Printable Frankenstein Fishing Word Scramble.

Skull Toss

Rules: Players toss mini skulls into 3 black jack-‘o-lantern buckets, each containing a prize. I used spider rings in the 1st, vampire fangs in the 2nd, and glow in the dark bouncy balls in the 3rd (each player receives only one from each bucket).

IMG_8377IMG_8383


Halloween How-to-Draw

This will be a drawing station where each student receives a pumpkin drawing pad and skeleton pens (Thank you Target Dollar Spot!) along with a packet of Halloween themed How-to-Draw sheets – like this easy to follow Haunted House from Art Projects for Kids. Google and Pinterest are great for more resources!

IMG_8375.jpg

Now that my planning and game creation is complete – I have 2 days till the Halloween Party… Wish me luck!

Related: Room on the Broom Inspired Scavenger Hunt

“Zombies – They love you for what’s on the inside.”


Continent, Country & Flag Identification

Color Coded Continents Countries and Flags Puzzle Identification - Hands on Learning - projectsinparenting.com
Since my boys were 3 years old, this US Foam Puzzle has been a favorite go-to of theirs. At 1st it was just fun for them to put together, but as they got older it became a great learning tool. They are now familiar with most US states, their shape, general location, as well as some facts we’ve learned along the way.

Jacob has been asking about the difference between city, state, country and continent lately, so I wanted to come up with a hands-on way for him to understand the bigger picture. Since they enjoyed the other foam puzzle so much, I decided to purchase this World Map Puzzle with Flags & Capitals. Understandably due to size constraints, it doesn’t include EVERY flag in the world. If it did, I think that would be too overwhelming anyway. The puzzle has a total of 65 flags (based mainly on country size) which seems to be the perfect start.

imagimakemapologywithflags

The foam puzzle, flags and map provided are great. Unfortunately there is no ‘key’ to know where each flag goes. I was able to figure it out using the original sticker sheet, but both Jacob and Evan were at a complete loss putting the puzzle together without my help. To give them the independence of easily figuring it out on their own, I created a color-coded diagram showing all of the 65 flags and the corresponding country by continent. I also made a color-coordinating continent map for easy reference.

Click on image below for FREE Printable:

Hands-on Learning, Color Coded Continents, Countries and Flags - projectsinparenting.com
Hands-on Learning - Color Coded Continents, Countries and Flags - projectsinparenting.com

Once I gave them my diagrams (other than some adorably incorrect pronunciations) – easy peasy. Both Jacob and Evan were able to correctly identify 65 flags, place them in their corresponding country, and understand which continent they belonged to as well!

image2

I have no doubt this puzzle will be another one of their favorites – learning more as they grow and discovering new things each time they complete it.   🙂

Related: Color-Coded Beginner Piano Music Book
Related: Constellation Sticker Craft

“Without geography, you are nowhere.”

DIY Children’s Artwork Canvas Tote Bag

DIY Childrens Artwork Canvas Tote Bag

Homemade gifts are the sweetest and it doesn’t get much more adorable than children’s artwork – so this year for Mother’s Day, I worked with my sister in-laws to have each of the 8 grandchildren create a special piece for their Nana.

Each drawing/painting was created in a square format. I then took a photo of each masterpiece (Note: For best results, shoot outside in full sunlight), and used Diptic to group the photos into two sets of four with equal dimensions. This app also makes it super easy to create a fun colorful border, complimenting the kids’ artwork.


After combining the artwork into two collages, I printed each as a MIRROR IMAGE onto Fabric Transfer Sheets, then ironed them onto each side of a Canvas Tote Bag. (I stress “mirror image” because, regardless that it’s clearly on the instructions, I have forgotten this step on numerous occasions – trust me, you’ll want to save yourself the frustration)

Voila! Straight from a child’s heart and imagination… A one-of-a-kind, reusable tote, made especially for Nana. 🙂

“Mothers hold their children’s hands for a short while, but their hearts forever.”

To all the amazing moms out there – you are loved and appreciated today and every day… Happy Mother’s Day!!

Save

Fall Leaf Lantern

While it can be difficult saying goodbye to long sunny days of summer, there are several things that help me embrace fall with open arms: sweater weather, boots, apple picking, Halloween, pumpkin spice, and of course the beautiful foliage. Thank you autumn, for one of nature’s best free kid toys – leaves! To bring some of these enchanting colors indoors, I decided to create fall leaf lanterns with the kids.

DIY Fall Leaf Lantern Kids Craft - projectsinparenting.com

SUPPLIES:
– Cardboard Goldfish Carton (or 1/2 Gallon Milk Carton)
– Box Cutter and/or Scissors
– Flameless Candle
– Contact Paper
– Hole Puncher
– String
– White Duct Tape (Optional)

INSTRUCTIONS:

Step 1: Collect leaves.Fall Leaf Lantern - projectsinparenting.com

Step 2: Using a box cutter, cut 4 rectangular sections out of each side of the carton.Fall Leaf Lantern - projectsinparenting.com

Step 3: (Optional) Use white Duct Tape to cover print on the carton.Fall Leaf Lantern - projectsinparenting.com

Step 4: Using scissors, cut contact paper into 8 rectangles that are just larger than the sections cut out of the cartons (my rectangles were 10×15 squares).Fall Leaf Lantern - projectsinparenting.com

Step 5: Adhere contact paper rectangle, sticky side out, onto the inside of each side of the carton and reinforce sections by taping each inside edge and corner.Fall Leaf Lantern - projectsinparenting.com

Step 7: Gently press leaves on each side of the carton’s contact paper sections.Fall Leaf Lantern - projectsinparenting.com

Step 8: Use remaining 4 sections of contact paper to cover each side of the carton, holding leaves onto the lantern.Fall Leaf Lantern - projectsinparenting.com

Step 9: Hole punch top of carton and tie string as a handle for the lantern. Create Duct Tape tab to hold lantern top closed.Fall Leaf Lantern - projectsinparenting.com

Step 10: Insert flameless candle.Fall Leaf Lantern - projectsinparenting.com

DIY Fall Leaf Lantern Kids Craft - projectsinparenting.com

Follow me on Pinterest, for more fun ideas!

DIY Dollar Store Proton Pack

DIY Dollar Store Proton Pack

Cory was channel surfing one night and happen to catch the last scene of the Ghostbusters. To no surprise, the boys were completely captivated and loved hearing the theme song at the end. When trying to come up with Halloween costumes, I decided to pitch the idea of being the Ghostbusters. I thought I would have to do some convincing, but Jacob and Evan immediately got excited, saying they couldn’t wait to “Toast the Stay Puft Marshmallow Man!!”… My inner child-of-the-80’s could not be more thrilled.

I ordered kids flight coveralls for their costume (UPDATE: Amazon NOW OFFERS KHAKI COVERALLS!!!) I then purchased Ghostbusters patches from Amazon. They sell individual name kits (Venkman, Spengler, Stantz, and Zeddemore), a pack of 4, as well as personalized name tags you can purchase with just the logo patch.

To make the proton pack, I used the following on-hand supplies:

    • Shipping Box, 13.5 x 10.5 x 5″
    • Black Spray Paint (Flat Black Paint+Primer)
    • Black Duct Tape
    • Industrial Strength Glue
    • Grey Craft Paint
    • Multi-colored Striped Ribbon
    • Black Strap Material
    • Printable Sticker Paper (or shipping label paper)
    • Red Sharpie
    • Glow Stick

And purchased the following items from the Dollar Store:

    • 7.5″ Round Plastic Container
      Round Container
    • 6.25 x 4.5″ Rectangular Plastic Container
      Rectangular Container
    • Blue Light Stick (or Similar)
      Blue LIght Stick
    • Yellow and Red Jump Ropes
      Yellow Jump Rope
      Red Jump Rope
    • 3-Pack of Bubbles
      Bubbles
    • Sound Tube
      DSC_0171
    • Water Bottle
      Water Bottle
    • Flashing Multi-Colored Light Stick
      Flashing LIght Stick
    • Oversized Pen
      DSC_0172

…Lots of lights and things that glow – Toddler approved!!

STEP ONE:
Spray Paint Set-up

  • Cut 4 circles from painter’s tape (I prefer Frog Tape) and stick them on the round plastic container.
  • Cover the light-up section of the blue light stick with painter’s tape.
  • Spray paint the following items:
    – Shipping Box (IMPORTANT: If you would like the red circles to light up, leave one side of box open so a glow stick can be inserted into the round container on day of use.)
    – Round Container (lid not needed)
    – Rectangular Container (lid not needed)
    – 2 bubble Caps
    – Water Bottle Top
    – Blue Light Stick
    – Sound Wand

STEP TWO:
Flashing Wand

  • Take apart the oversized pen.
  • Connect the tip of the pen to the flashing multi-colored light stick.
  • Insert the bottom of the flashing multi-colored light stick into the middle section of the oversized pen.
  • Wrap black Duct Tape around the bottom, to connect the wand with the pen and cover any non-black print.

STEP THREE:
Water Bottle Top

  • Paint the tip of the water bottle grey (I used craft paint)

STEP FOUR:
Red SharpieRed Sharpie 2

  • Remove painter’s tape VERY CAREFULLY from the round container (the paint around it peels up easily).
  • Color clear sections with red Sharpie (a thick Sharpie works best)

STEP FIVE:
Red Rope

  • Drill 2 holes into ONE of the bubble caps.
  • Cut a section of red jump rope.
  • Insert one end of the jump rope into the top of the cap, and feed it back through the other hole.

STEP SIX:
Blue Light Stick Cords

  • Cut a section of red and yellow jump rope.
  • Duct Tape rope pieces to the blue light stick (similar light stick found HERE).

STEP SEVEN:
Tape Light StickTape Light Stick and Ribbon

  • Attach blue light stick to the front, left side of the box with Duct Tape.
  • Cut section of striped, multi-colored ribbon.
  • Duct Tape ribbon to inside of rectangular container, twist the ribbon and attach other end of ribbon to the box with Duct Tape.

STEP EIGHT:
Glue Pieces

  • Glue all front proton pack pieces in place (round container, rectangular container, 2 bubble caps, and water bottle top). Note: Leave jump rope ends loose, so there is no tension on glued pieces.
  • Let glue dry overnight.
  • Tuck yellow and red jump rope pieces, from the blue light stick, into the bottom slit in the shipping box.
  • Tuck top red jump rope into the slit at top of box, and insert the other red rope into the bottom right curve of the round container.

STEP NINE:
Back Hole Cut and StrapsStickers and Cut Holes

  • Cut a hole into the inside of the box, so a glow stick can be inserted into the round container for day of use.
  • Staple and/or tape black straps to the open flaps of the back of the box.
  • Cut a circle hole in the right side of the box (IMPORTANT: The hole needs to be JUST large enough to fit the sound tube, without allowing the larger end pull through).
  • Insert small end of the sound tube into the inside of the box and pull through till the large end catches.
  • Cut sound tube to desired length, insert the flashing multi-colored light stick/pen piece into the tube and Duck Tape to hold.
  • Insert glow stick into back hole for the round container.
  • Tape back of proton pack shut.
  • Print proton pack stickers and stick in appropriate locations.

    DIY Proton Pack Stickers

    Click HERE to download file with labels to size and scale for this DIY proton pack

    DSC_0235 2

    Finished product and reversed proton pack for my lefty.

STEP TEN:

  • TOAST THE STAY PUFT MARSHMALLOW MAN!!!

DIY Dollar Store Proton Pack for Twin Toddlers' Ghostbusters Halloween Costume

DISCLAIMER: These DIY proton packs do not generate actual laser streams. In the event of a ghost problem, please call the Ghostbusters at 555-2368.

“Don’t. Cross. The streams. It would be bad.”

Related Posts: DIY Lion Guard Costumes
DIY Paw Patrol Costumes

Follow me on Pinterest, for more fun ideas!

Color-Coded Beginner Piano Music Book Banner

Documenting Baby’s 1st Year

When I was pregnant with Jacob & Evan, my cousin told me about a new (at the time) website called Pinterest. I signed up for an account to start Pinning decor ideas for their nursery. Little did I know what a life-changing website it would become. Why did it have to be created AFTER I got married?!?! I came across so many crafty ways to document the boys’ 1st year and couldn’t wait to make something especially for them!

With so many ideas, I decided to photograph and create two different monthly comparisons – One with the boys together (because twin baby portraits are simply adorable!) and one with them alone (because they are, after all, individuals). In attempt to capture their personalities, I also included brief descriptions about them.  It was fun to reflect on each month’s little joys and take time to appreciate the small things.

Twins 1st Year Monthly Photo Collage with Keepsake Memories

Jacob:

Baby 1st Year Monthly Photo Collage

Evan:

Baby 1st Year Monthly Photo Collage with Stuffed Animal

Naturally, when Avery was born, I wanted to create the same monthly snapshots for her as well…

Baby Girl 1st Year Monthly Photo Collage with Keepsake Memories

Baby Girl 1st Year Monthly Photo Collage

I used Photoshop to create my images. If you do not have Photoshop (or any other photo editing software), a similar technique can be used with either of the following:

  • An online photo editor like PicMonkey that allows you to add a paragraph of text, and enables you to crop and edit your photo as well.
  • If you only want to insert a small amount of text, such as the month, AddText has a quick and simple process for adding a caption (downside = limited fonts and their website appears in bottom right of the photo).
  • If you have the images on your phone or iPad, there are tons of apps that allow you to add text. Imagic Text and Word Swag are ones that allow for longer text/paragraphs.

If you have any other suggested ways to add text to your image, I’d love to hear about it – please comment below.

Looking back at these photos, I had no idea they would trigger so many heartwarming memories (all too easily forgotten). It doesn’t feel like it during the day-to-day grind of picky eating, tantrums and poopy diapers, but it’s true when people say “they grow so fast”. I’m glad I took the time to create this project, as it really helped me cherish the little moments and capture their growth for the 1st year.

Follow me on Pinterest, for more fun ideas!

Sometimes you will never know the true value of a moment until it becomes a memory.

Save

Project: 1st Blog Post

Meet the Goofballs:

Meet Jacob Avery & Evan

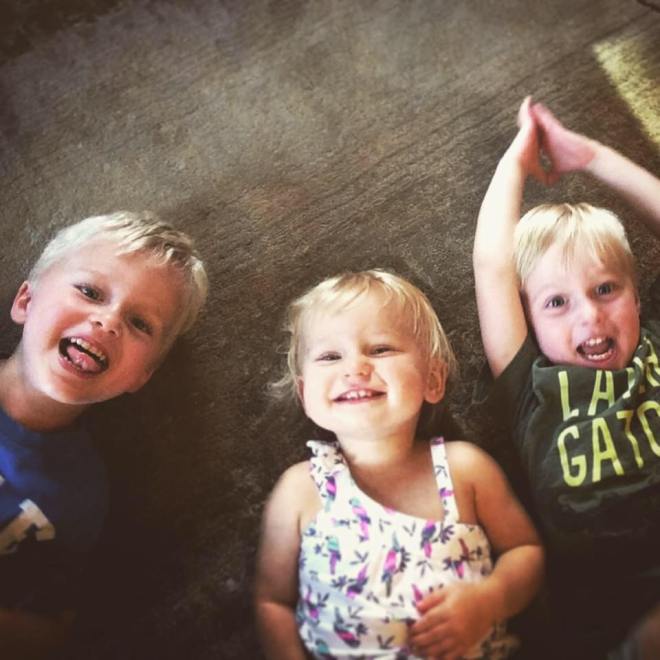
Jacob (left) – Enthusiastic and strong willed 3-year-old who’s favorite activity is making coffee for mom and dad.

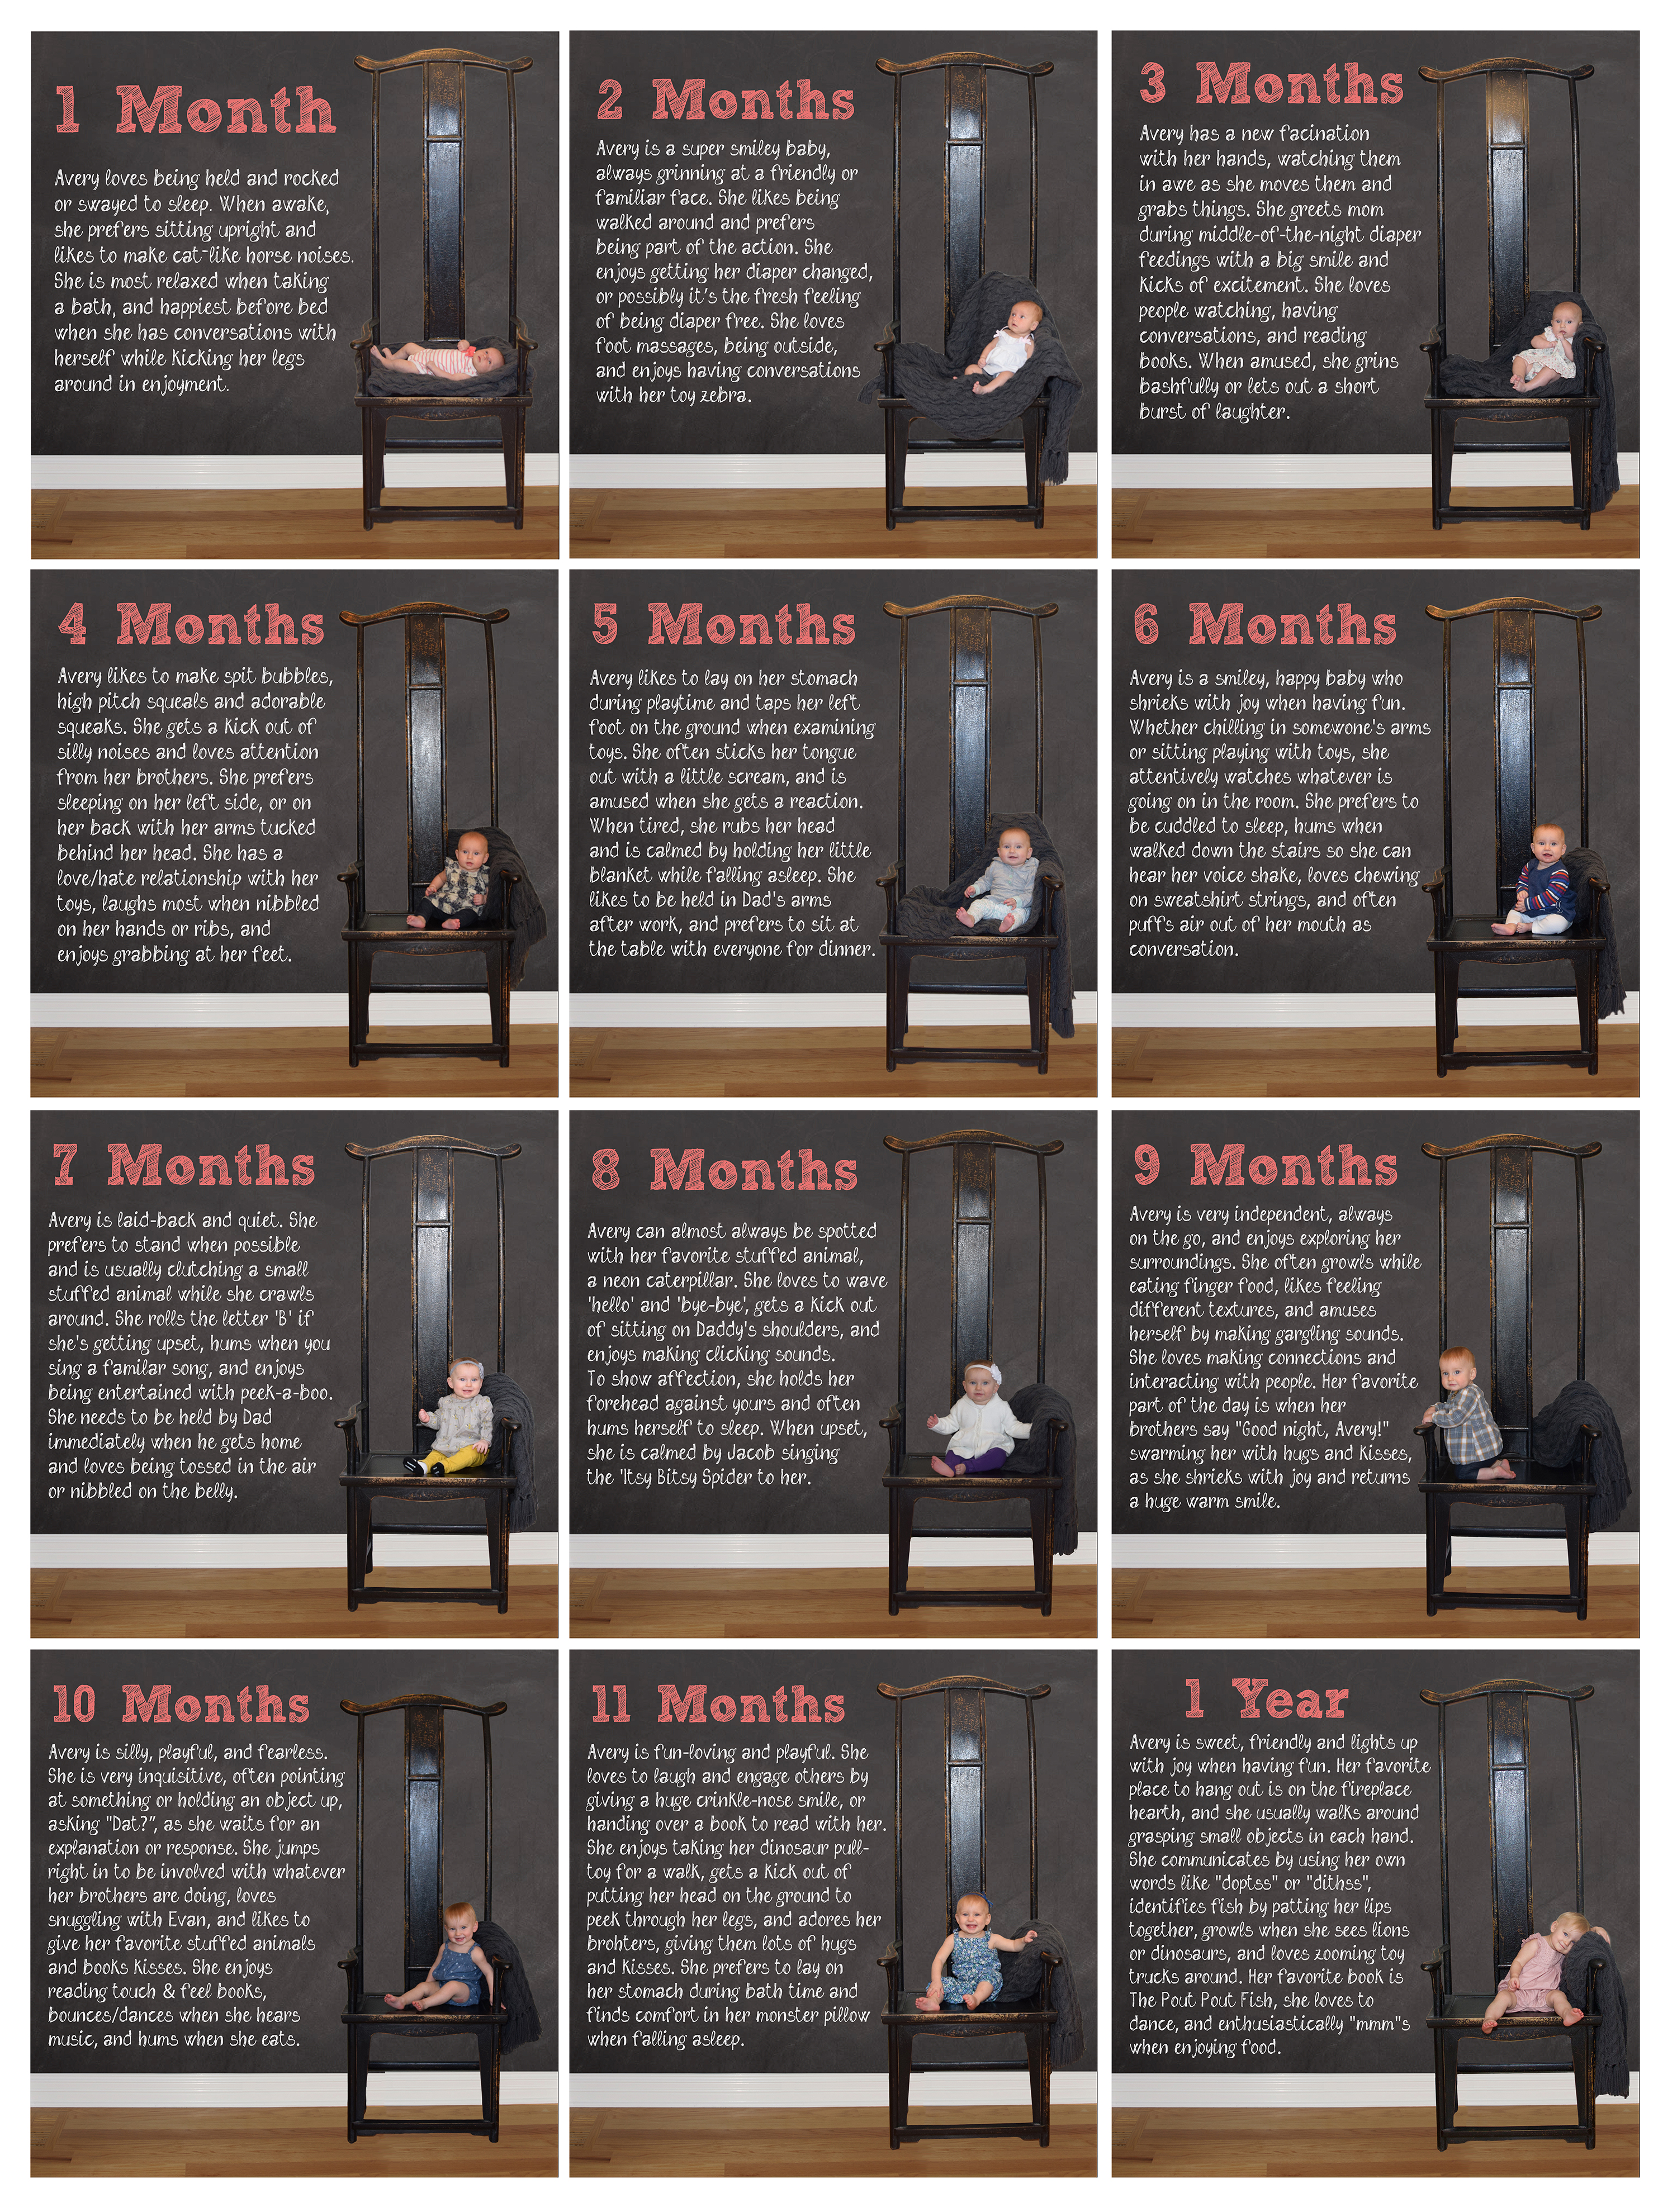
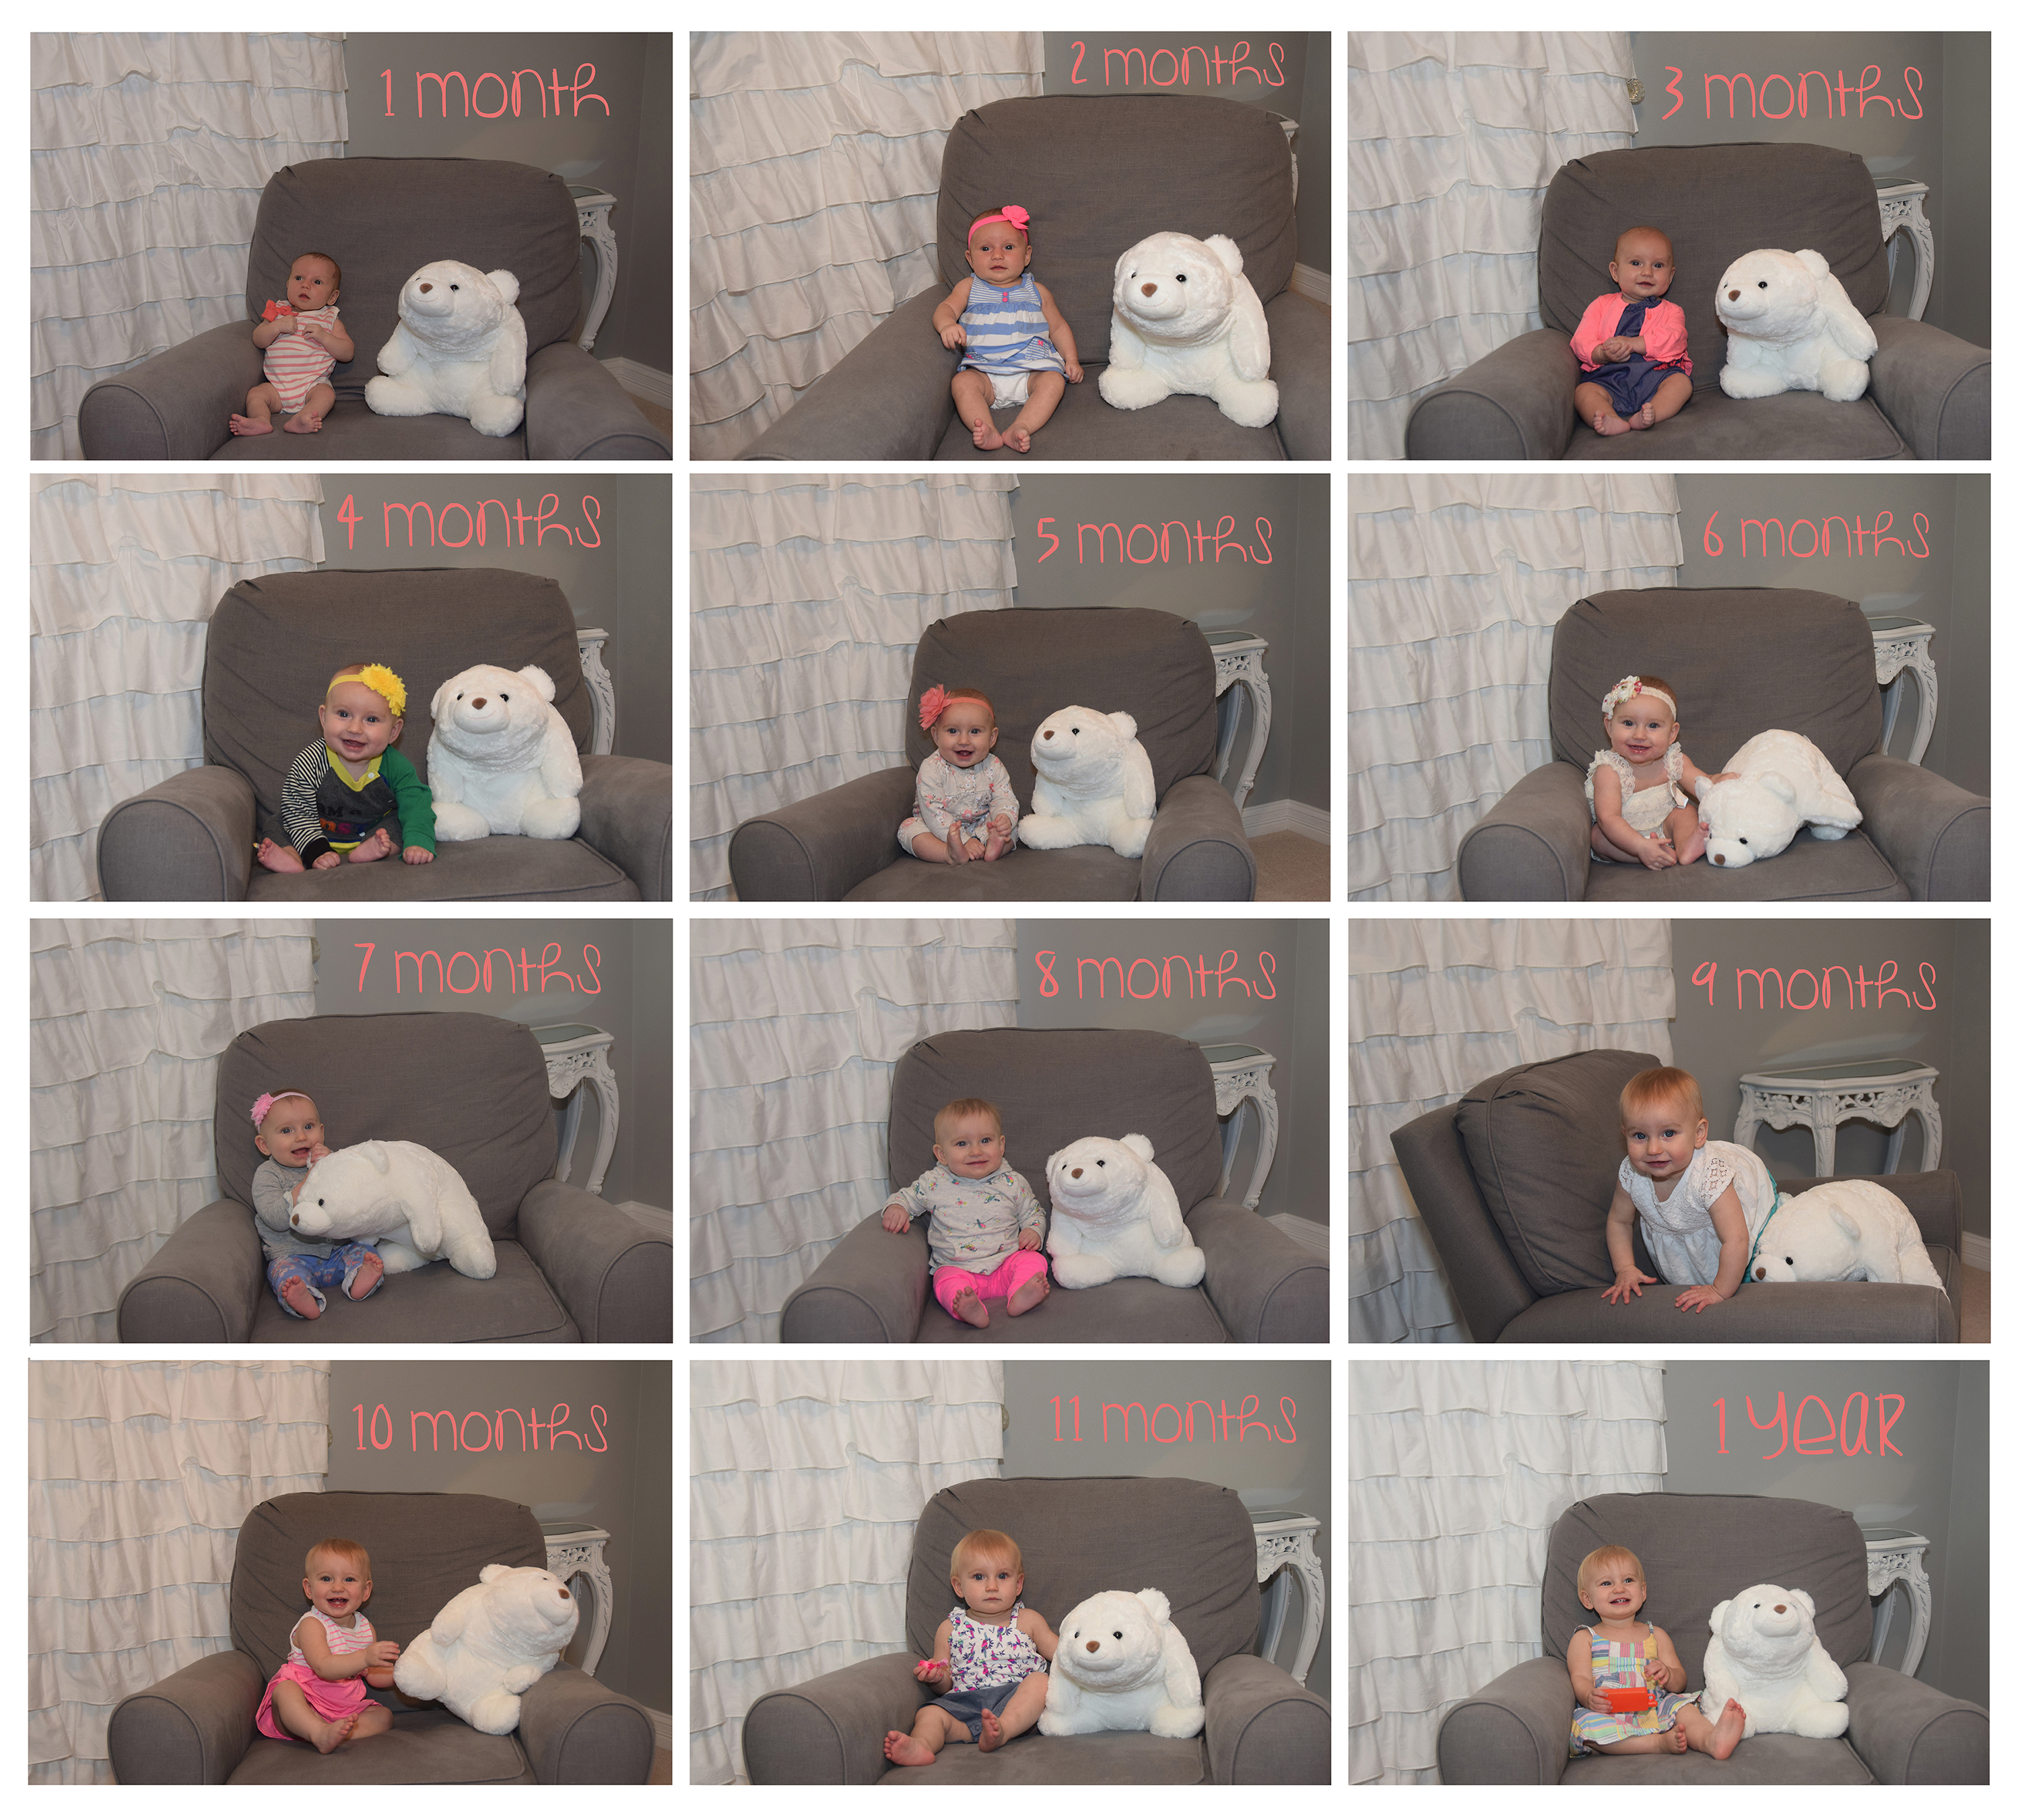
Avery (center) – Sweet and silly firecracker of a 1-year-old who loves to play with rocks.

Evan (right) – Playfully clever and caring 3-year-old who has the memory of an elephant.

Lucky Parents of These Adorable Children:

166417_479089897414_4819274_n

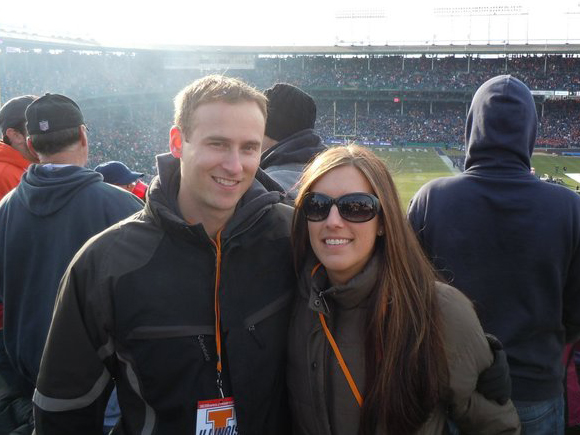
Cory (aka Dad – although the boys sometimes like to call him “Lex Luthor” when they want to be chased down by an evil villain) and myself (aka Julie/Mom).

Realistic Family Portrait:

11134038_10153091378237415_3938401930556693602_o

Pretty much sums up my experience of being a parent.

A little about me and why I decided to start a blog:

I exited Corporate America three years ago to take on the self-appointed assignment of raising my kids full-time. I’m not a fan of calling myself a “stay-at-home mom”, as I feel it discredits my regular expeditions with 3 kids in tow, so I’ll call myself an “occupational mom”.

Walking away from my career was a huge adjustment for me. I found myself managing motherhood similar to a job – goal driven, ambitious, organized and detail oriented. This may sound rigorous, but I guess it’s a little (or a lot) of my Type A personality coming through. Thankfully I have a creative and adaptable nature that seems to balance me out a bit. In the end, I’m glad I decided to stop working because I love being able to experience every little moment of my children’s lives with them – the good, the bad and the unbelievably chaotic.

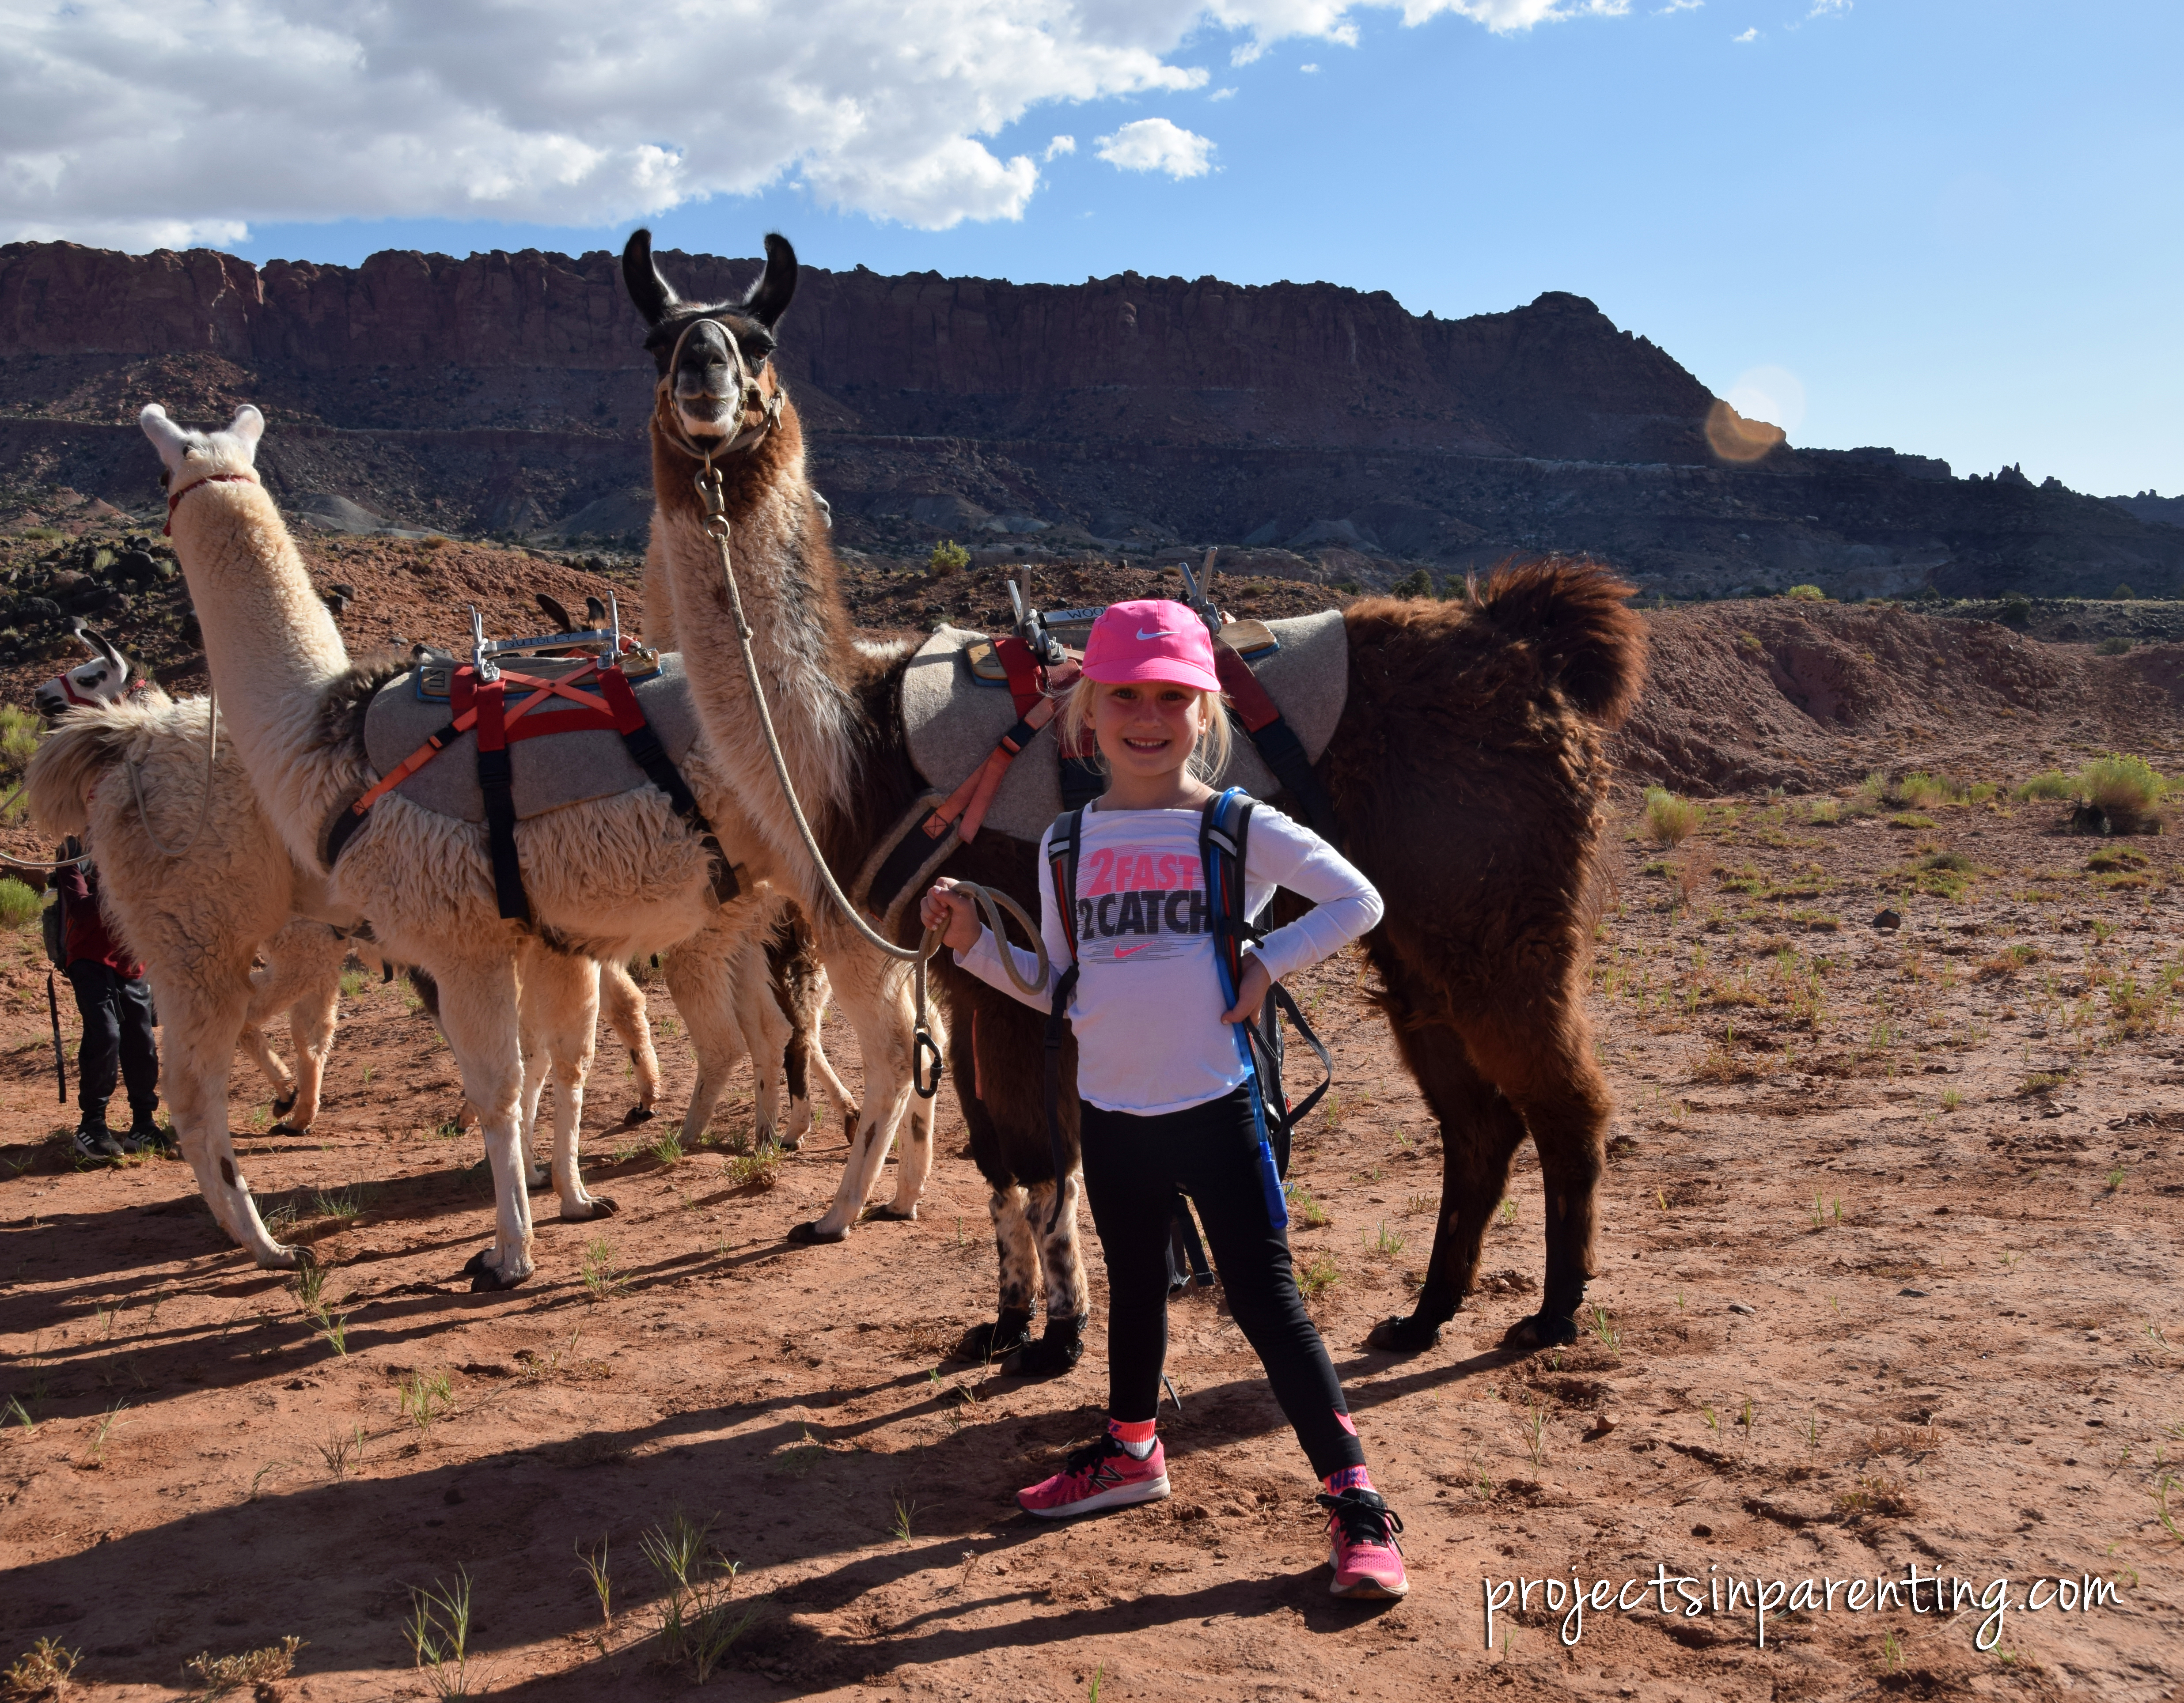
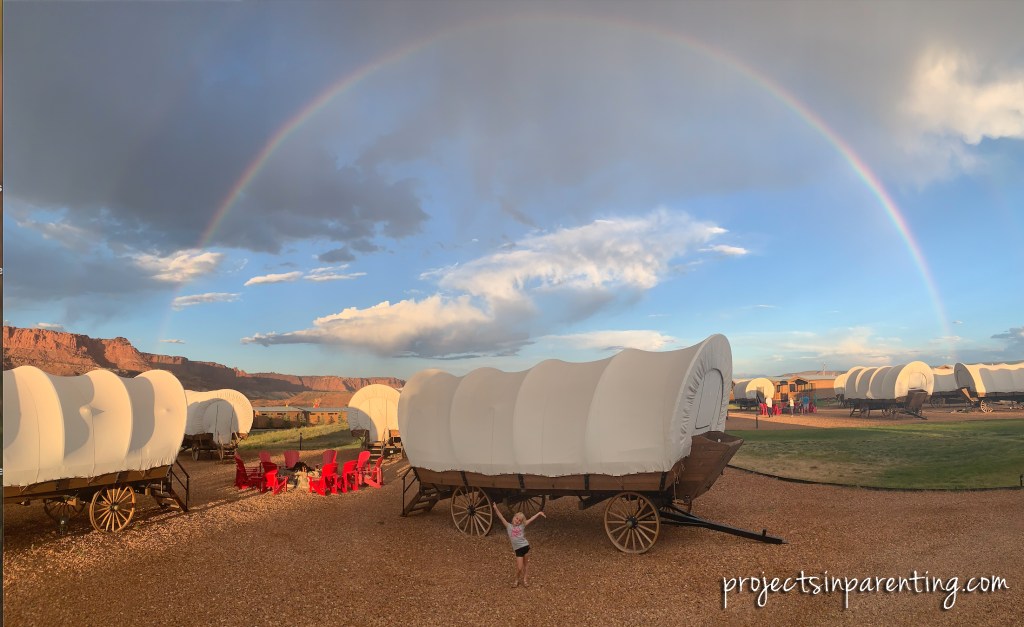
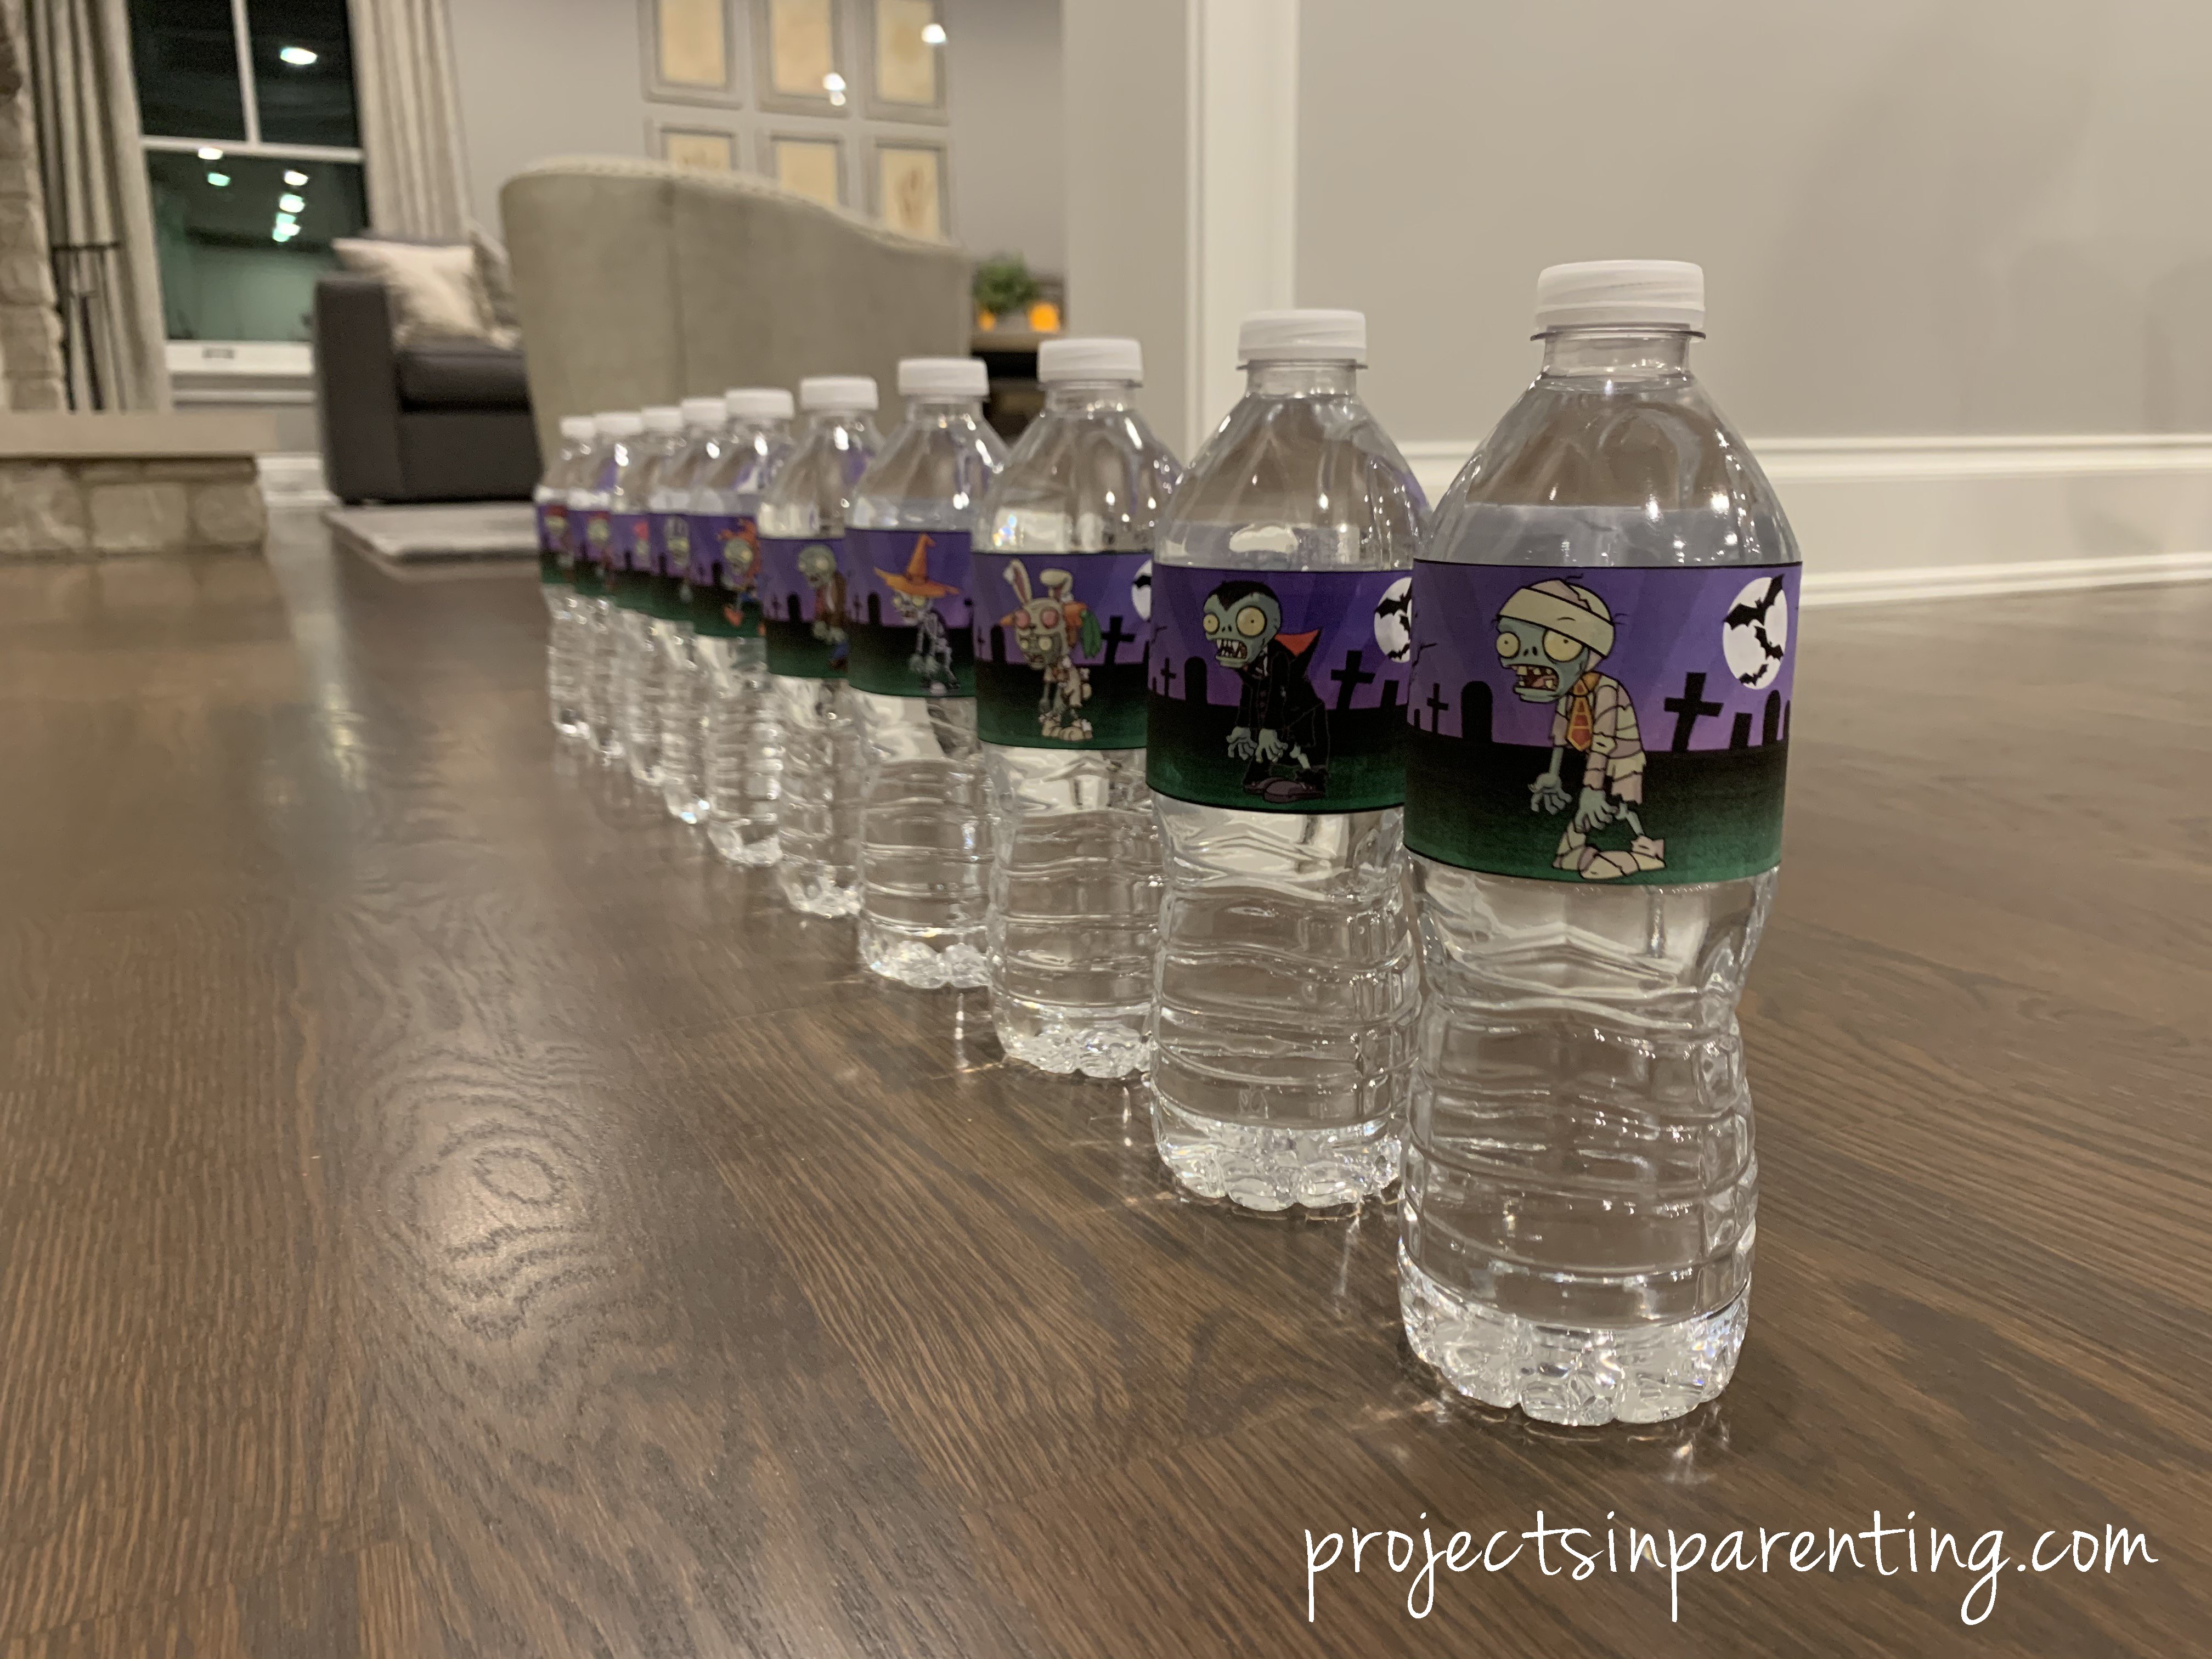
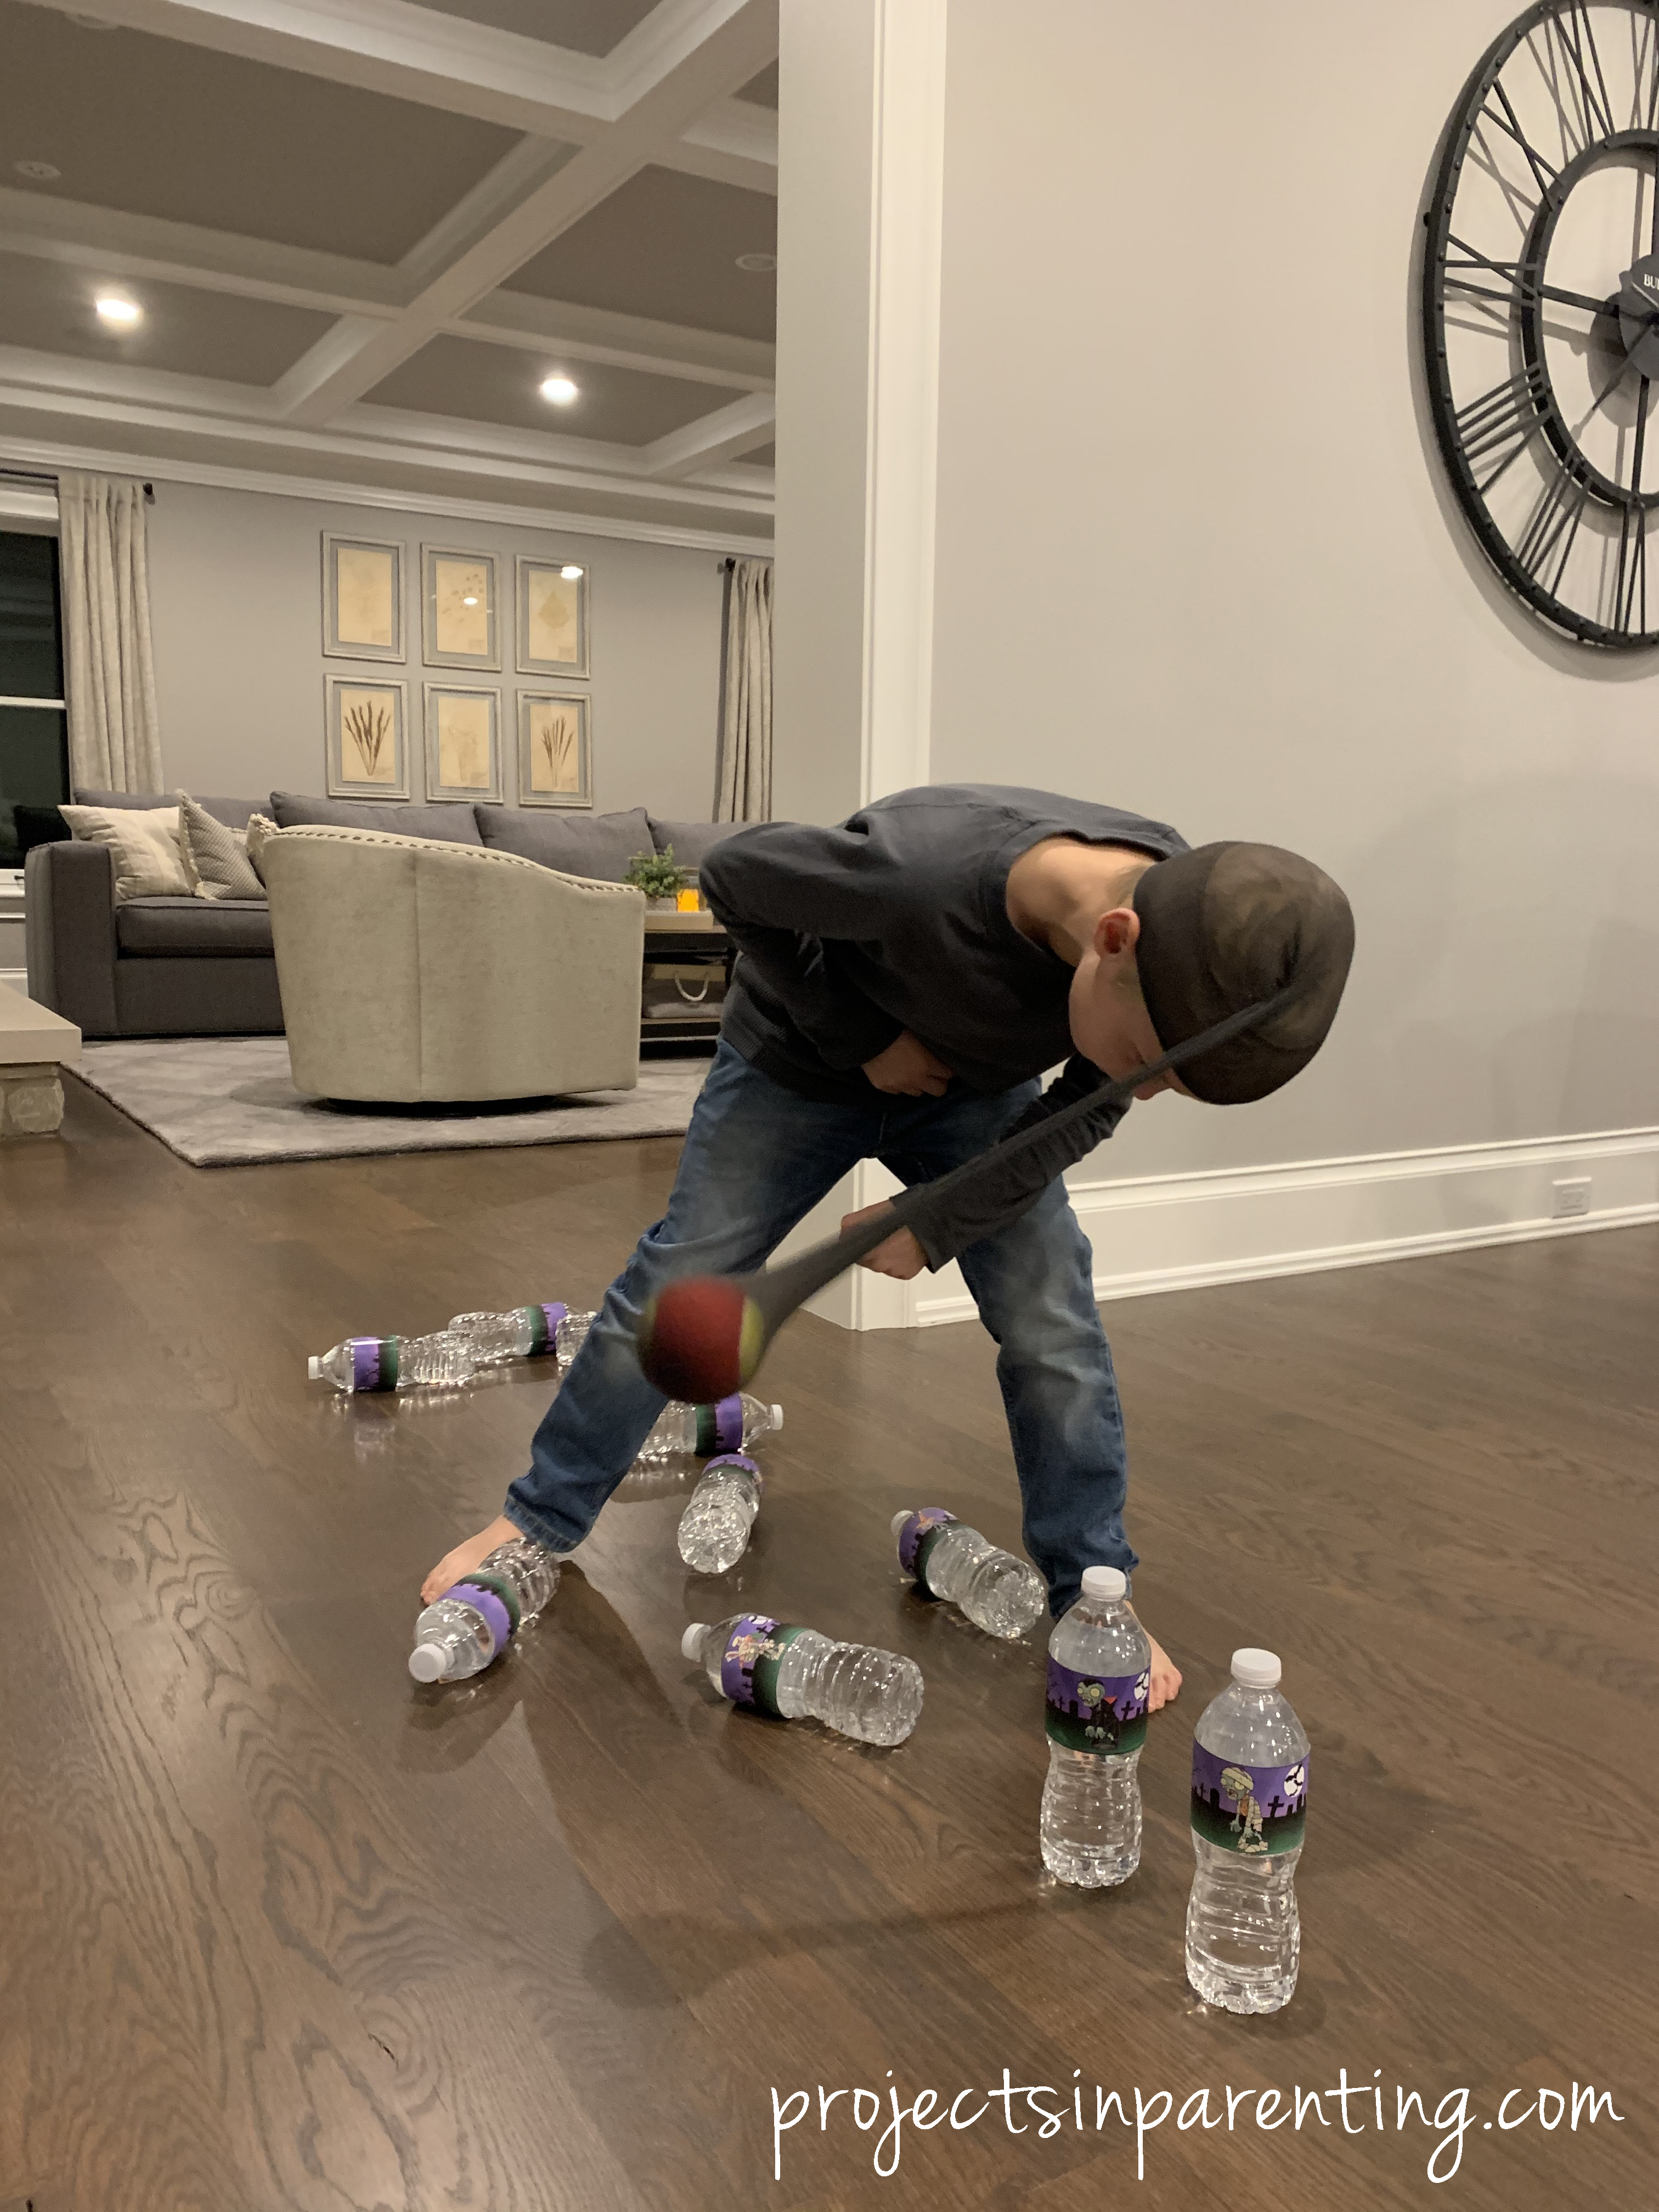
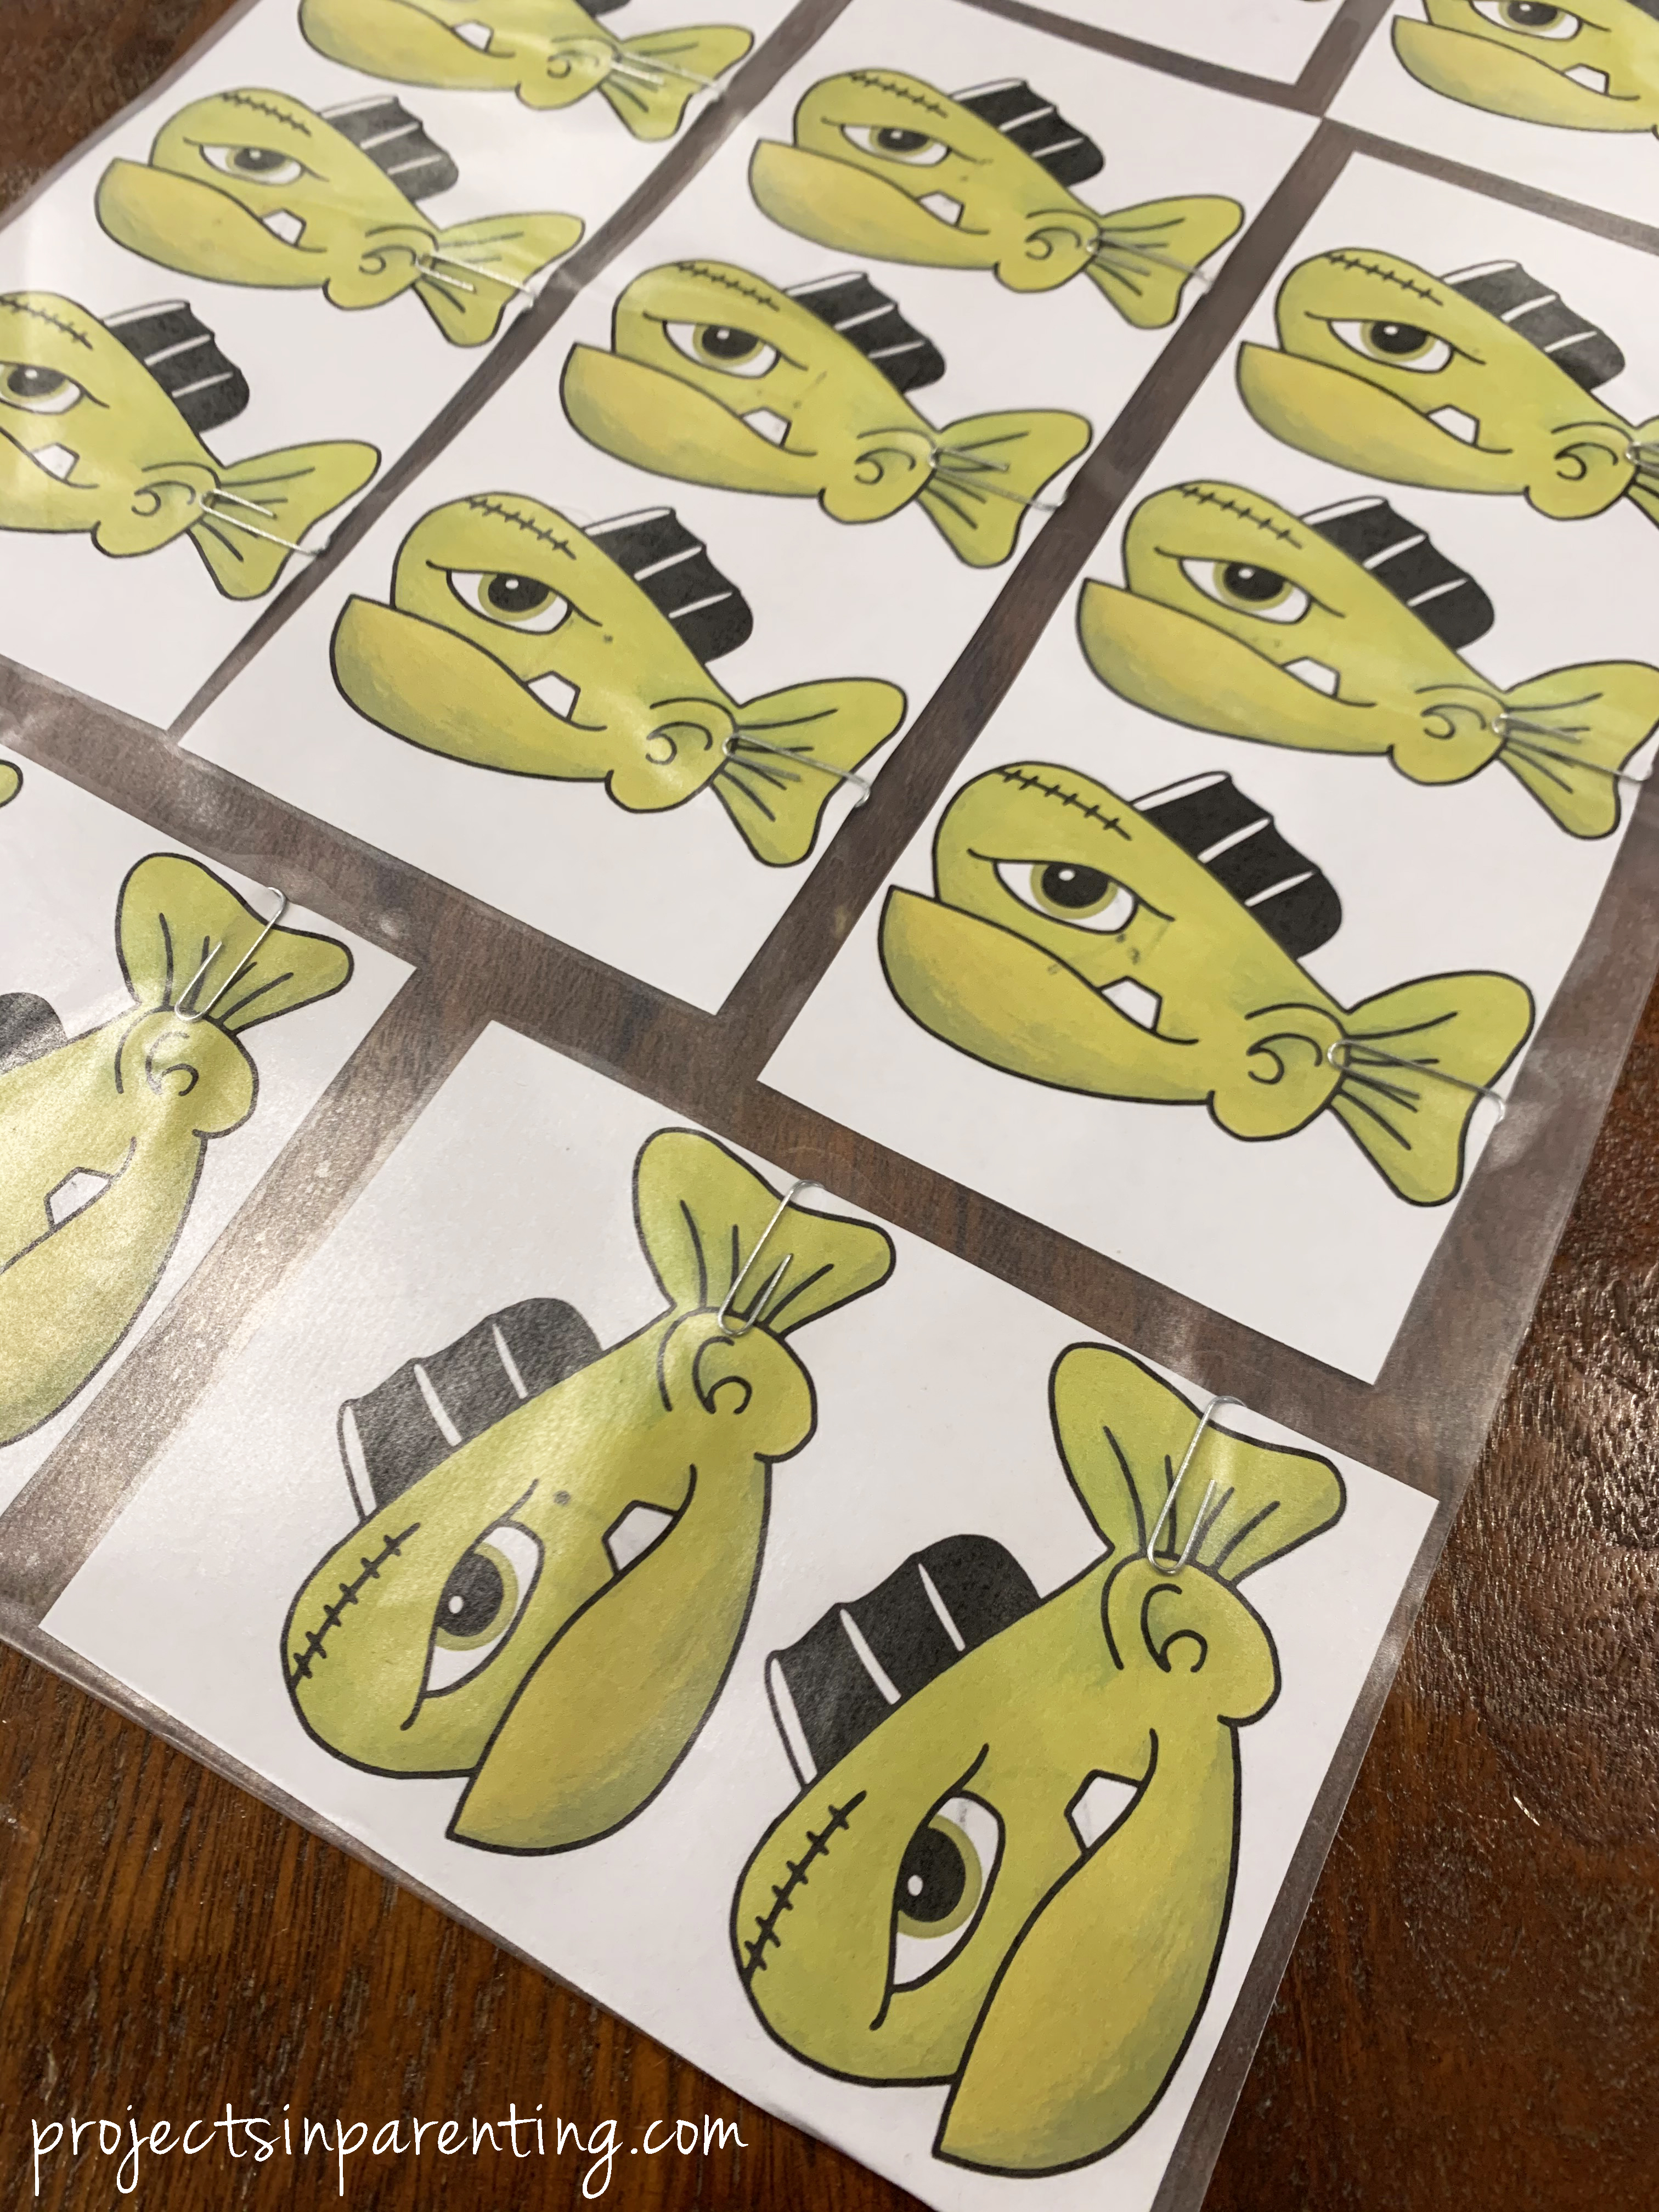
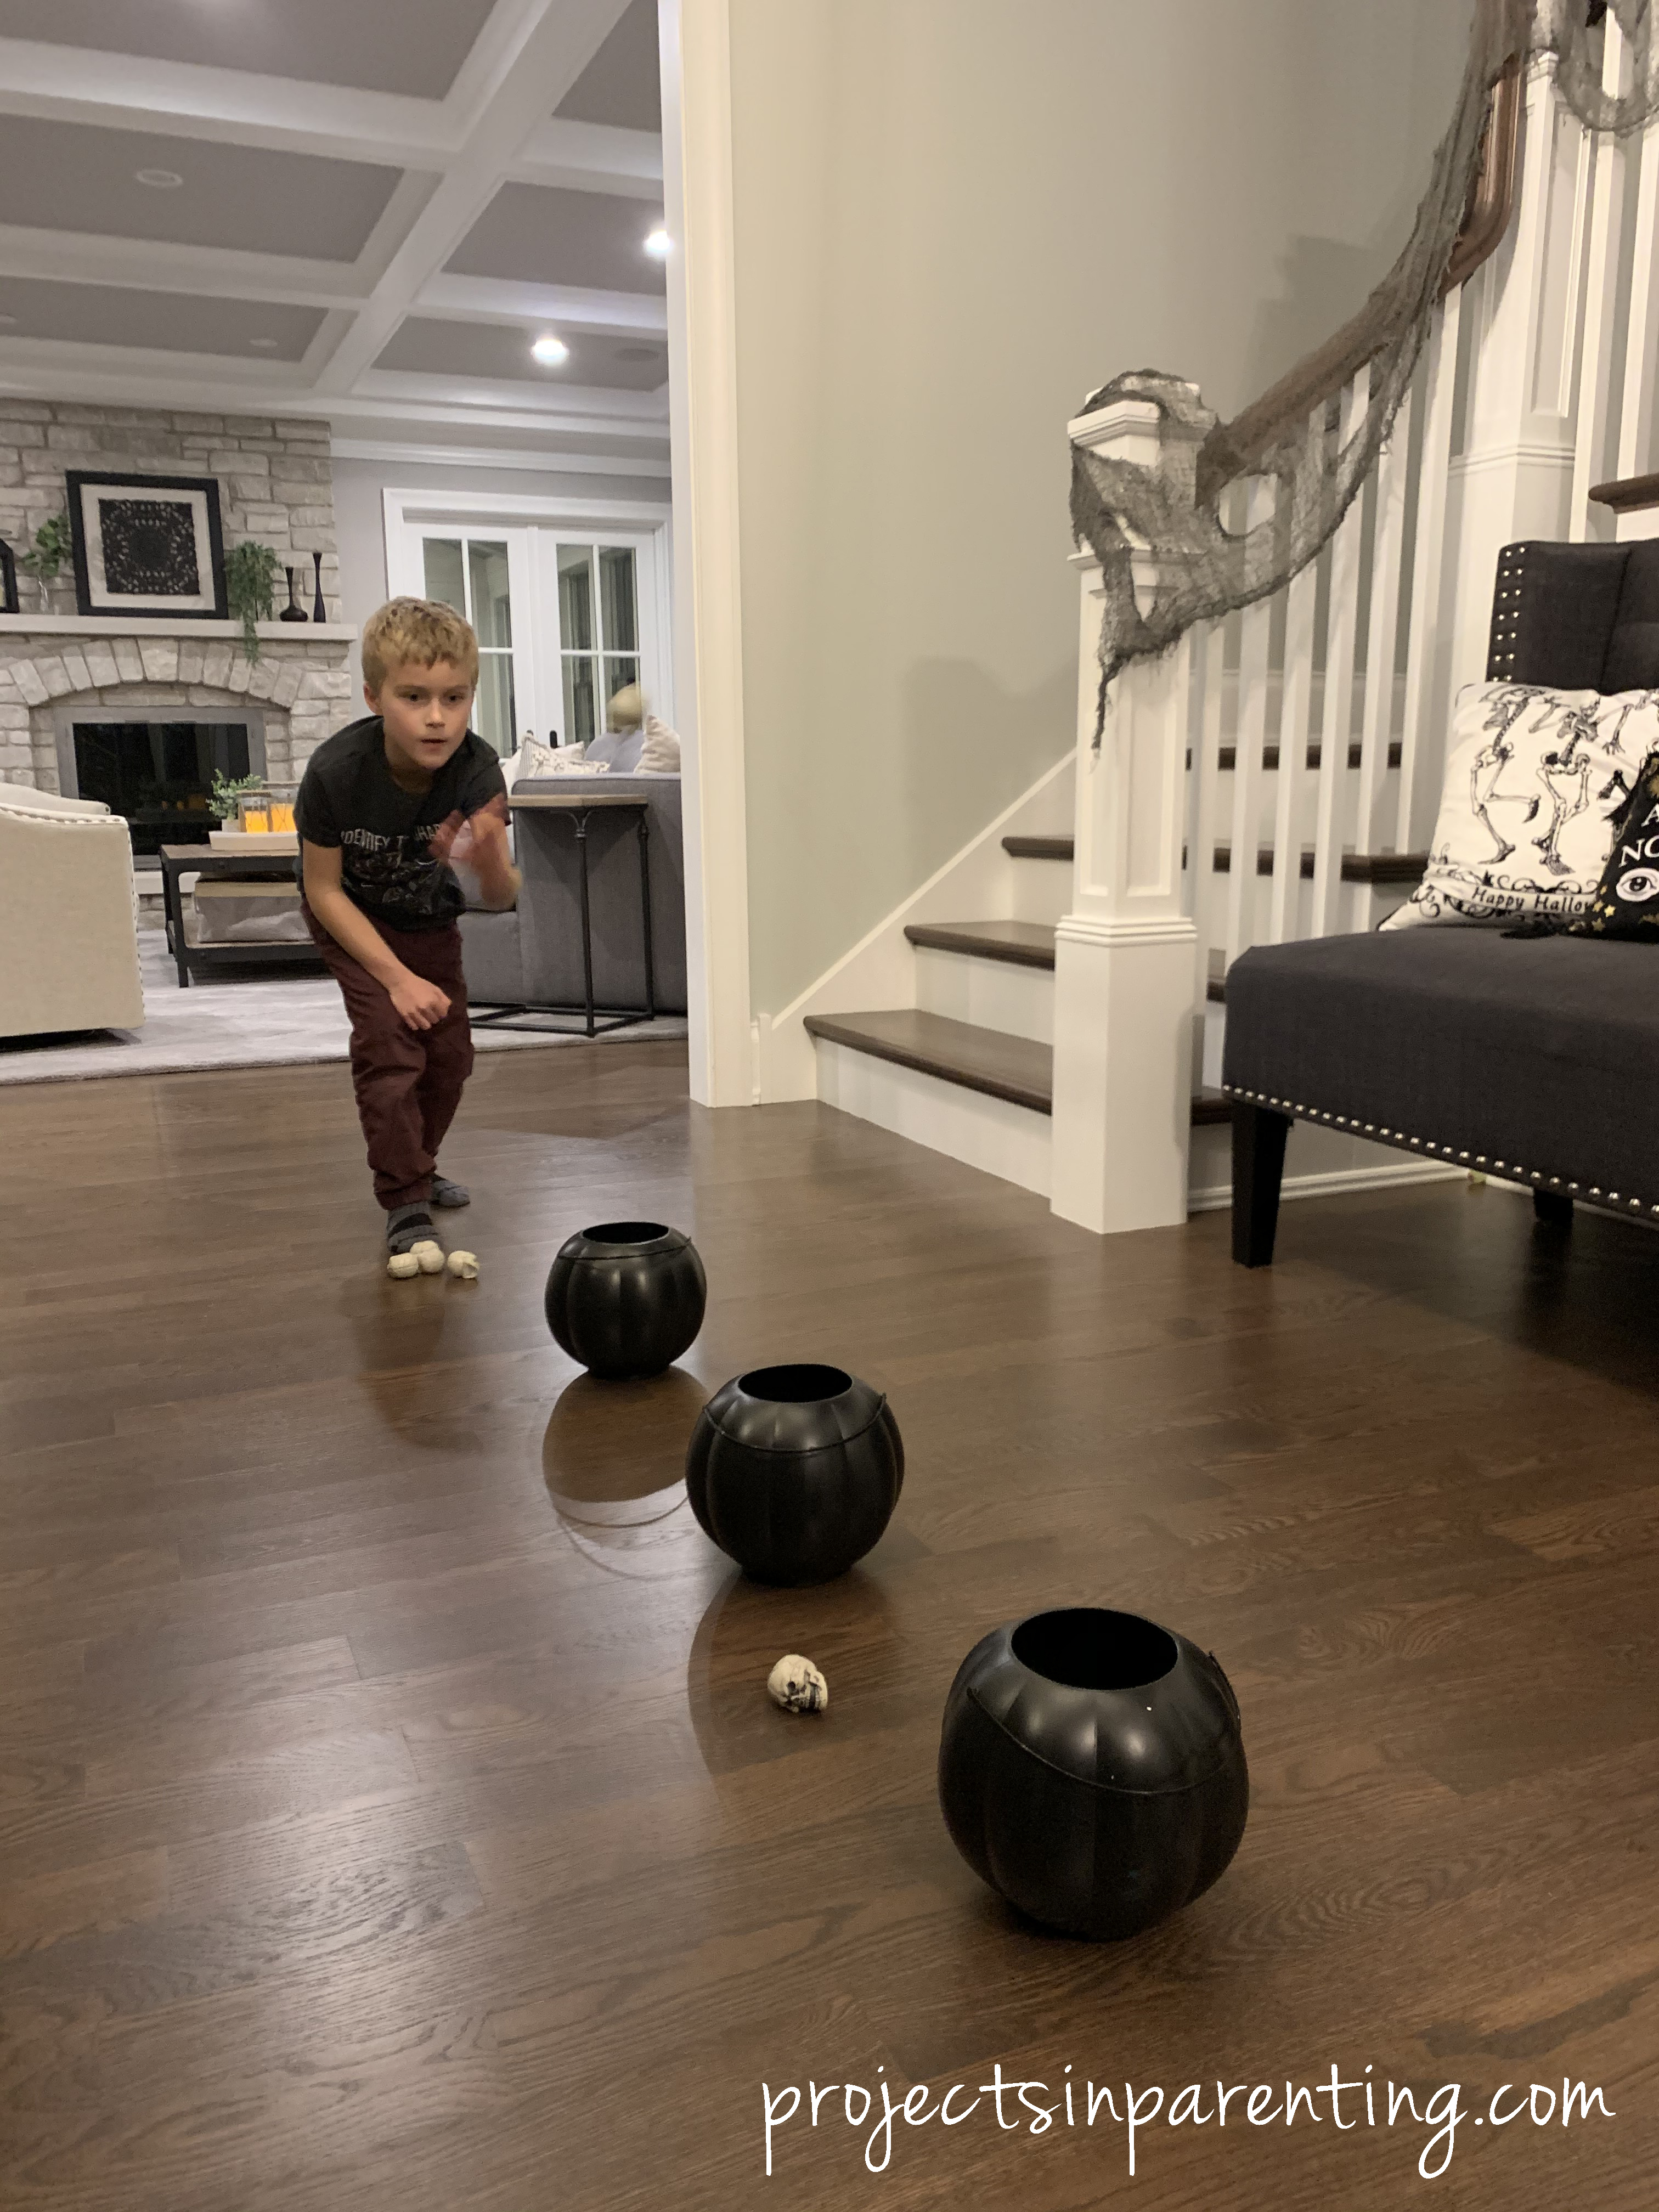
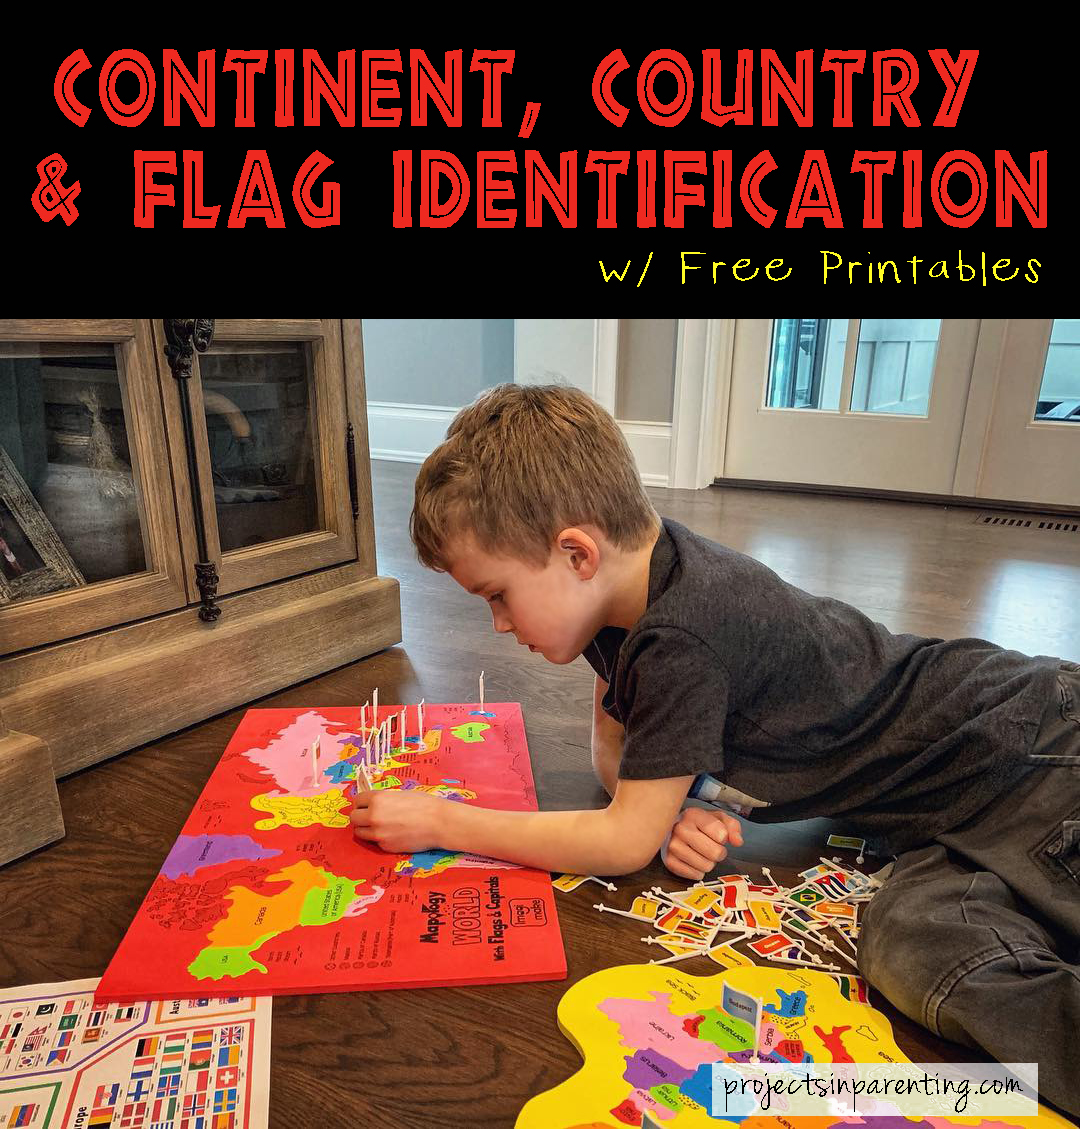
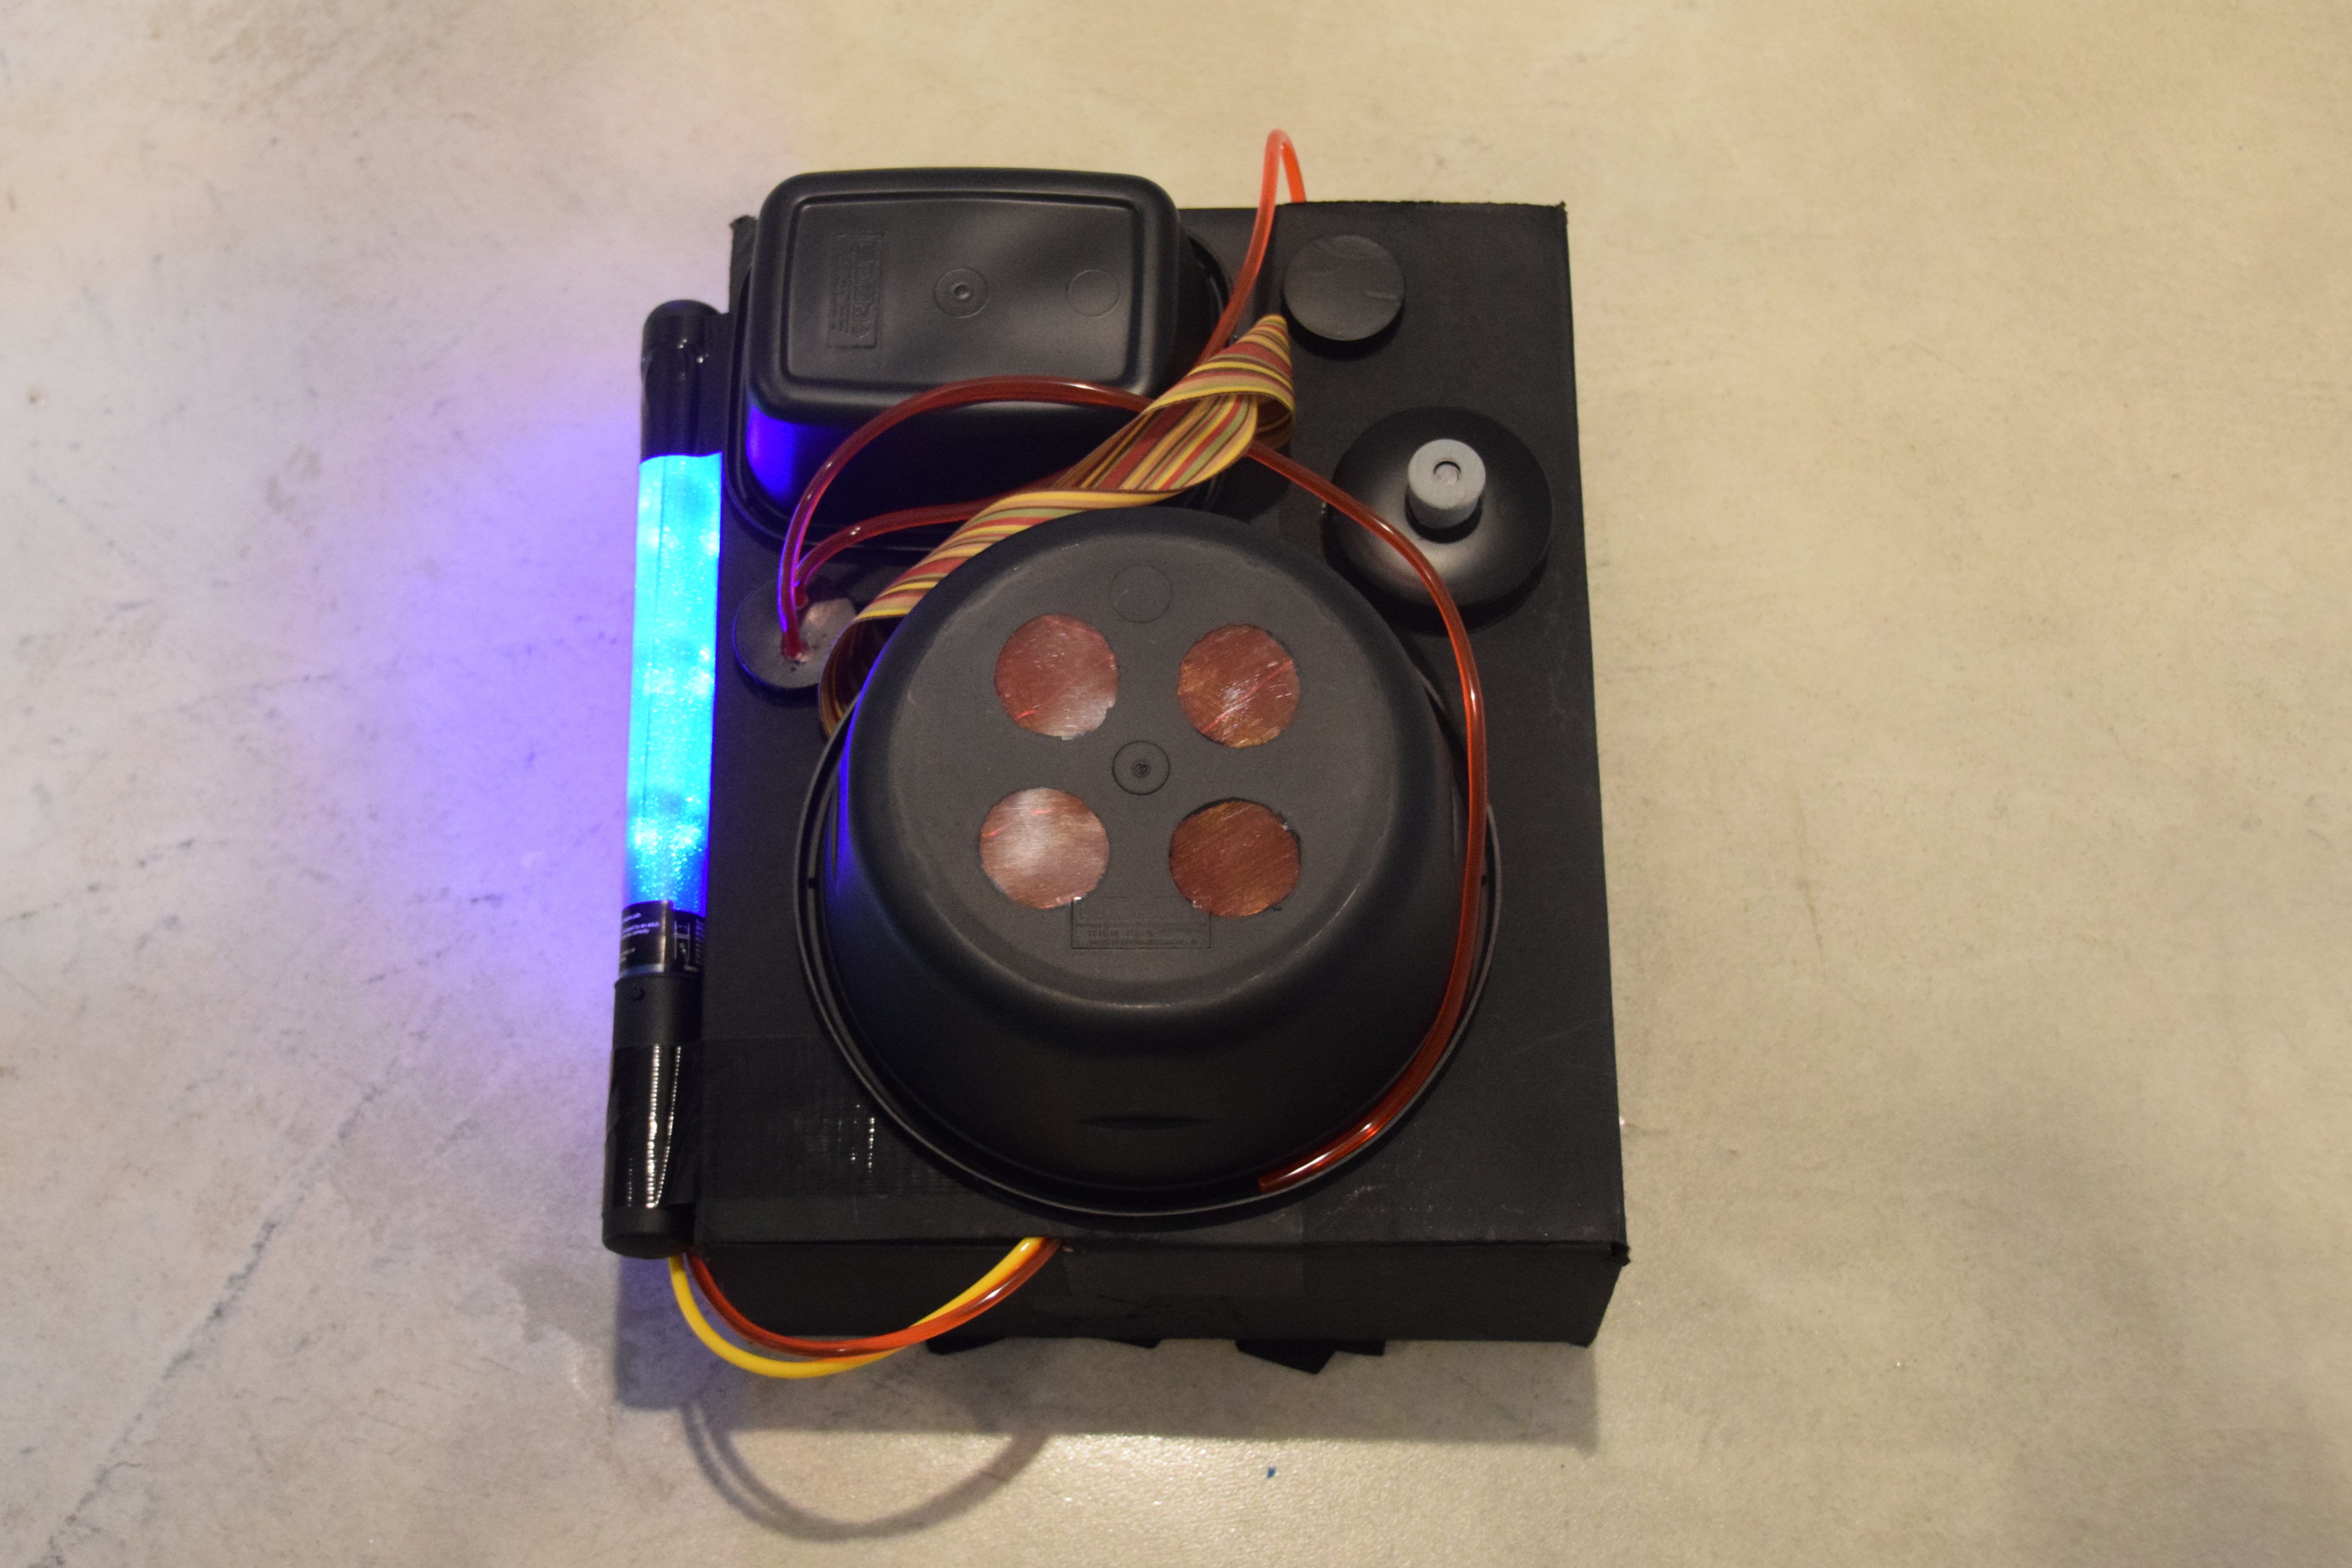
As if raising three kids isn’t time consuming enough, I tend to keep myself extra busy with little things I like to call “projects” (going back to my business roots, it seems like a natural term to use). Whether it’s homemade Halloween costumes, photo books, seasonal crafts, organizing fundraisers, or remodeling our basement. We also just started the process of building a new home to be closer to our family – because the current 15 minute commute just isn’t close enough! 😉

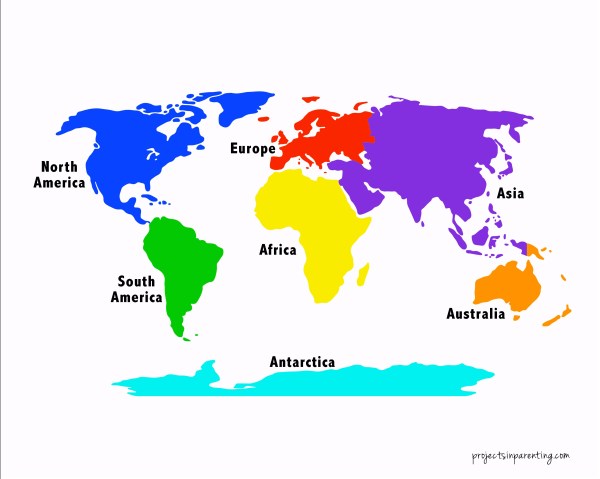
I wanted to start this blog as a creative outlet to post some of my artsy projects. I thought it would be a great way to keep friends and family up to date on some of our adventures, as well as share fun ideas for kid crafts/activities, creative ways to document life with photography, and general DIY projects. I should also mention that, by no means do I consider myself a writer, so please excuse any incorrect punctuation or lack for brilliant and witty literature. Either way, I hope you enjoy my blog and maybe even find some inspiration for a parenting project of your own!

“Creativity is contagious, pass it on.” – Albert Einstein