While it can be difficult saying goodbye to long sunny days of summer, there are several things that help me embrace fall with open arms: sweater weather, boots, apple picking, Halloween, pumpkin spice, and of course the beautiful foliage. Thank you autumn, for one of nature’s best free kid toys – leaves! To bring some of these enchanting colors indoors, I decided to create fall leaf lanterns with the kids.

SUPPLIES:
– Cardboard Goldfish Carton (or 1/2 Gallon Milk Carton)
– Box Cutter and/or Scissors
– Flameless Candle
– Contact Paper
– Hole Puncher
– String
– White Duct Tape (Optional)
INSTRUCTIONS:
Step 1: Collect leaves.
Step 2: Using a box cutter, cut 4 rectangular sections out of each side of the carton.
Step 3: (Optional) Use white Duct Tape to cover print on the carton.
Step 4: Using scissors, cut contact paper into 8 rectangles that are just larger than the sections cut out of the cartons (my rectangles were 10×15 squares).
Step 5: Adhere contact paper rectangle, sticky side out, onto the inside of each side of the carton and reinforce sections by taping each inside edge and corner.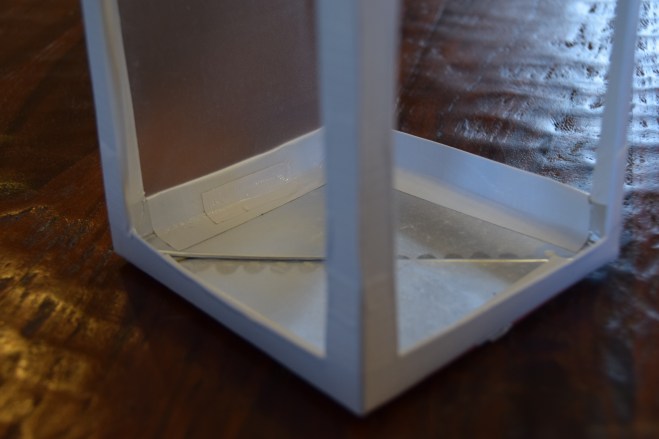
Step 7: Gently press leaves on each side of the carton’s contact paper sections.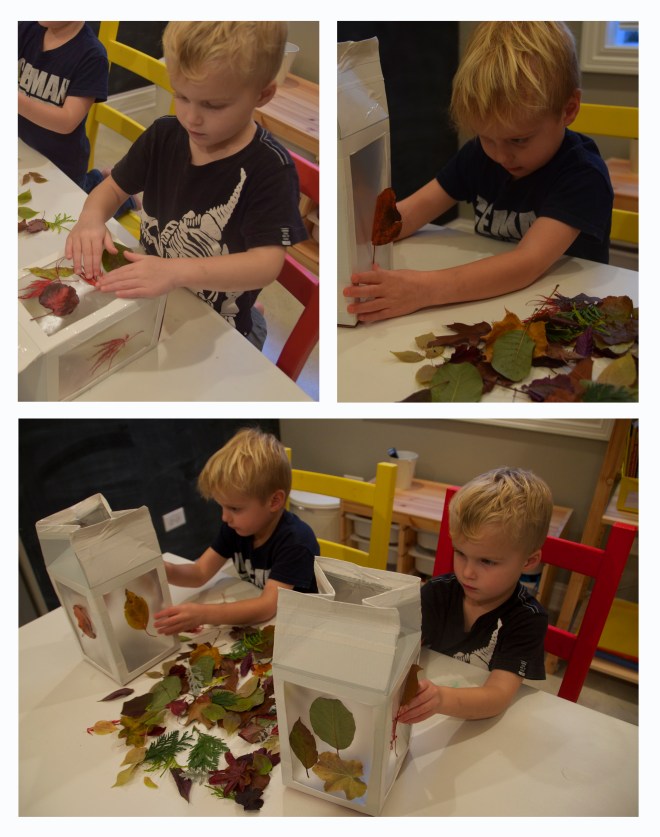
Step 8: Use remaining 4 sections of contact paper to cover each side of the carton, holding leaves onto the lantern.
Step 9: Hole punch top of carton and tie string as a handle for the lantern. Create Duct Tape tab to hold lantern top closed.
Step 10: Insert flameless candle.

Follow me on Pinterest, for more fun ideas!