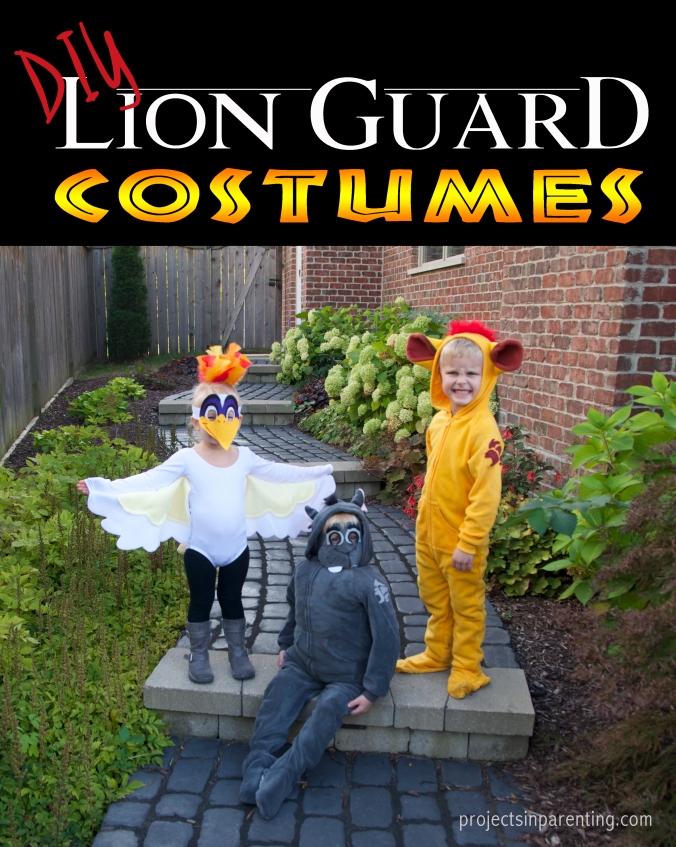
Months ago, Jacob told me he wanted to be Kion from The Lion Guard for Halloween. To no surprise, Evan and Avery wanted to team up with him as Beshte and Ono to help defend the pride lands!
For Kion and Beshte, I used orange and grey footed pajamas from footedpajamas.com (while also scoring a 15% off coupon from Retail Me Not – deals rock!). I attached red and black craft fur that I got from Michael’s Craft store (also available online at Amazon or Walmart) for hair, and used fleece fabric to sew on ears and a tail.


For Beshte, I designed a mask and created this TEMPLATE to make it into a fabric mask using felt squares and Stitch Witchery. Seriously, this stuff is AMAZING! All you have to do is cut the Stitch Witchery to shape and iron your fabrics, bonding them together – no sewing required! (Note: I cut the eyes out after bonding all the materials together to make sure the fabric was even)


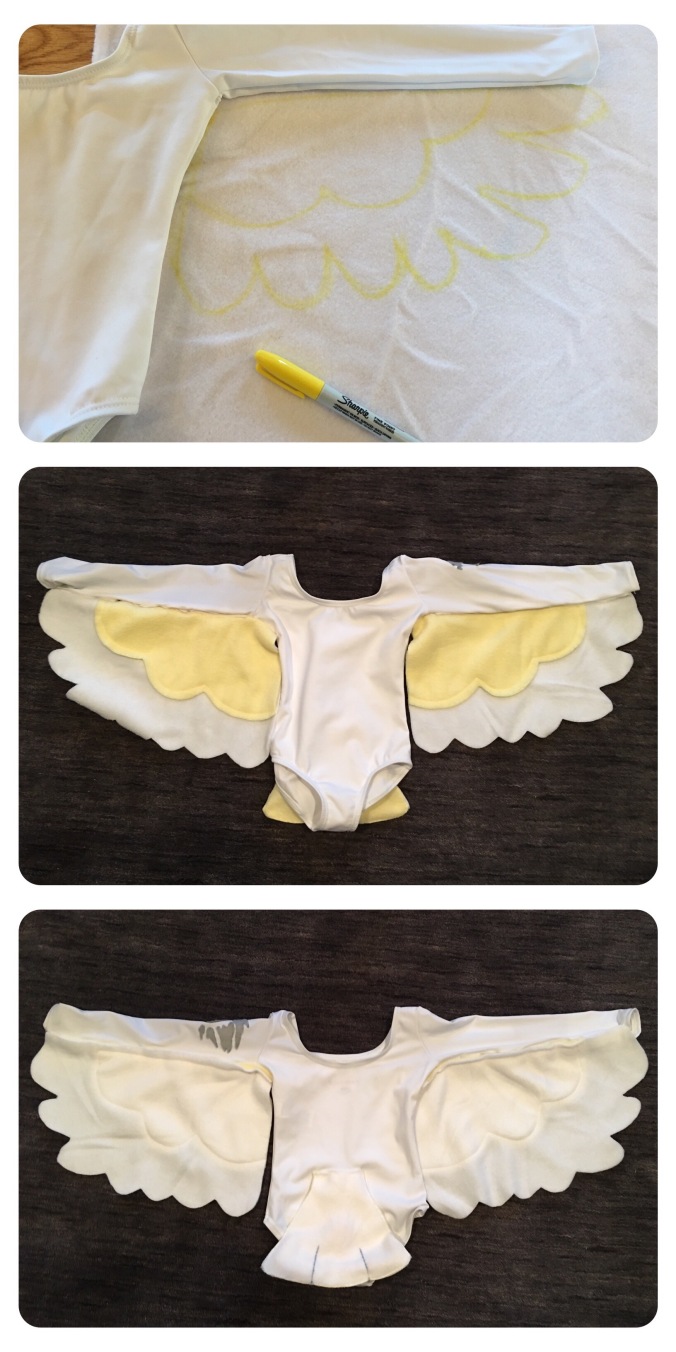
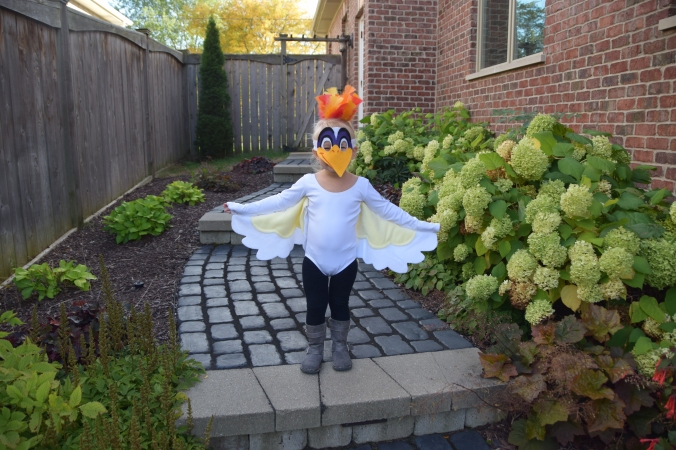
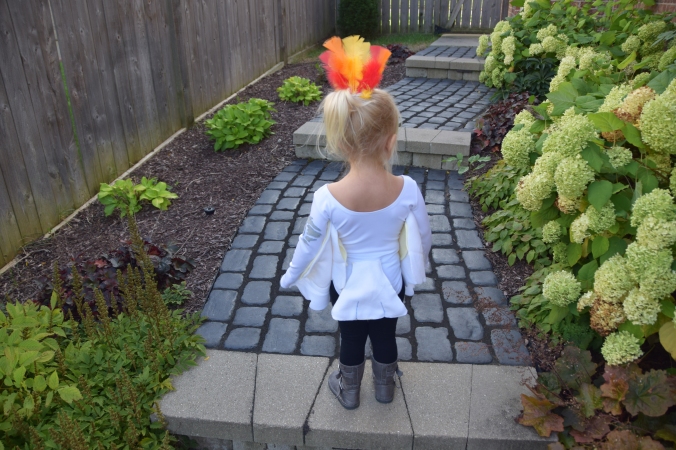
For Ono, I purchased a white leotard from Amazon and created wings and a tail, using fleece fabric (Fleece is great for this purpose since it does not fray at all). The leotard fabric and skinny arms were a bit difficult to work with, so I chose to use a combination of Velcro and sewing to attach the wings. To give the tail a more 3 dimensional look, I sewed in pipe cleaners between the two tail fabrics.
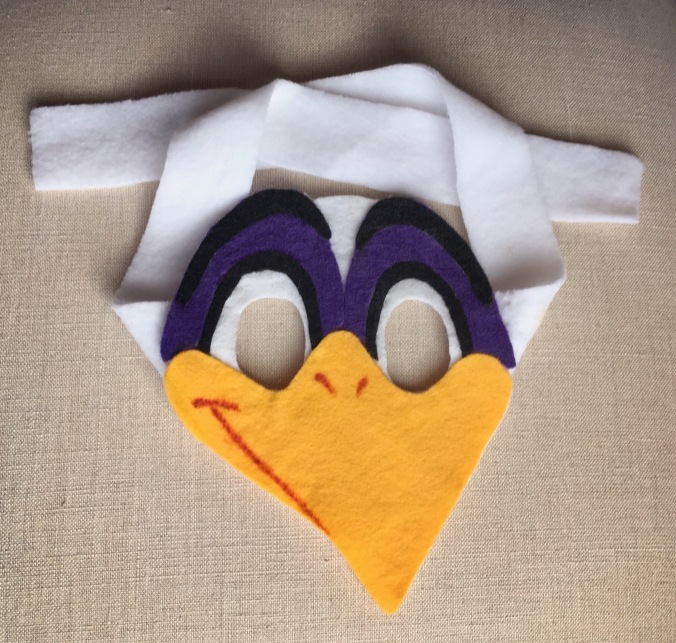
 Similar to Beshte – I designed an Ono mask for Avery and created a TEMPLATE so I could make a fabric mask, using felt squares and Stitch Witchery.
To complete their costumes, The Lion Guard needs their badge of honor – so again I used my trusty Stitch Witchery to fuse the symbol (from felt squares) to each costume’s left arm. Tip: After printing out this TEMPLATE, I cut out the shapes with an X-ACTO knife, and chalked out a mirror image as a stencil.
![]()
Now my little protectors of the pride lands are ready to roar on Halloween!

Related: See Paw Patrol and Ghostbusters costumes.


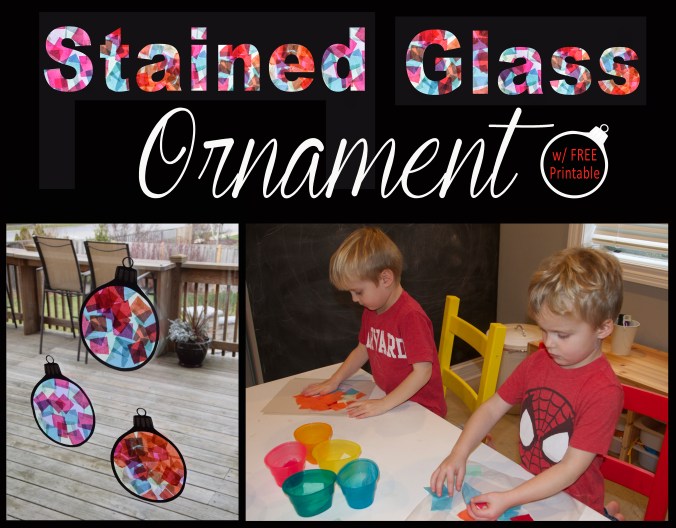
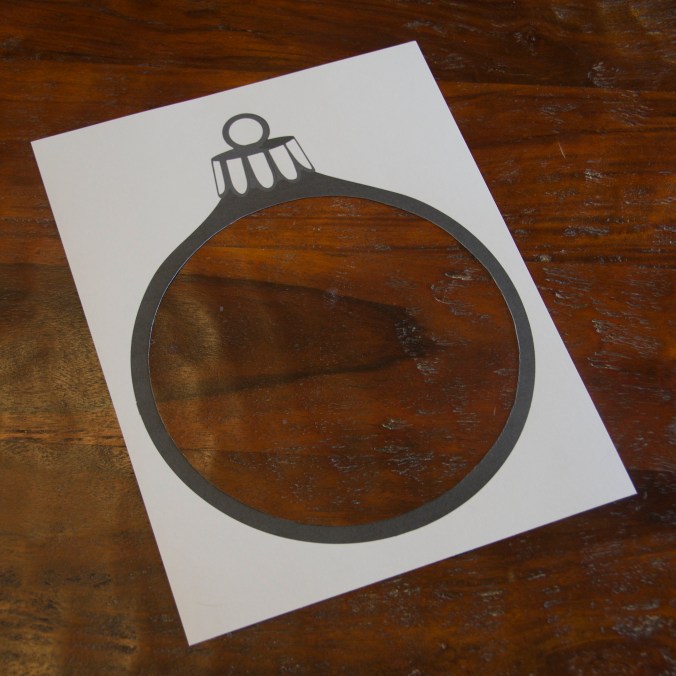
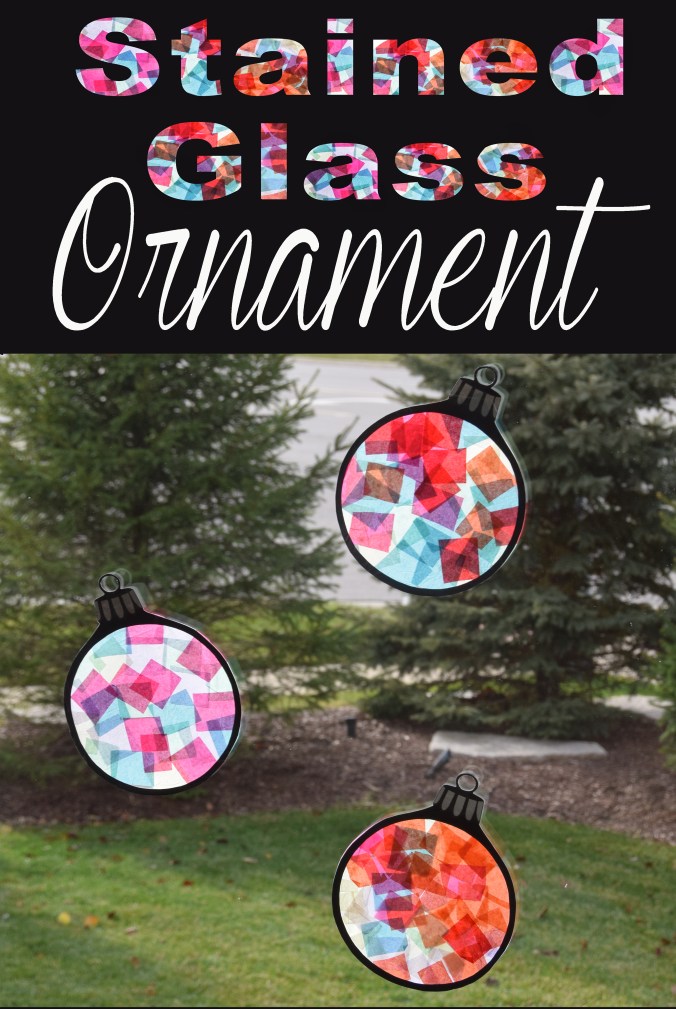
 Download FREE printable
  Download FREE printable


![262204[5]](https://projectsinparenting.com/wp-content/uploads/2016/01/2622045.jpg?w=676)