Sun Catcher Valentine

Sun Catcher Valentine Banner - projectsinparenting.jpg

With 8 to 14 inches of snow expected today, schools in the area were cancelled for a rare occurrence — SNOW DAY!! Needless to say, the kids were very excited and we spent most of the morning outside. This afternoon, we decided to stay warm and stick indoors for a Valentine’s Day themed craft.

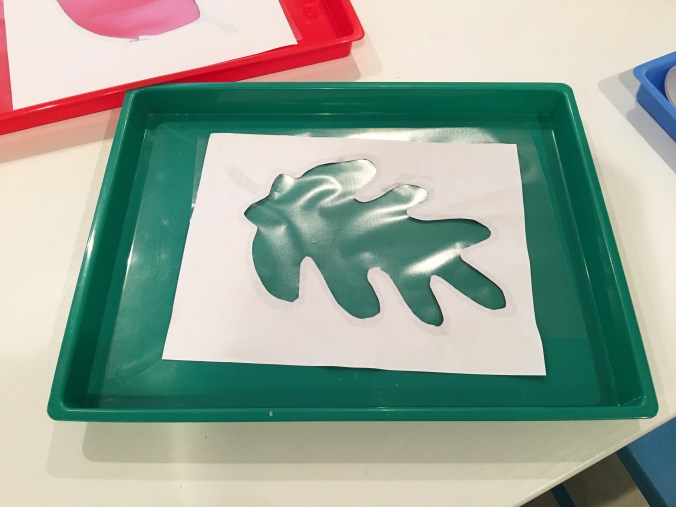
Using these cute doilies from the dollar store, (click here for a similar product on Amazon) I simply cut out a heart shape from the middle of the doily and attached a square of contact paper (larger than the doily) to one side. Then, with Valentine’s Day inspired colors, I cut small squares of tissue paper and put them in bowls.

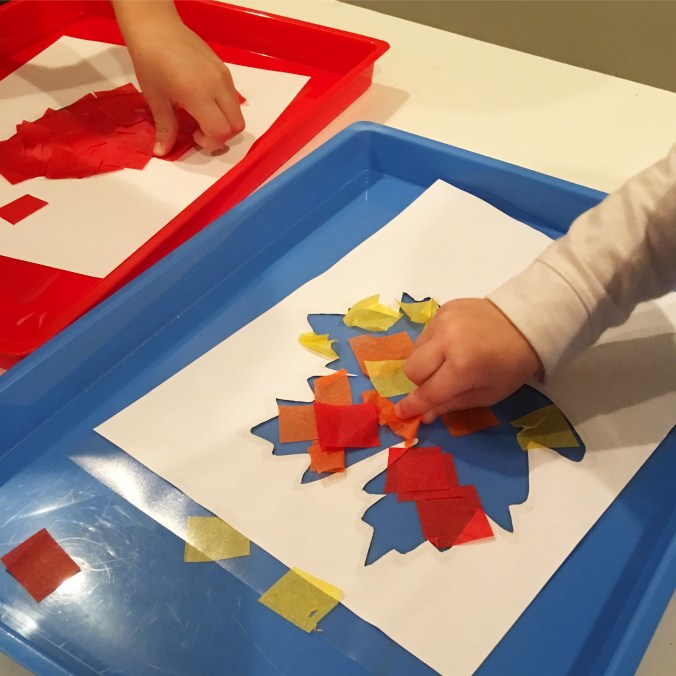
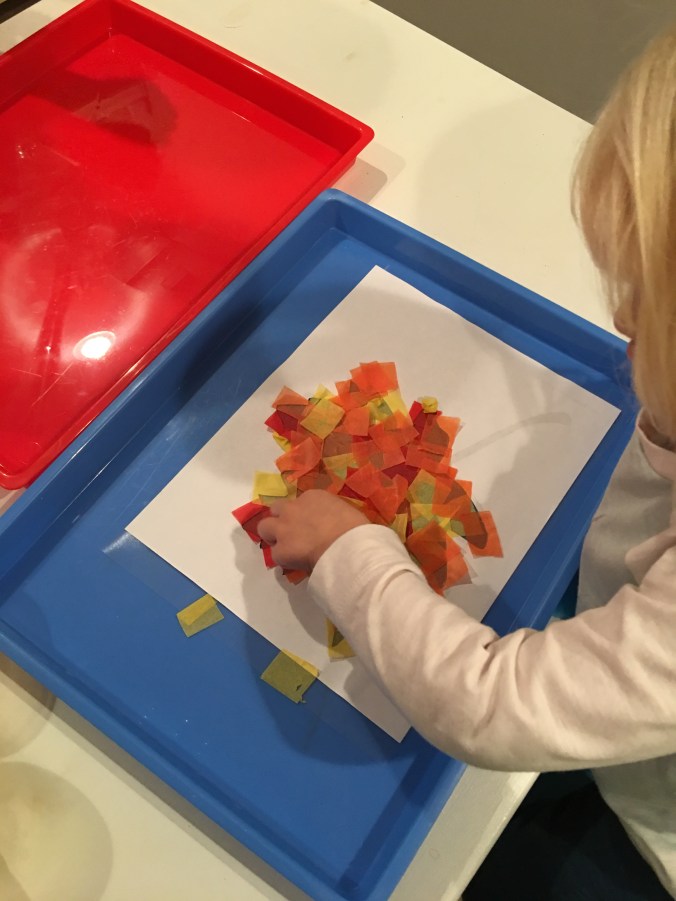
Sticky side up, the kids selected their preferred tissue squares and attached them to the contact paper heart in the center of the doily.

When their Valentine heart decorating was complete, I trimmed any excess tissue paper that was hanging over the lace part of the doily, then sealed their heart with another sheet of contact paper. After trimming around the outside of the doily (to cut off excess contact paper), we hung their masterpieces in our window to enjoy the beautiful stained glass colors!

These Valentines also make perfect gifts to send to family and friends! ๐Ÿ™‚

“Close your eyes and picture of the sun. That’s what it felt like to love her, warmth.”
– Atticus

Follow me on Pinterest and Instagram for more fun ideas!

Advertisement

Stained Glass Sun Catcher Leaf Craft

stained-glass-sun-catcher-fall-leaf-craft-for-kids-projectsinparenting

A couple of years ago, we had to remove most of the trees around our property due to Ash Borer. Now we hardly have leaves in our yard during Fall. Seriously, this is the leaf “pile” the kids were playing in yesterday…

IMG_0405.JPG

The kids had a blast – but without a ton of leaves, it hasn’t felt much like fall (to me anyway). So I decided to create a fall-themed craft to set the mood for the autumn season. My boys loved the Stained Glass Sun Catcher Ornaments we made last winter, so I created a similar craft using a leaf shape… Super-easy, no-mess, and perfect for all ages!

To get the project ready, print any of the following leaf shapes:
leaf 2.jpg
CLICK THE FOLLOWING corresponding leaf for free PDF printable:
Maple
Magnolia
Oak
Oak 2
Redbud

Cut out the CENTER of the leaf shape with an X-Acto knife or scissors.
img_0221

Prepare colored tissue paper by cutting them into squares.

img_0223

Note: I separated the tissue paper squares into coordinating cup colors for easy selection. I’m not pointing this out to show how overly organized I can be, I’m sharing this to show one of the MANY ways I’ve re-purposed the cups provided in our Easter egg dying kit – Great cups to save and reuse!

Adhere a piece of contact paper to the FRONT of your pre-cut leaf print-out, covering the entire outline. (Don’t have contact paper? Packaging tape works as a wonderful substitute!) Then lay the paper down, sticky side up.
img_0222

Now itโ€™s time for your little artist(s) to decorate their leaf… Have them select their tissue paper pieces, and press them down onto the contact paper.
img_0484img_0459

When complete, seal the back with another piece of clear contact paper. Trim around the outside of the leaf shape with scissors and tape or hang your masterpiece in a window to enjoy the beautiful stained glass colors!
img_0481

Related: Fall Leaf Lantern