Room on the Broom Inspired Scavenger Hunt

Room on the Broom Inspired Scavenger Hunt

A family friend bought us a copy of Room on the Broom last year and the boys could not get enough. They wanted to read it over and over again – for MONTHS!! And they still love to read it. The book is extremely clever with captivating illustrations and super catchy rhymes. Since they loved the book so much, I also purchased the DVD (which is AMAZING as well – and great for bringing imagination to life). If you don’t own this book, I highly recommend adding it to your personal library.

room-on-the-broom

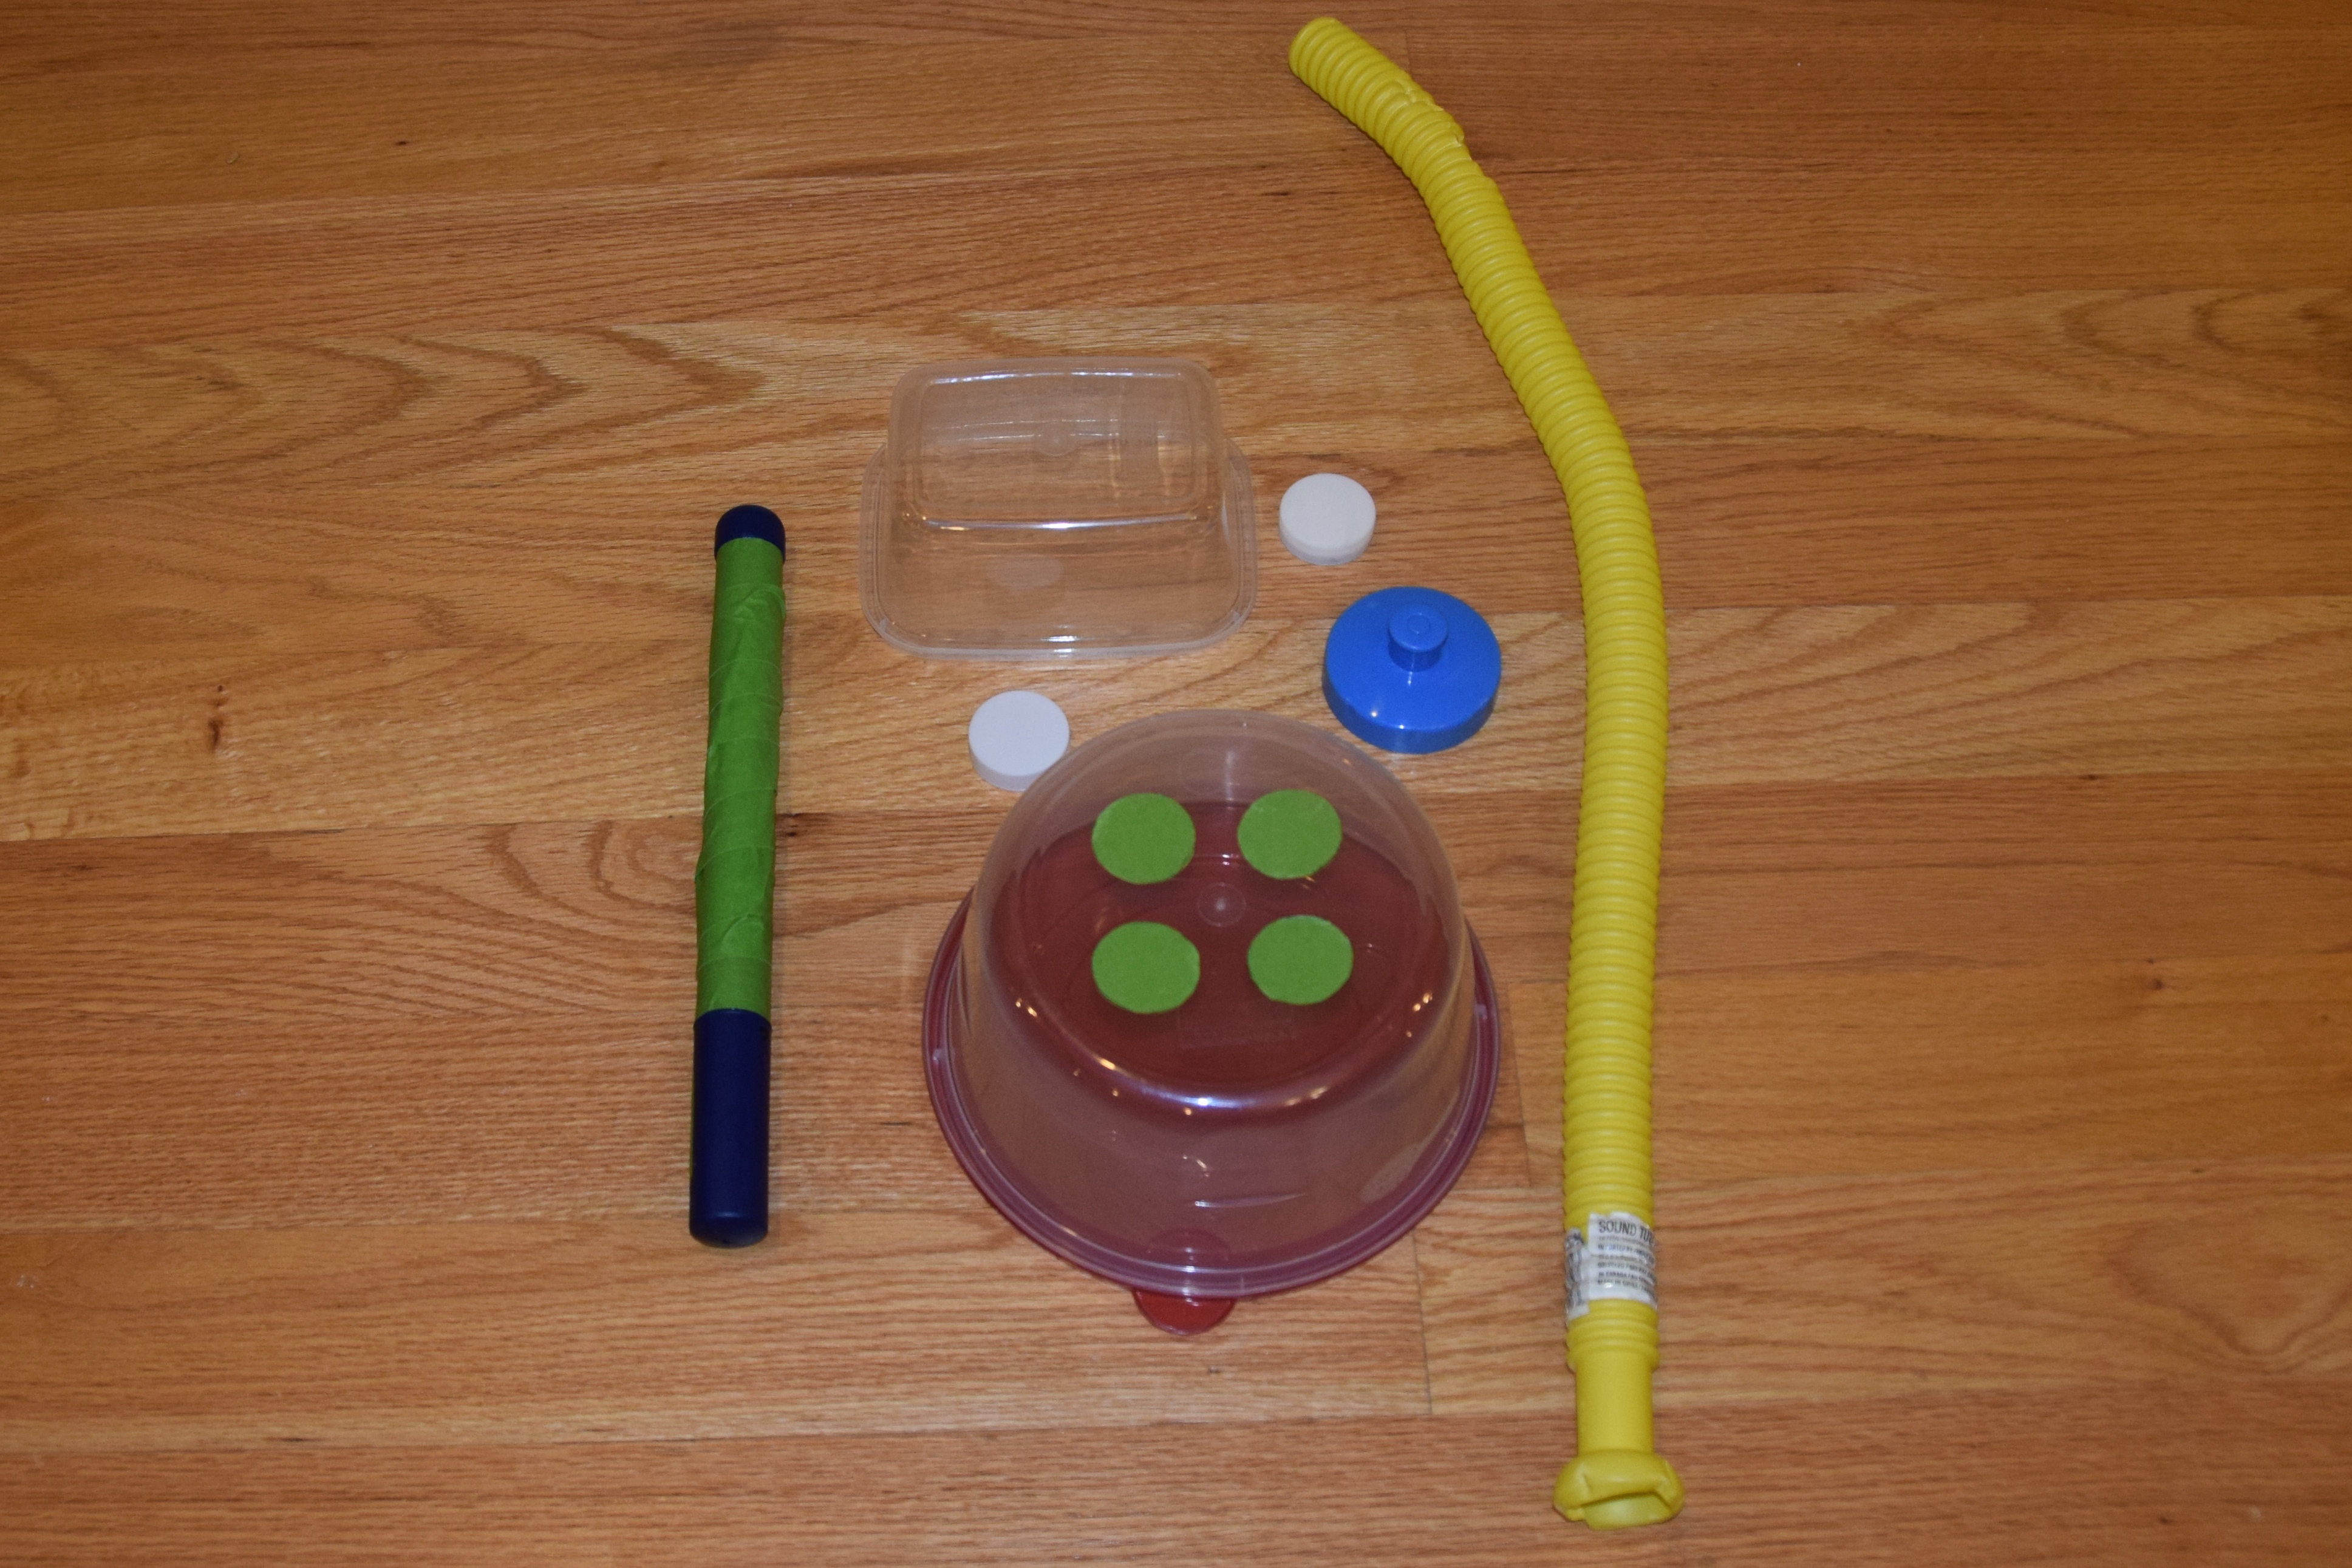
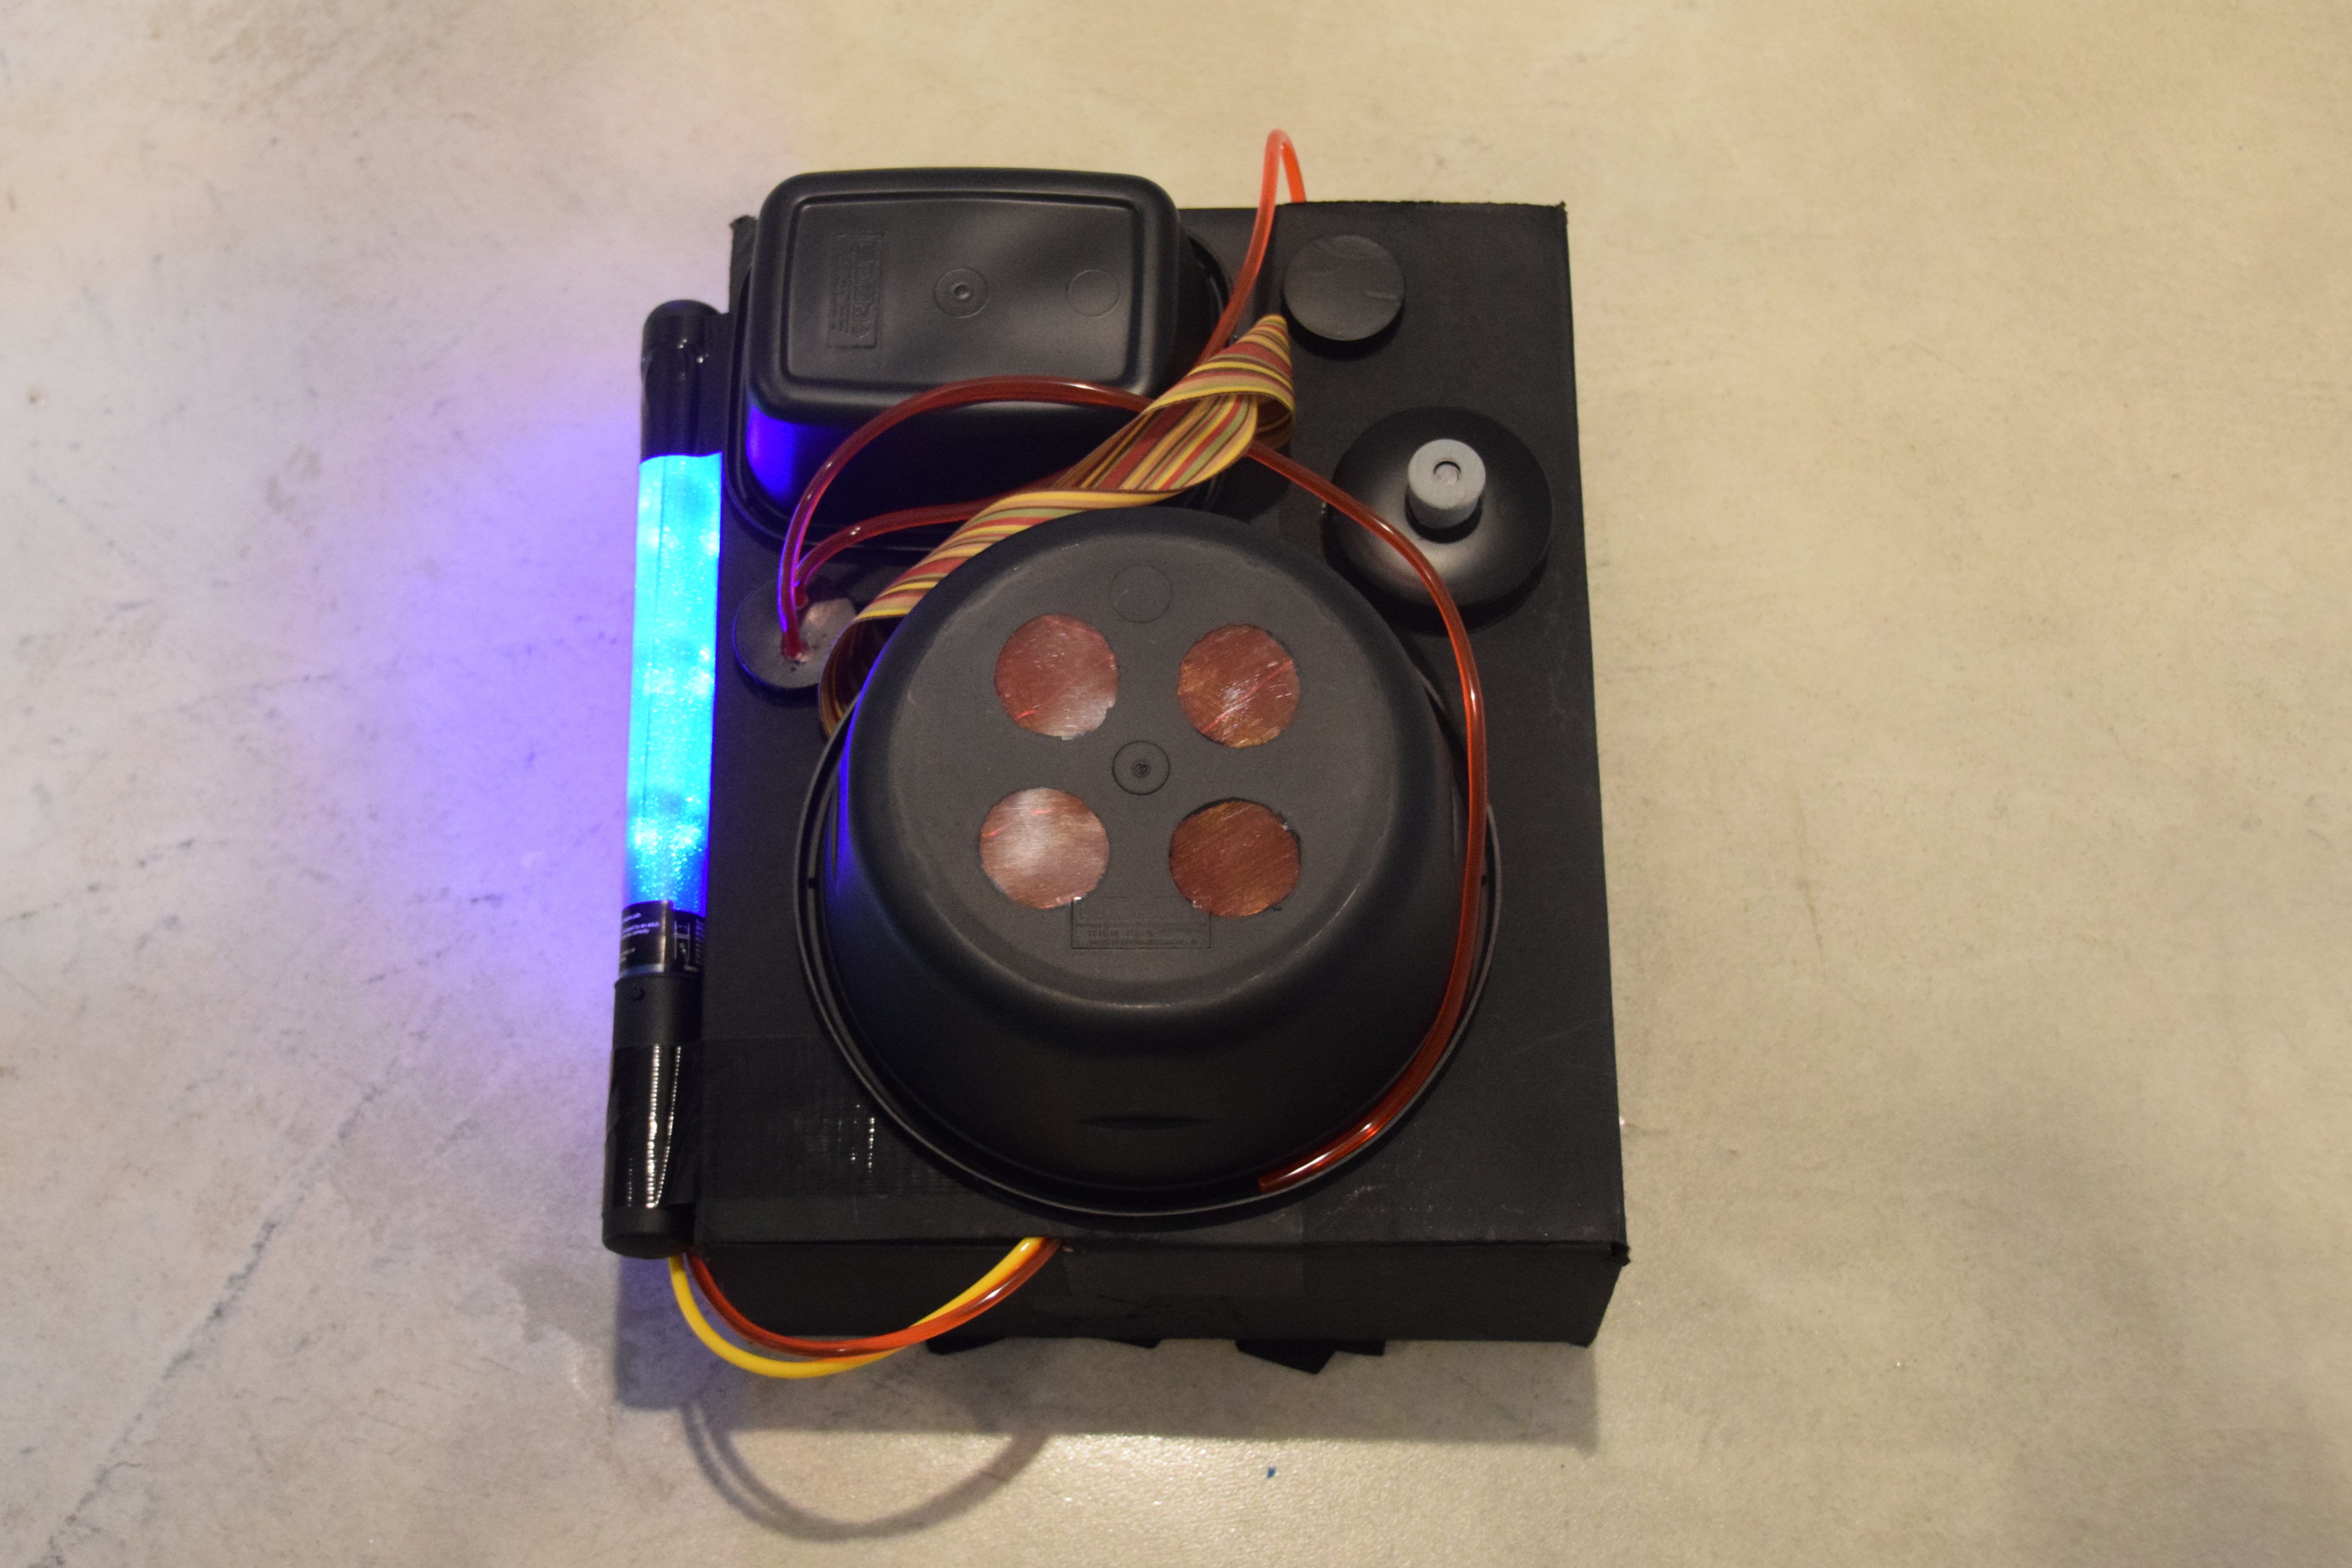
As we read the story or watch the DVD, the boys love pretending to throw items into the cauldron (lily, cone, stick, bone). Sometimes they come up with their own ingredients (acorns, leaves, etc.). I was looking at our Halloween candy bowl (which happens to be a witches cauldron) and came up with the idea for an activity to engage them in the story even more…

I created scavenger hunt cards with cauldron ingredients, printed them on card stock, and cut them out.

Download FREE Printable HERE.

Note: I chose the strength of card stock and reinforcement of laminating them with contact paper because Avery crumpled up the 1st set I printed on regular paper (which the boys were not very happy about) . I’m sure older children would handle regular paper or card stock just fine.

I then placed the scavenger hunt cards face down, onto a table, next to the witches cauldron. The boys took turns selecting a card, then running off to gather their ingredients (which were scattered on the ground or hidden in a separate room)… Great for burning off the incessant toddler energy!

DSC_0052

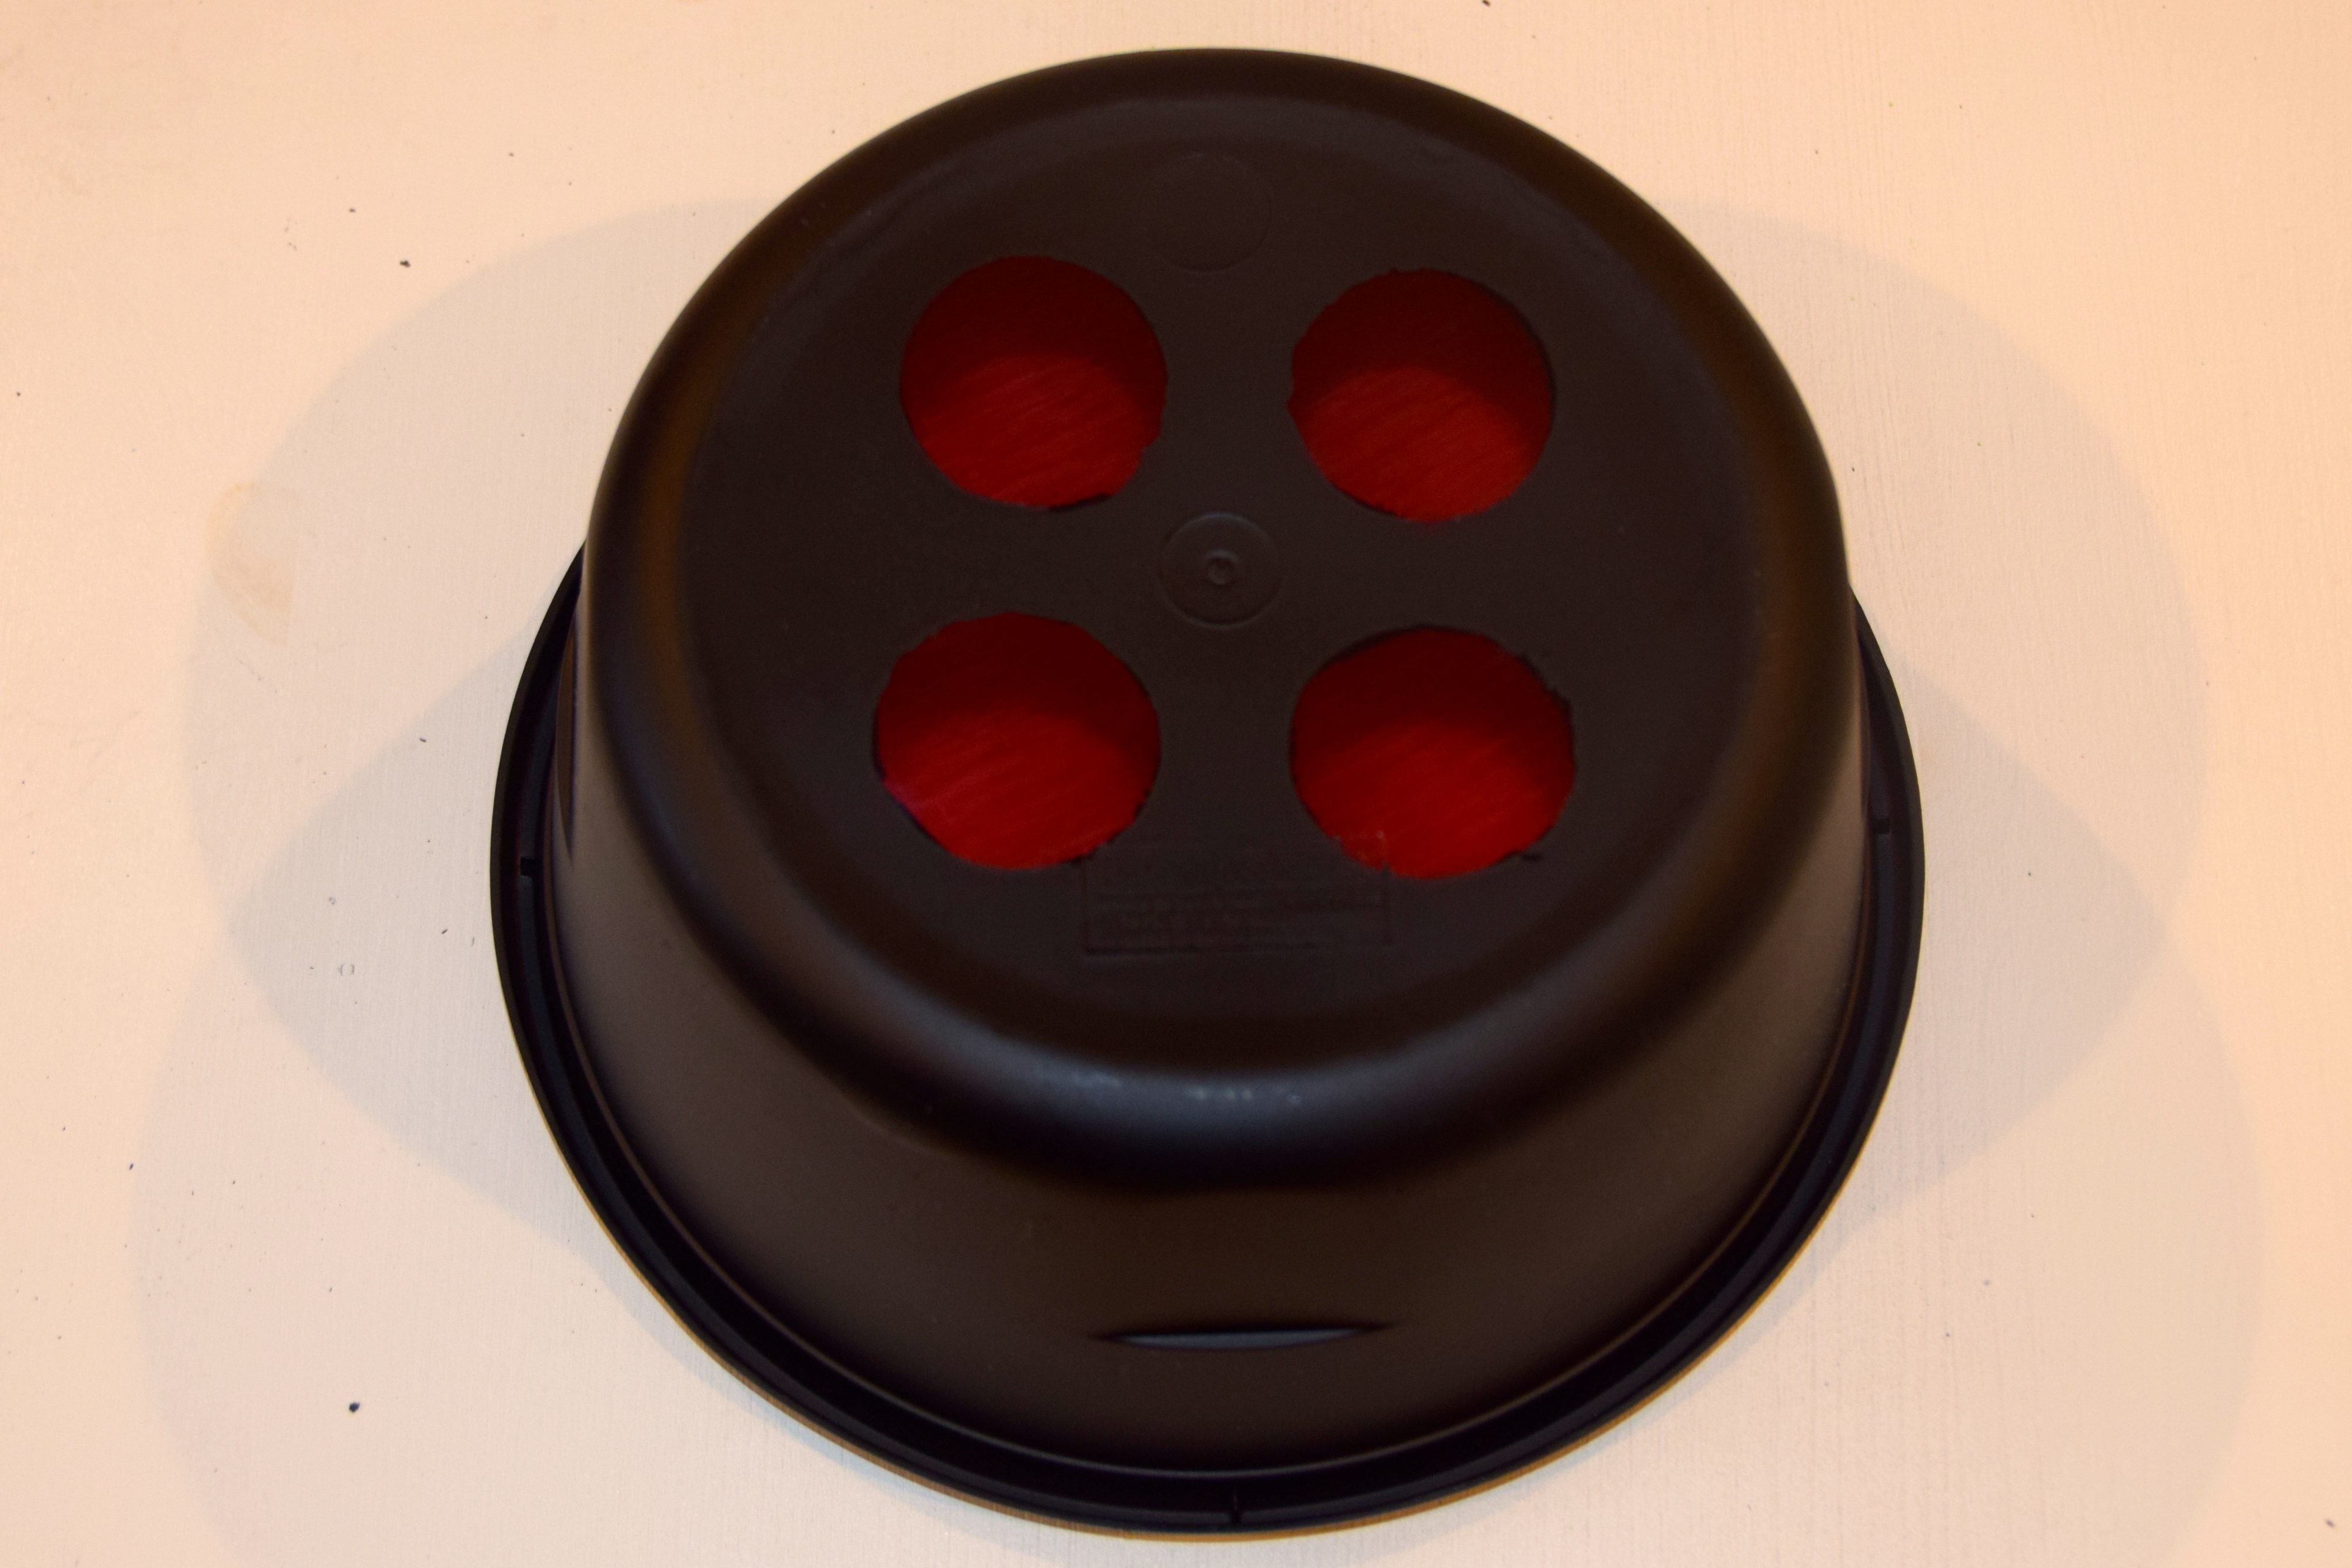
They tossed their ingredients into the cauldron and stirred them well…

Room on the Broom inspired scavenger hunt - Stir Cauldron

Room on the Broom inspired scavenger hunt - Stir Cauldron

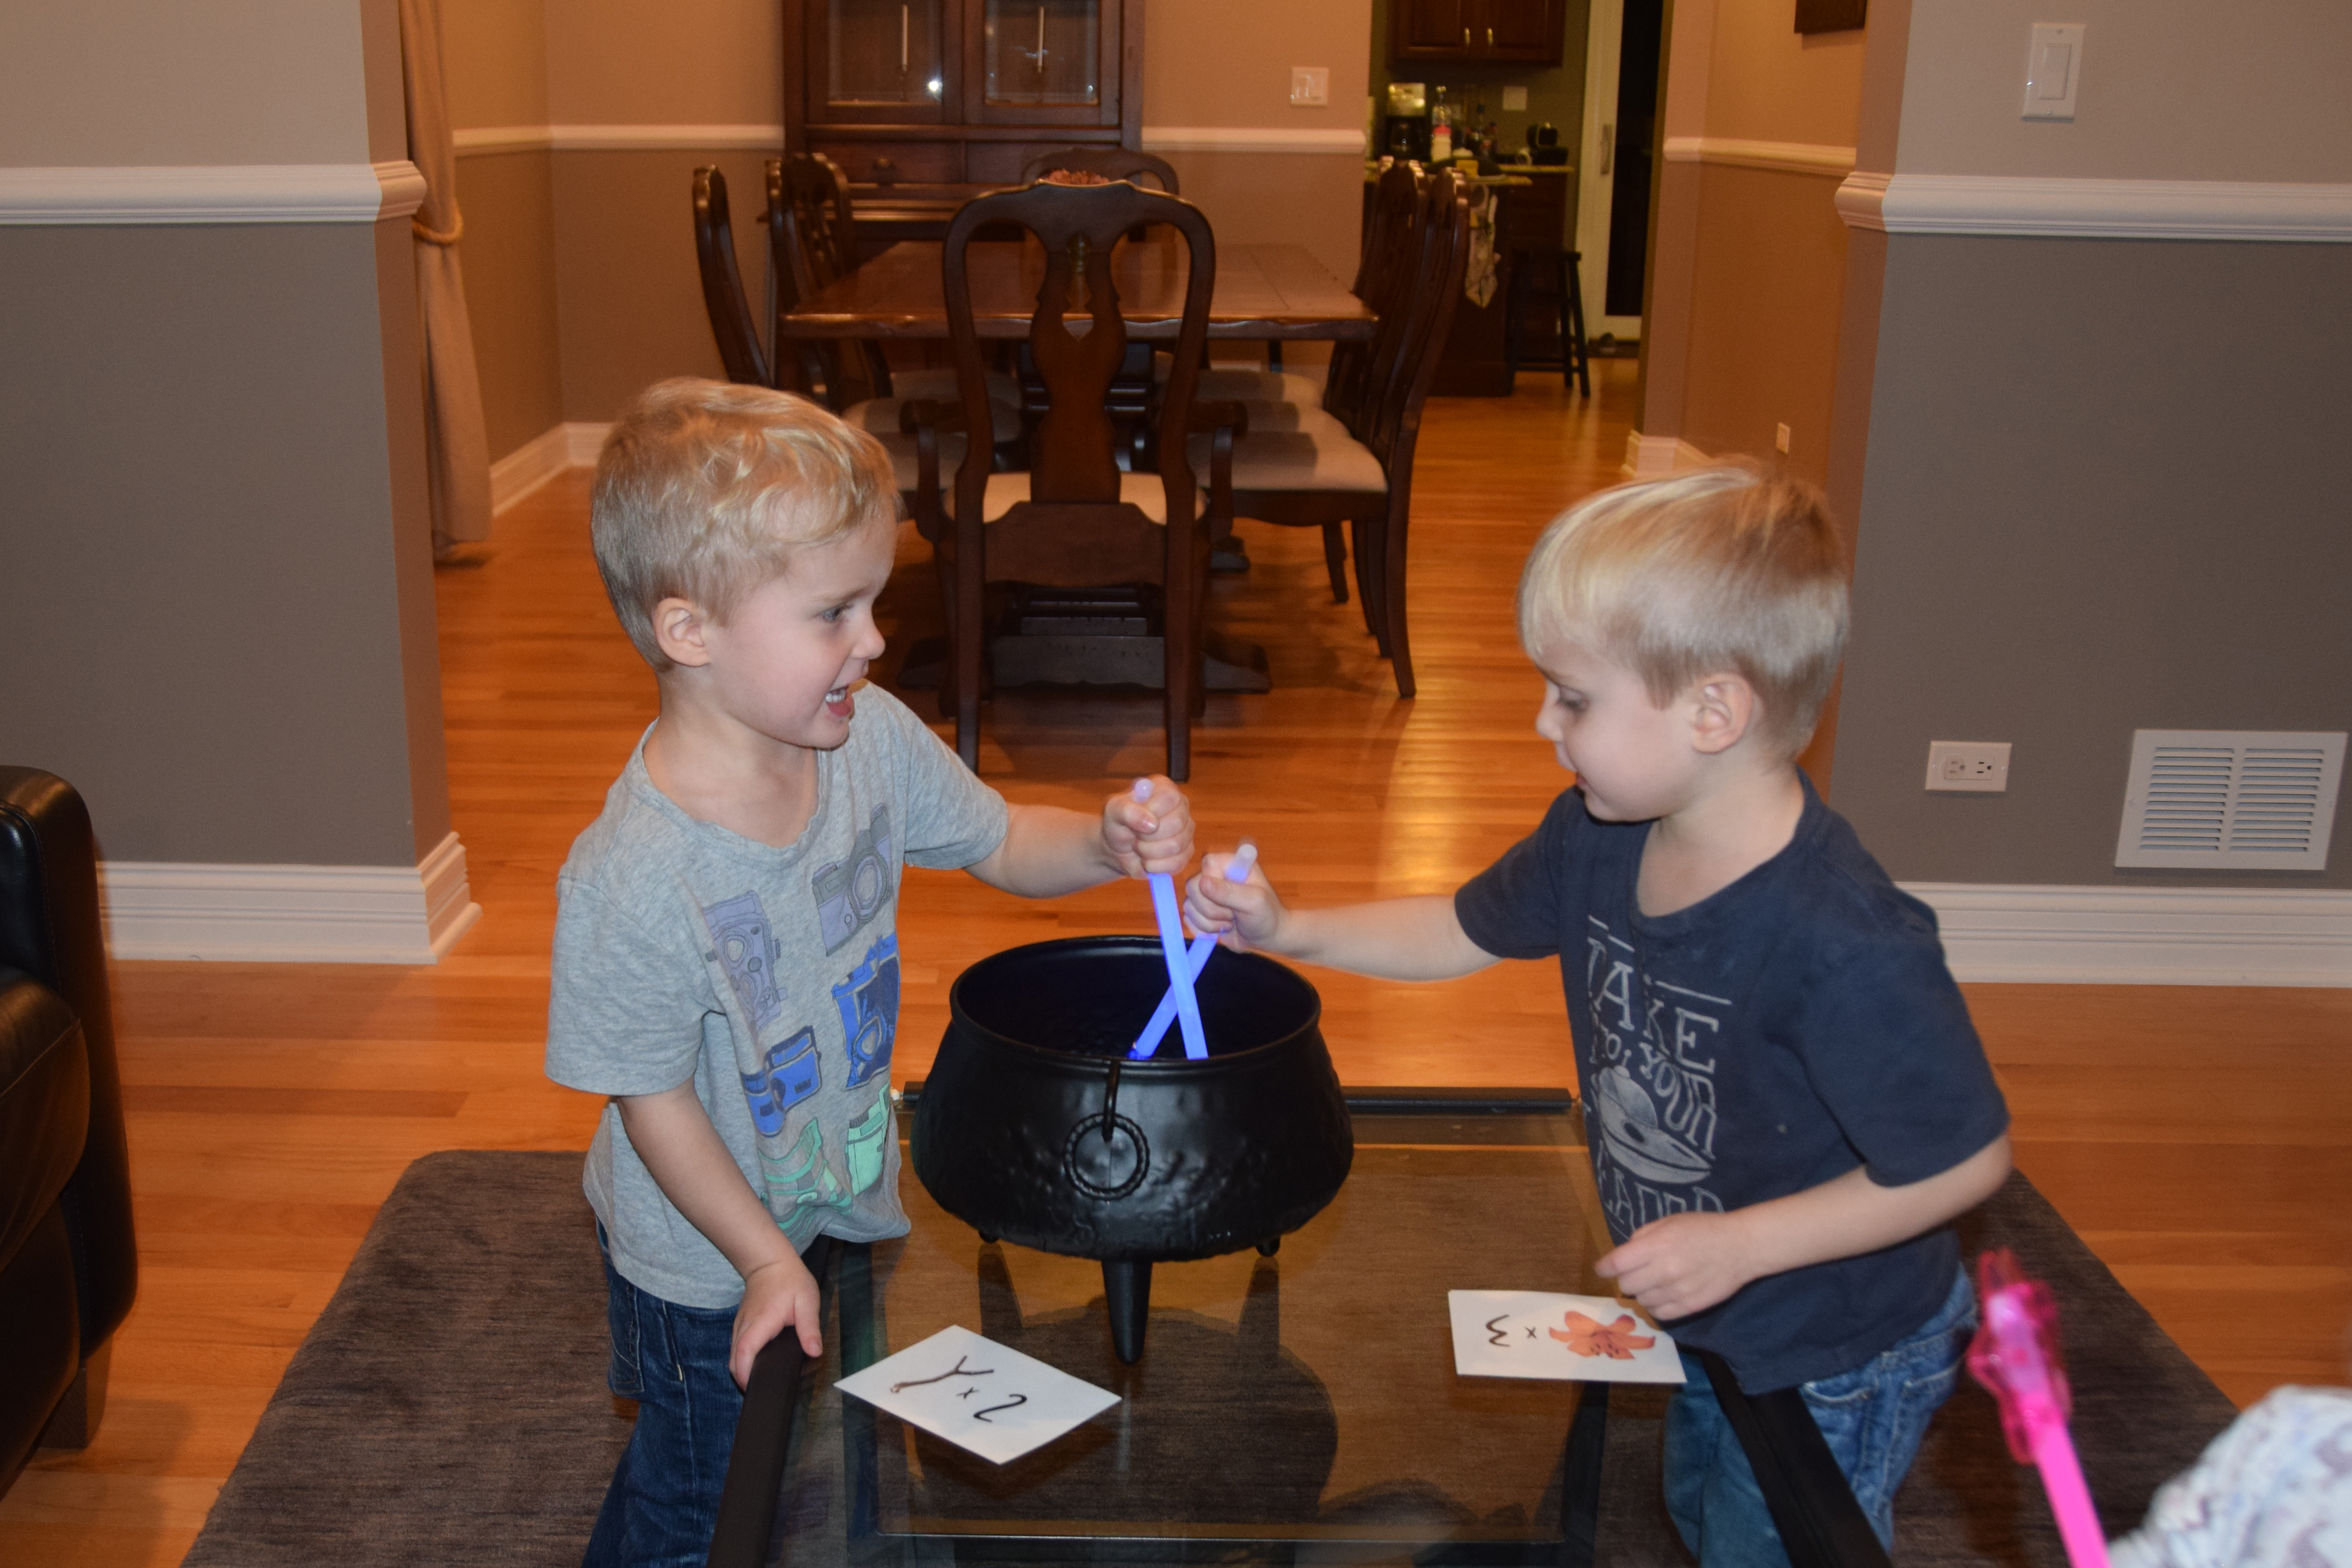
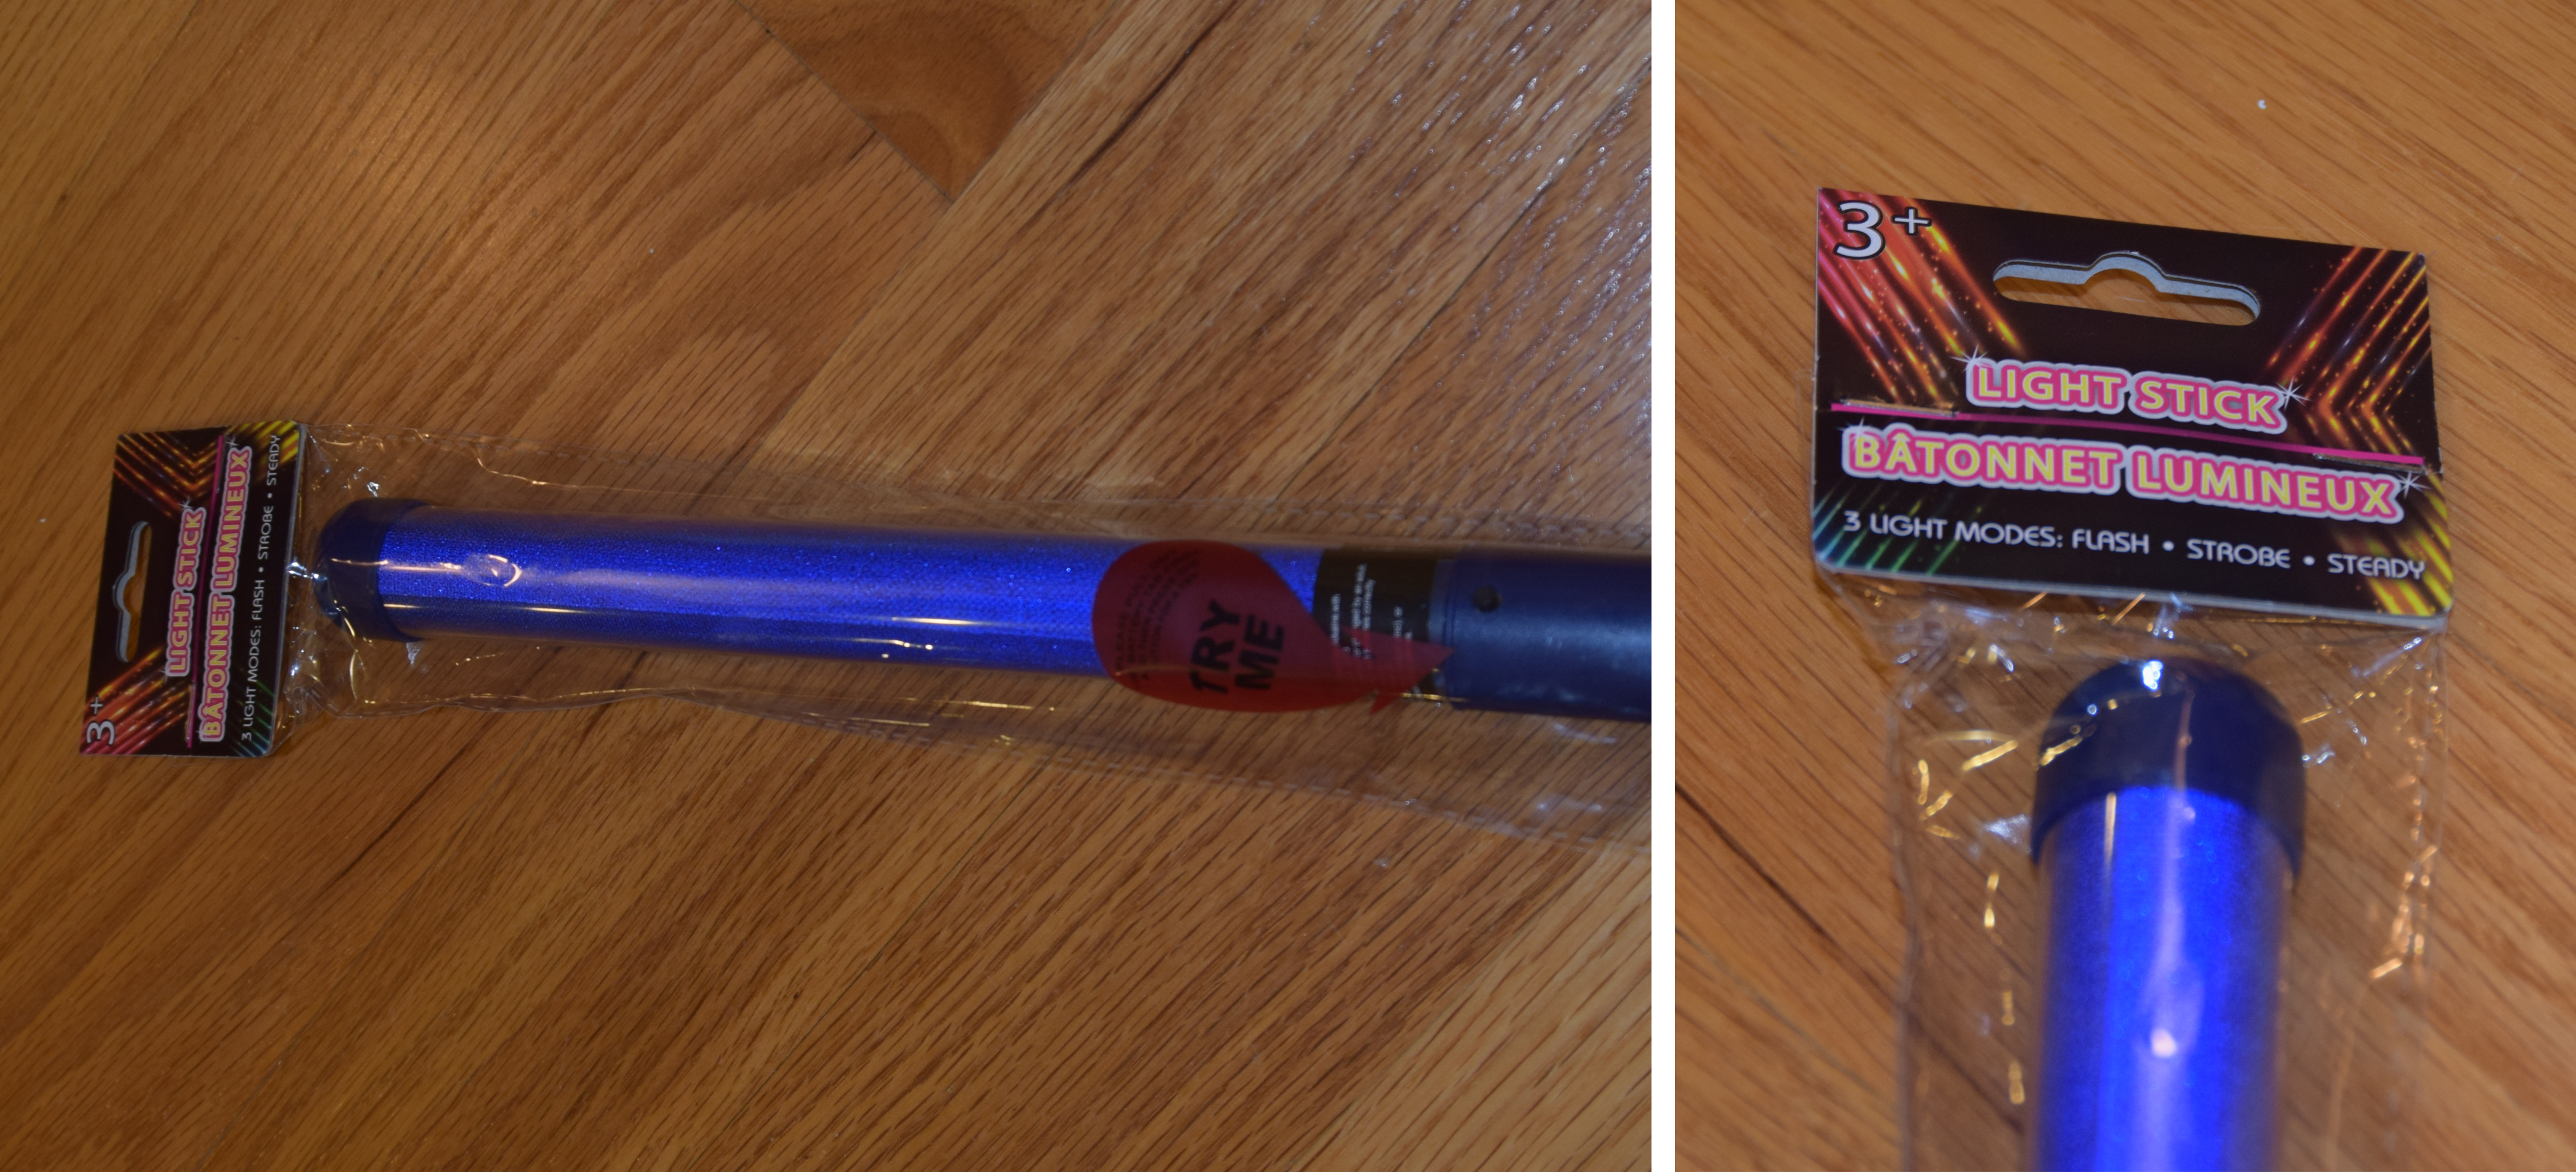
For a fun twist on the game, I gave them each a glow stick wand (found at the dollar store)…

DSC_0092

…and had them find their items in the dark using the wand.

Room on the Broom inspired scavenger hunt - in the dark

Room on the Broom inspired scavenger hunt - in the dark

IGGITY, ZIGGITY, ZAGGITY, ZOOM!!!… Out rose 3 happy toddlers, entertained for hours!

Room on the Broom inspired scavenger hunt - Iggity Ziggity Zaggity Zoom

Follow me on Pinterest, for more fun ideas!

DIY Dollar Store Proton Pack

DIY Dollar Store Proton Pack

Cory was channel surfing one night and happen to catch the last scene of the Ghostbusters. To no surprise, the boys were completely captivated and loved hearing the theme song at the end. When trying to come up with Halloween costumes, I decided to pitch the idea of being the Ghostbusters. I thought I would have to do some convincing, but Jacob and Evan immediately got excited, saying they couldn’t wait to “Toast the Stay Puft Marshmallow Man!!”… My inner child-of-the-80’s could not be more thrilled.

I ordered kids flight coveralls for their costume (UPDATE: Amazon NOW OFFERS KHAKI COVERALLS!!!) I then purchased Ghostbusters patches from Amazon. They sell individual name kits (Venkman, Spengler, Stantz, and Zeddemore), a pack of 4, as well as personalized name tags you can purchase with just the logo patch.

To make the proton pack, I used the following on-hand supplies:

    • Shipping Box, 13.5 x 10.5 x 5″
    • Black Spray Paint (Flat Black Paint+Primer)
    • Black Duct Tape
    • Industrial Strength Glue
    • Grey Craft Paint
    • Multi-colored Striped Ribbon
    • Black Strap Material
    • Printable Sticker Paper (or shipping label paper)
    • Red Sharpie
    • Glow Stick

And purchased the following items from the Dollar Store:

    • 7.5″ Round Plastic Container
      Round Container
    • 6.25 x 4.5″ Rectangular Plastic Container
      Rectangular Container
    • Blue Light Stick (or Similar)
      Blue LIght Stick
    • Yellow and Red Jump Ropes
      Yellow Jump Rope
      Red Jump Rope
    • 3-Pack of Bubbles
      Bubbles
    • Sound Tube
      DSC_0171
    • Water Bottle
      Water Bottle
    • Flashing Multi-Colored Light Stick
      Flashing LIght Stick
    • Oversized Pen
      DSC_0172

…Lots of lights and things that glow – Toddler approved!!

STEP ONE:
Spray Paint Set-up

  • Cut 4 circles from painter’s tape (I prefer Frog Tape) and stick them on the round plastic container.
  • Cover the light-up section of the blue light stick with painter’s tape.
  • Spray paint the following items:
    – Shipping Box (IMPORTANT: If you would like the red circles to light up, leave one side of box open so a glow stick can be inserted into the round container on day of use.)
    – Round Container (lid not needed)
    – Rectangular Container (lid not needed)
    – 2 bubble Caps
    – Water Bottle Top
    – Blue Light Stick
    – Sound Wand

STEP TWO:
Flashing Wand

  • Take apart the oversized pen.
  • Connect the tip of the pen to the flashing multi-colored light stick.
  • Insert the bottom of the flashing multi-colored light stick into the middle section of the oversized pen.
  • Wrap black Duct Tape around the bottom, to connect the wand with the pen and cover any non-black print.

STEP THREE:
Water Bottle Top

  • Paint the tip of the water bottle grey (I used craft paint)

STEP FOUR:
Red SharpieRed Sharpie 2

  • Remove painter’s tape VERY CAREFULLY from the round container (the paint around it peels up easily).
  • Color clear sections with red Sharpie (a thick Sharpie works best)

STEP FIVE:
Red Rope

  • Drill 2 holes into ONE of the bubble caps.
  • Cut a section of red jump rope.
  • Insert one end of the jump rope into the top of the cap, and feed it back through the other hole.

STEP SIX:
Blue Light Stick Cords

  • Cut a section of red and yellow jump rope.
  • Duct Tape rope pieces to the blue light stick (similar light stick found HERE).

STEP SEVEN:
Tape Light StickTape Light Stick and Ribbon

  • Attach blue light stick to the front, left side of the box with Duct Tape.
  • Cut section of striped, multi-colored ribbon.
  • Duct Tape ribbon to inside of rectangular container, twist the ribbon and attach other end of ribbon to the box with Duct Tape.

STEP EIGHT:
Glue Pieces

  • Glue all front proton pack pieces in place (round container, rectangular container, 2 bubble caps, and water bottle top). Note: Leave jump rope ends loose, so there is no tension on glued pieces.
  • Let glue dry overnight.
  • Tuck yellow and red jump rope pieces, from the blue light stick, into the bottom slit in the shipping box.
  • Tuck top red jump rope into the slit at top of box, and insert the other red rope into the bottom right curve of the round container.

STEP NINE:
Back Hole Cut and StrapsStickers and Cut Holes

  • Cut a hole into the inside of the box, so a glow stick can be inserted into the round container for day of use.
  • Staple and/or tape black straps to the open flaps of the back of the box.
  • Cut a circle hole in the right side of the box (IMPORTANT: The hole needs to be JUST large enough to fit the sound tube, without allowing the larger end pull through).
  • Insert small end of the sound tube into the inside of the box and pull through till the large end catches.
  • Cut sound tube to desired length, insert the flashing multi-colored light stick/pen piece into the tube and Duck Tape to hold.
  • Insert glow stick into back hole for the round container.
  • Tape back of proton pack shut.
  • Print proton pack stickers and stick in appropriate locations.
    DIY Proton Pack Stickers

    Click HERE to download file with labels to size and scale for this DIY proton pack

    DSC_0235 2

    Finished product and reversed proton pack for my lefty.

STEP TEN:

  • TOAST THE STAY PUFT MARSHMALLOW MAN!!!
DIY Dollar Store Proton Pack for Twin Toddlers' Ghostbusters Halloween Costume

DISCLAIMER: These DIY proton packs do not generate actual laser streams. In the event of a ghost problem, please call the Ghostbusters at 555-2368.

“Don’t. Cross. The streams. It would be bad.”

Related Posts: DIY Lion Guard Costumes
DIY Paw Patrol Costumes

Follow me on Pinterest, for more fun ideas!

Color-Coded Beginner Piano Music Book Banner

Project: 1st Blog Post

Meet the Goofballs:

Meet Jacob Avery & Evan

Jacob (left) – Enthusiastic and strong willed 3-year-old who’s favorite activity is making coffee for mom and dad.

Avery (center) – Sweet and silly firecracker of a 1-year-old who loves to play with rocks.

Evan (right) – Playfully clever and caring 3-year-old who has the memory of an elephant.

Lucky Parents of These Adorable Children:

166417_479089897414_4819274_n

Cory (aka Dad – although the boys sometimes like to call him “Lex Luthor” when they want to be chased down by an evil villain) and myself (aka Julie/Mom).

Realistic Family Portrait:

11134038_10153091378237415_3938401930556693602_o

Pretty much sums up my experience of being a parent.

A little about me and why I decided to start a blog:

I exited Corporate America three years ago to take on the self-appointed assignment of raising my kids full-time. I’m not a fan of calling myself a “stay-at-home mom”, as I feel it discredits my regular expeditions with 3 kids in tow, so I’ll call myself an “occupational mom”.

Walking away from my career was a huge adjustment for me. I found myself managing motherhood similar to a job – goal driven, ambitious, organized and detail oriented. This may sound rigorous, but I guess it’s a little (or a lot) of my Type A personality coming through. Thankfully I have a creative and adaptable nature that seems to balance me out a bit. In the end, I’m glad I decided to stop working because I love being able to experience every little moment of my children’s lives with them – the good, the bad and the unbelievably chaotic.

As if raising three kids isn’t time consuming enough, I tend to keep myself extra busy with little things I like to call “projects” (going back to my business roots, it seems like a natural term to use). Whether it’s homemade Halloween costumes, photo books, seasonal crafts, organizing fundraisers, or remodeling our basement. We also just started the process of building a new home to be closer to our family – because the current 15 minute commute just isn’t close enough! 😉

I wanted to start this blog as a creative outlet to post some of my artsy projects. I thought it would be a great way to keep friends and family up to date on some of our adventures, as well as share fun ideas for kid crafts/activities, creative ways to document life with photography, and general DIY projects. I should also mention that, by no means do I consider myself a writer, so please excuse any incorrect punctuation or lack for brilliant and witty literature. Either way, I hope you enjoy my blog and maybe even find some inspiration for a parenting project of your own!

“Creativity is contagious, pass it on.” – Albert Einstein